Setting up your Mortgage Application
In this guide, you will learn how to create a customized mortgage application. You can create as many mortgage applications as you would like, each with their own settings and profile information.
Related Training
Video Walkthrough
Step-by-Step Guide
Application Setup
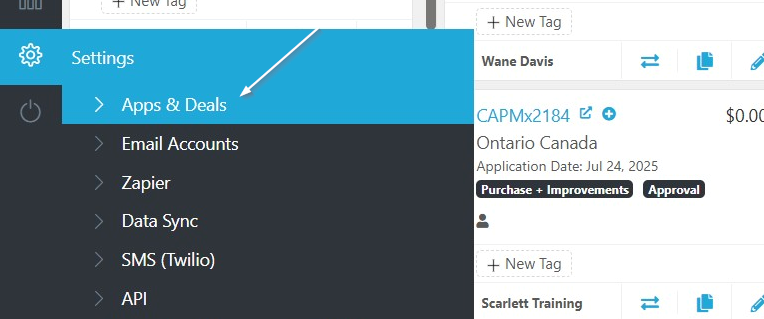
1) From the Settings Menu, click "Apps & Deals"
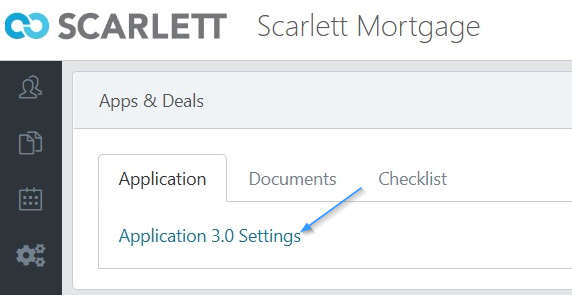
2) Click "Application 3.0 Settings"
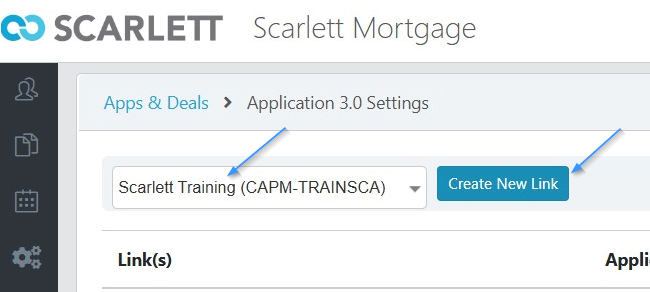
3) Make sure your name is in the dropdown and click "Create New Link"
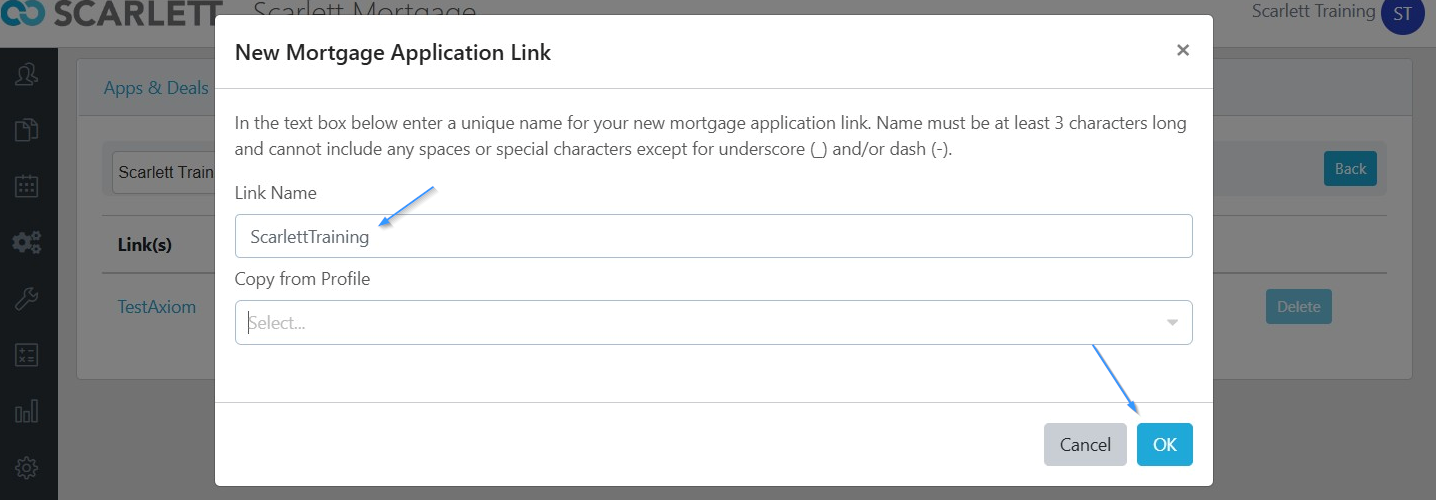
4) Enter a unique name for the link address. You can also copy the profile from one of your existing profiles. Click "OK".
You will now be brought to the profile customization page. Let's go through each of the sections.
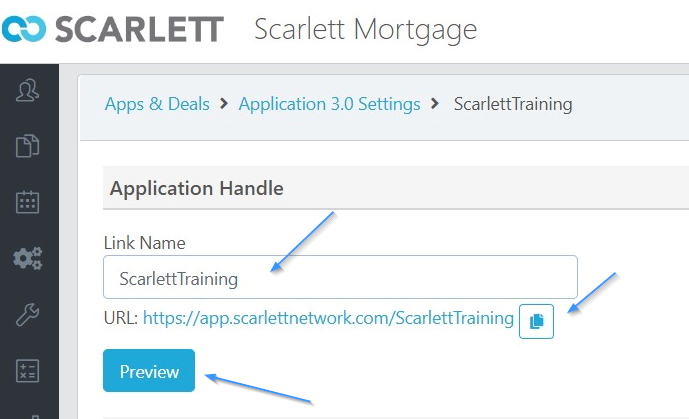
Application Handle
1) This section of the customization contains your link name, which is part of your URL. You can change your link name/URL, copy the URL, or preview the application from this section.
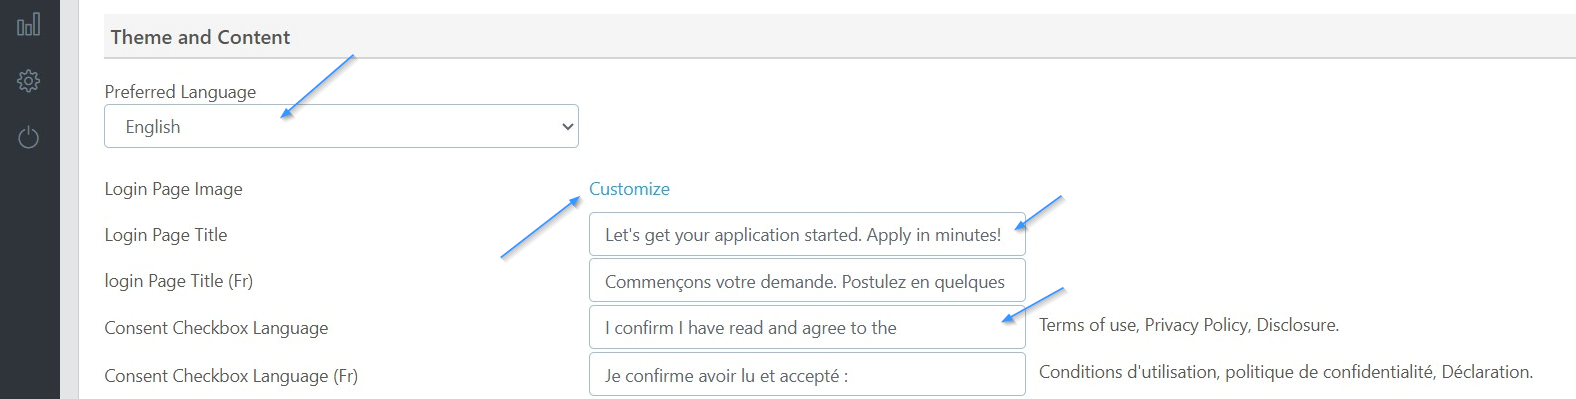
Theme and Content
1) This section allows you to set the default language for your application, as well as the landing page welcome text in both English & French, and the wording for the consent checkbox.
2) If we click "Customize" next to the Login Page Image, this opens a pop-up of the images that rotate with each page refresh.
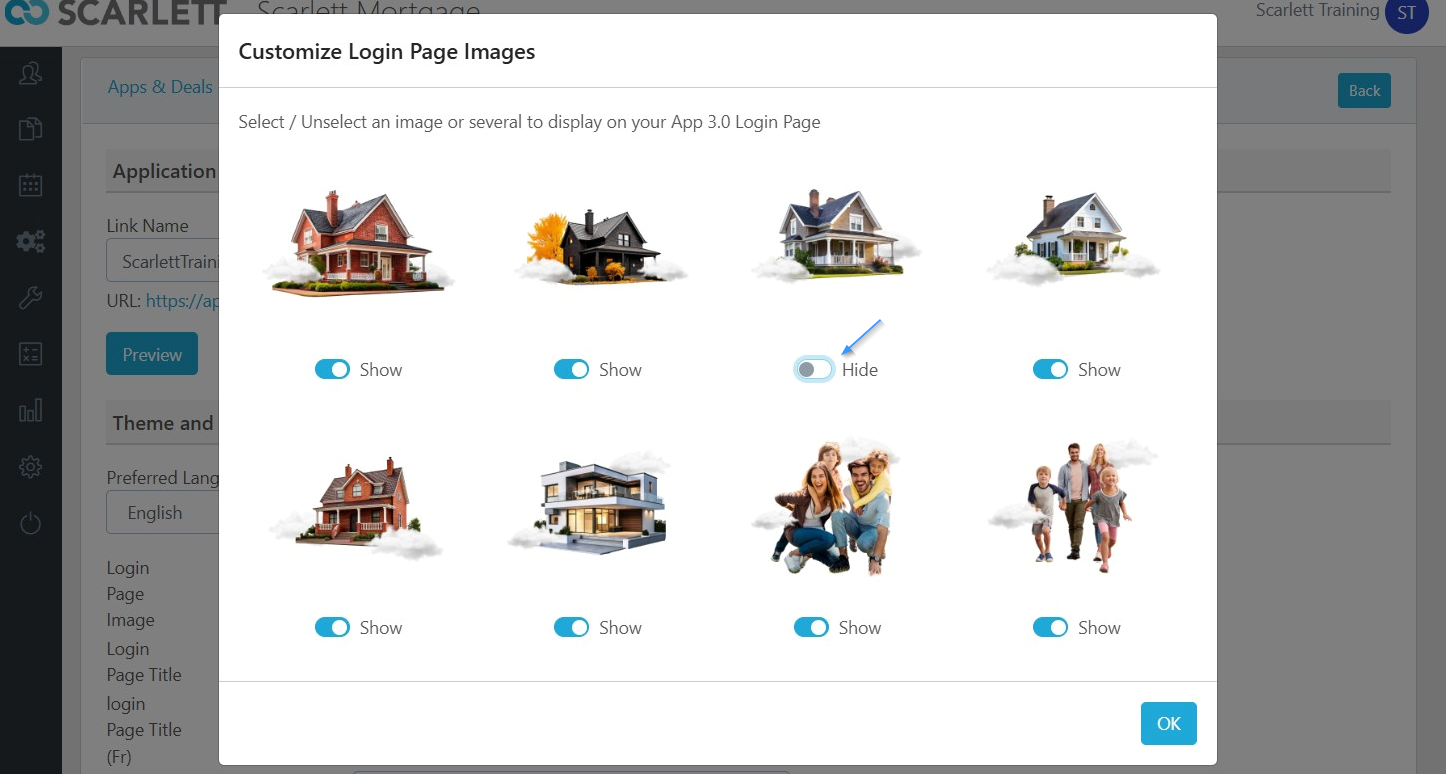
If there are any images you don't want to be included in the image rotation, you can toggle them off.
3) The next options are to toggle on or off the default Scarlett Privacy Policy, Terms of Use, and Disclosure. If you toggle off the default, a box will appear where you can insert your personal website for this information.

4) Next you have the option to customize the email content that is sent to your client with their security code. You can customize this is both English and French.
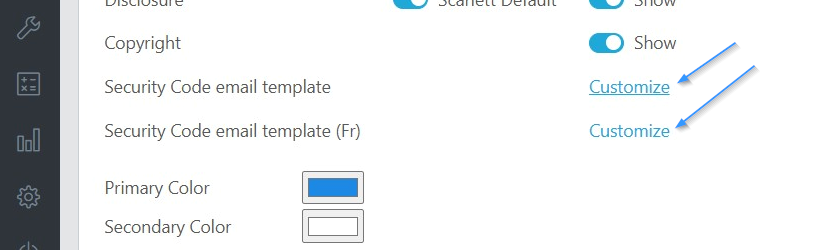
Click "Customize" to open the email window.
5) Here you can change the subject line and content of the message your client receives with their security code. The merge field "%Security_Code%" will update to the randomly generated security code when the email is sent to your client. Insert this into your customized email by clicking the "Add Code (Merge Field)" button.
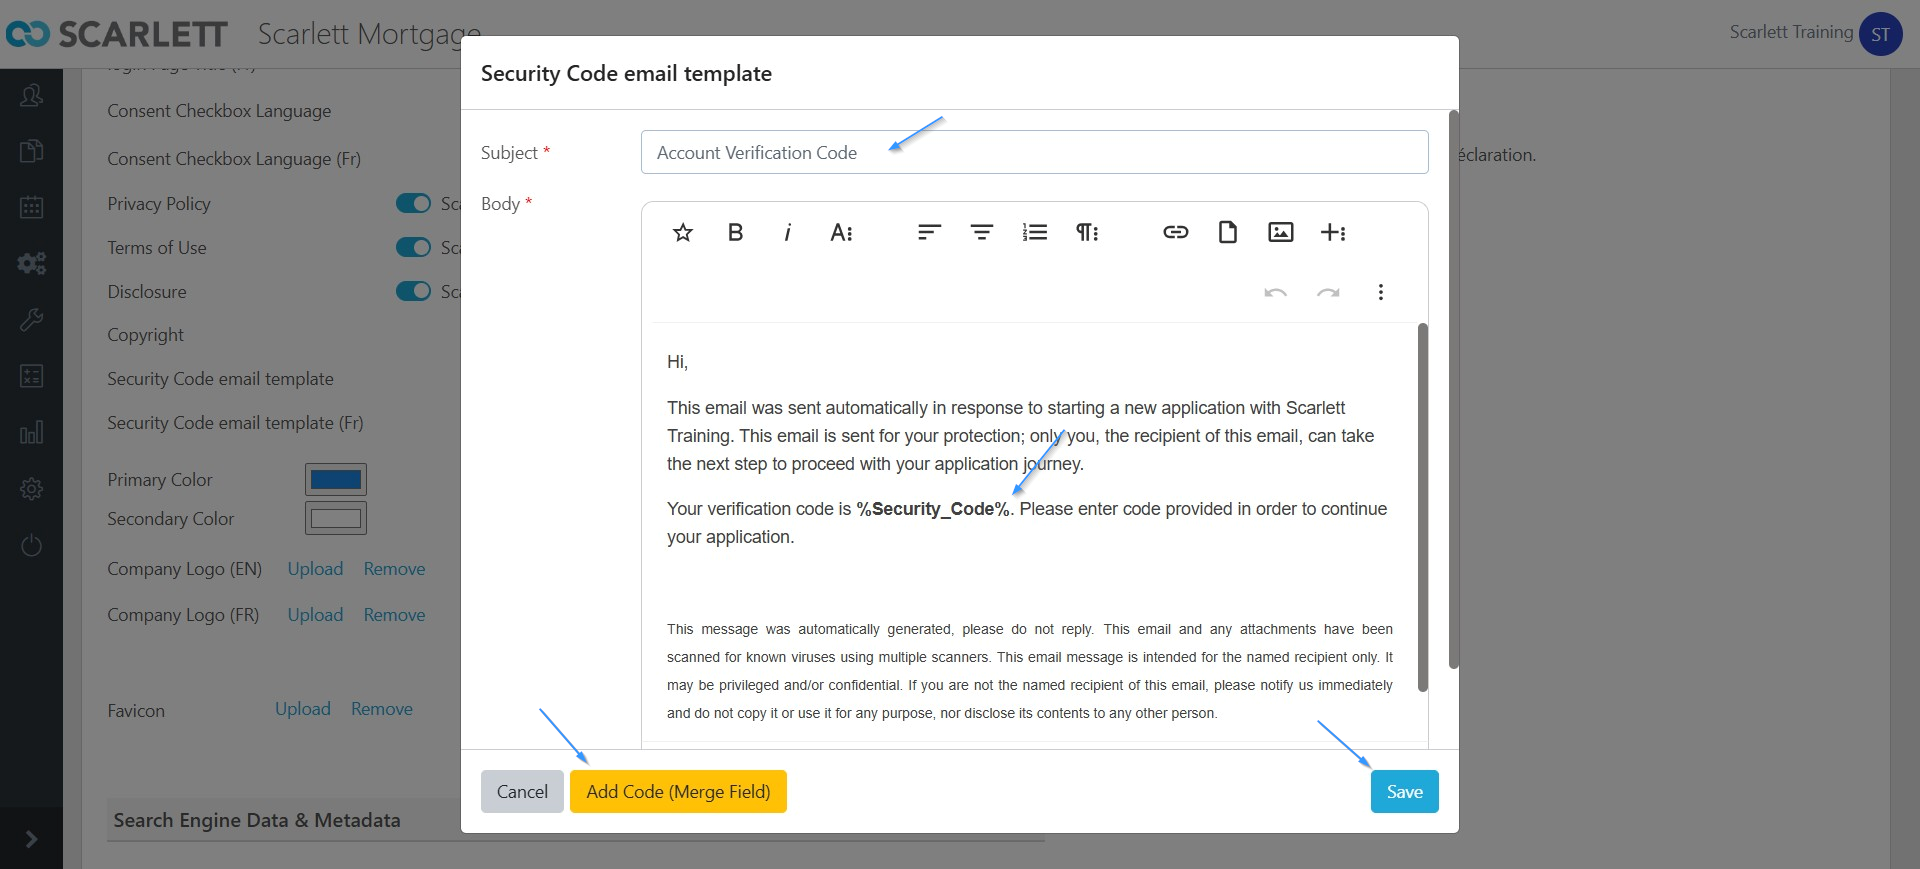
Click "Save" to exit and set the new template.
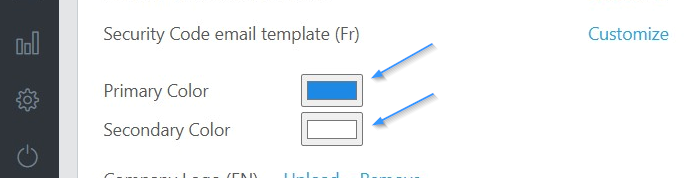
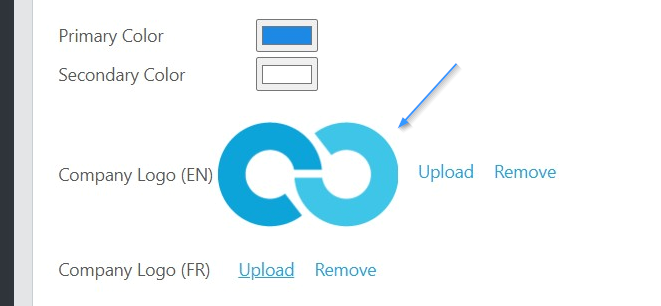
6) Below this, you can set the primary and secondary colours of your application.
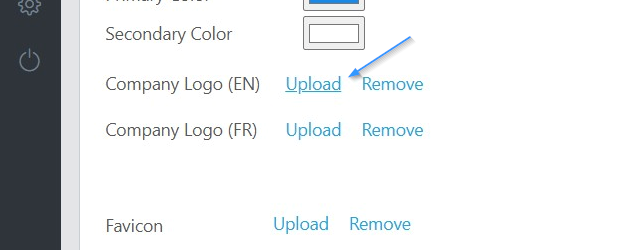
7) Under the colour selection is where you can upload your company photo in English and in French, and a favicon. Click "Upload" to add images for each of these.
8) On the pop-up, drag & drop you image or search for it in your computer folders.
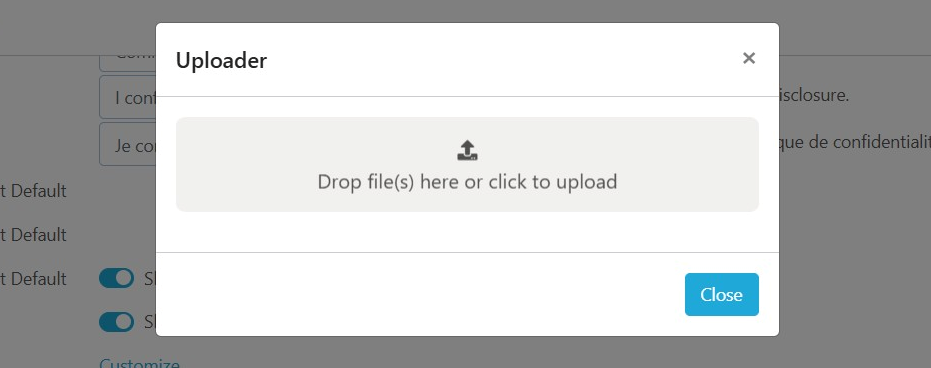
9) You will see a preview of your image once uploaded.
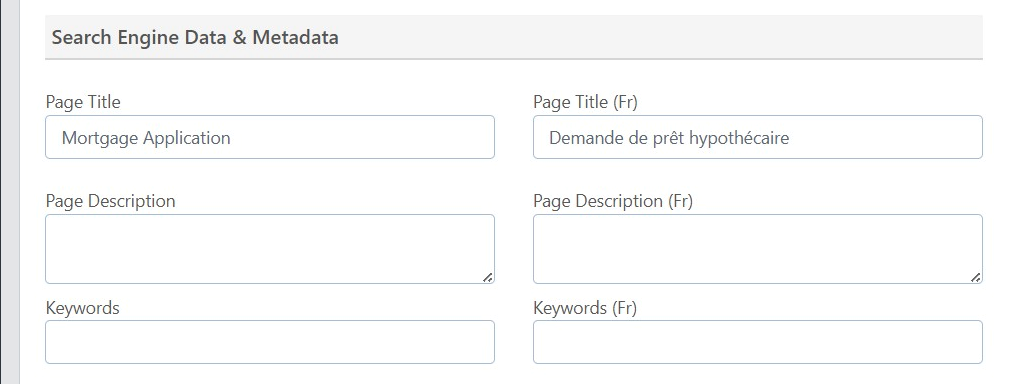
Search Engine Data & Metadata
In this section you can change the page title, add a description, and add keywords to help drive your application SEO. This is available in English and French.
Application Purpose Settings
This section allows you to toggle on or off different types of transaction requests your clients can make on the application portal. By default, Construction and HELOC are turned off, and Purchase, Renew & Refinance are turned on.
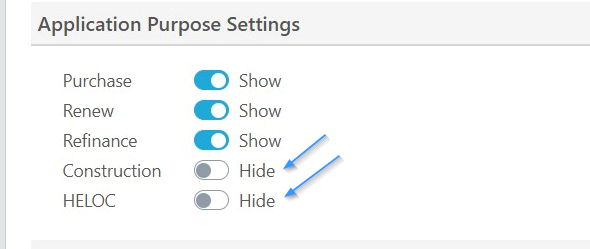
If you want your clients to be able to request a Construction mortgage, or a HELOC, you can turn these on. Conversely, if you don't want your client to be able to request a Renewal, you can turn that option off.
Application Settings
This next part customizes how your client sees and interacts with the application and the interview questions.
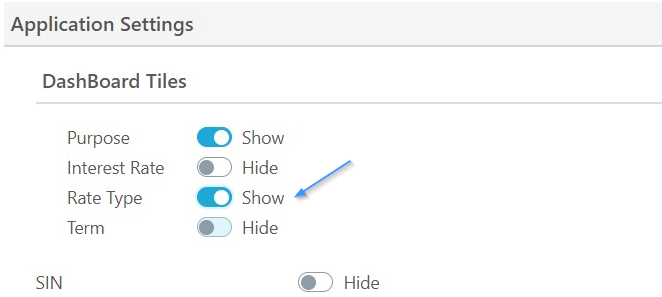
1) Under "Dashboard Tiles" you can select which features of the mortgage your clients see on their client portal dashboard. We never display the lender name on an application in process, and you can chose to show or hide the Purpose, Interest Rate, Rate Type, and/or Term. Simply toggle on or off to change the display.
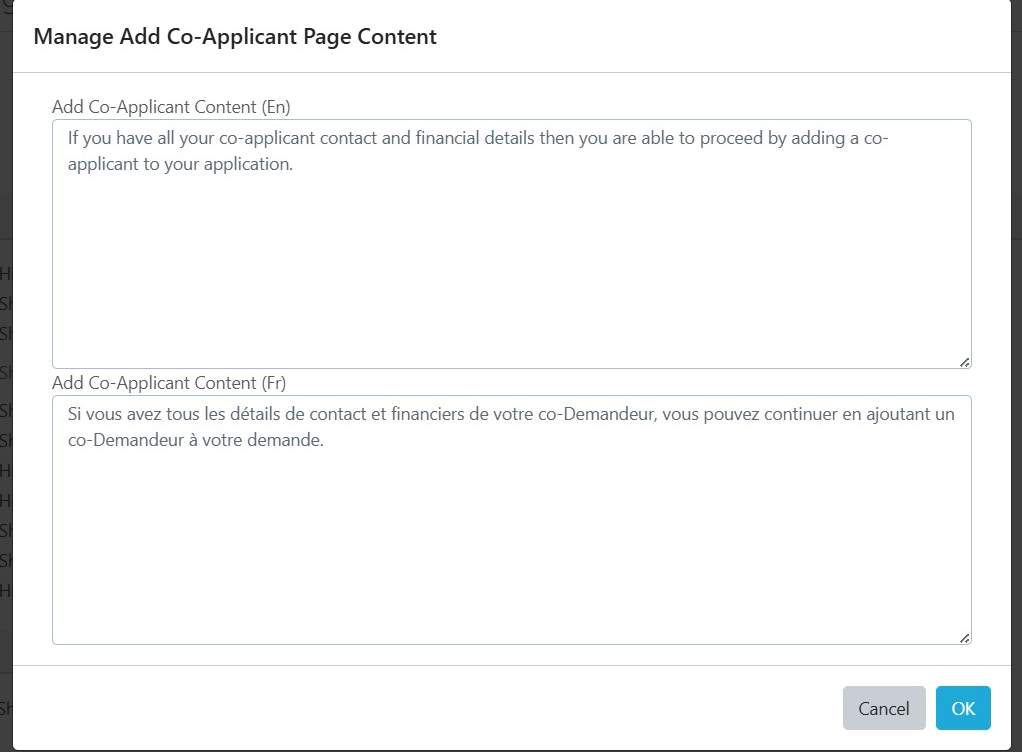
2) Below this you can toggle on or off the collection of the SIN number, and you can customize the wording that is displayed to explain the options to "Add Co-Applicant" or "Invite Co-Applicant". Click "Customize" to bring up the pop-up window.

3) Change the wording for this explanation in English, French, or both. Then click "Save".
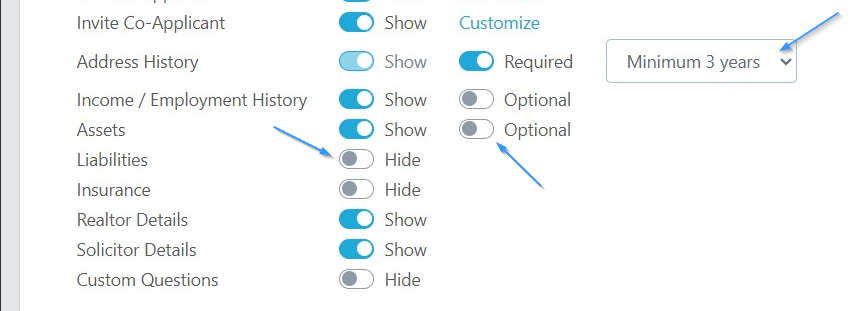
4) Below this you can change the application interview to include or exclude different sections. You can make sections required or optional, and you can change the minimum number of years for address history.
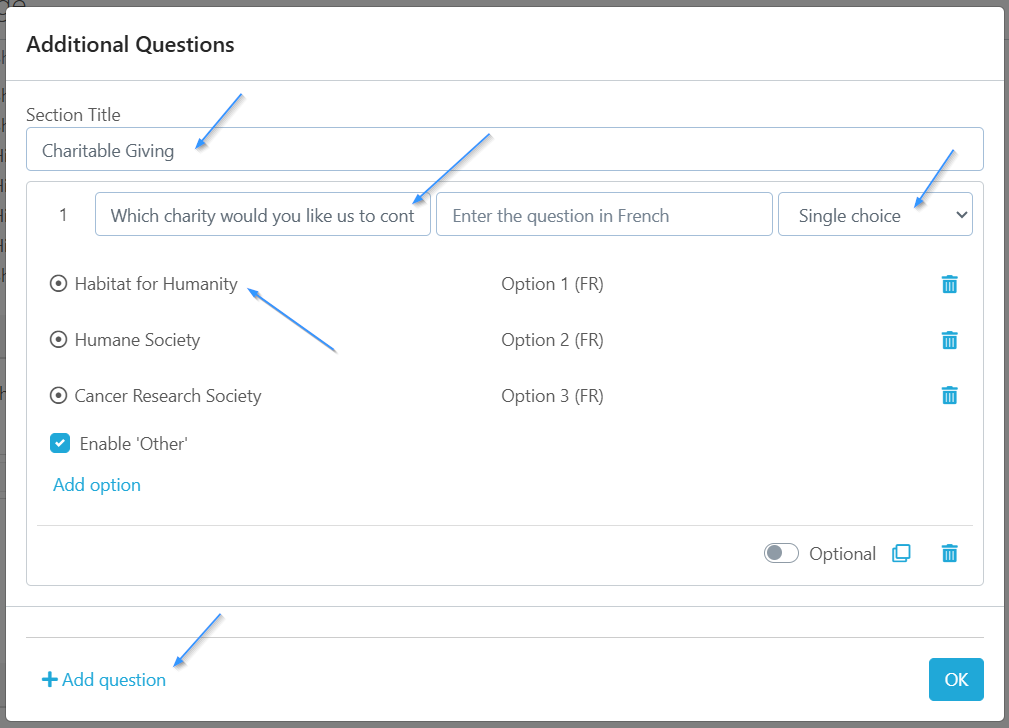
5) The last option in this section is for Custom Questions. This allows you to add any question that you would like to your application. Let's toggle this on to set our questions.

6) We can change the title of the section, click "Add Question" to add a question, and then enter the question and type of answer on the first bar. For a single or multiple choice type of answer, we also need to add answer options.
If I'm doing a charitable donation for all funded deals this month in honour of a loved one, or special event, I could add a custom question to allow my clients to direct the donation to a specific cause.
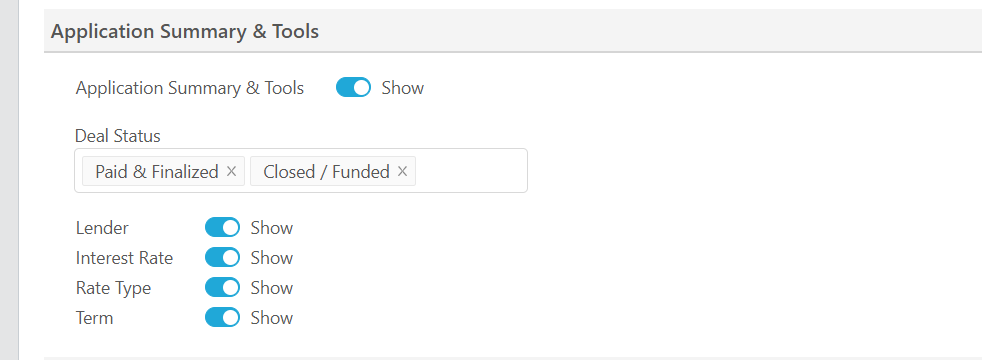
Application Summary & Tools
This section allows you to toggle on or off the application summary & tools. If turned on, you can specify which deal statuses are included, and which aspects of the mortgage are displayed (Lender, Interest Rate, Rate Type, Term).
Document Collection
1) To have Scarlett automatically request documents based on the client's application, turn on the toggle for either "In App Document Collection" or "Post App Document Collection".
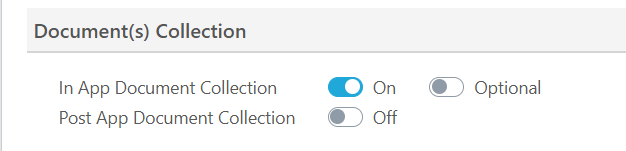
In App Document Collection means that your client will be brought to the document upload portal before submitting their application. Post App Document Collection allows your client to submit the application before they see the document request list.
Note that for the In App Document Collection option, making the documents required means that your client cannot submit the application unless all requested documents are attached. To give them the option to submit without attaching all documents, leave this as Optional.
2) You can set the document upload permissions to allow either the primary applicant to manage the documents for all applicants, or each applicant to upload only their own documents.
The subject property documents are always available to the primary applicant only.

3) To have the applicant prompted to connect their bank account and get the last 3 months of statements delivered to you via the Bank Statement connection, toggle on the "Upload Bank Statement(s) via online banking" option.
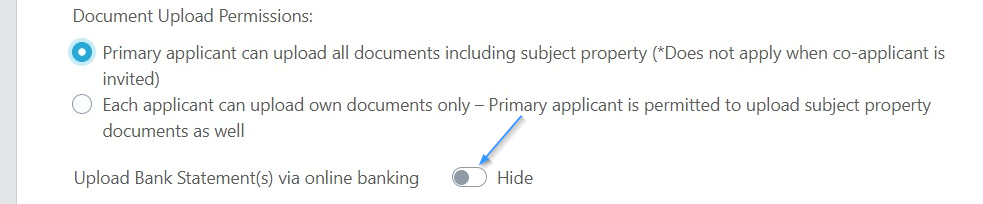
Note that this option is a paid service.
My Profile
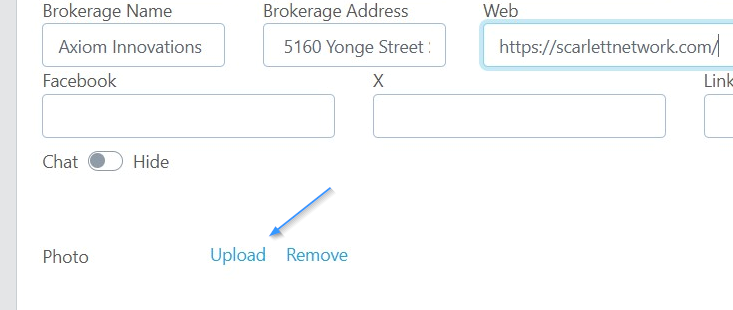
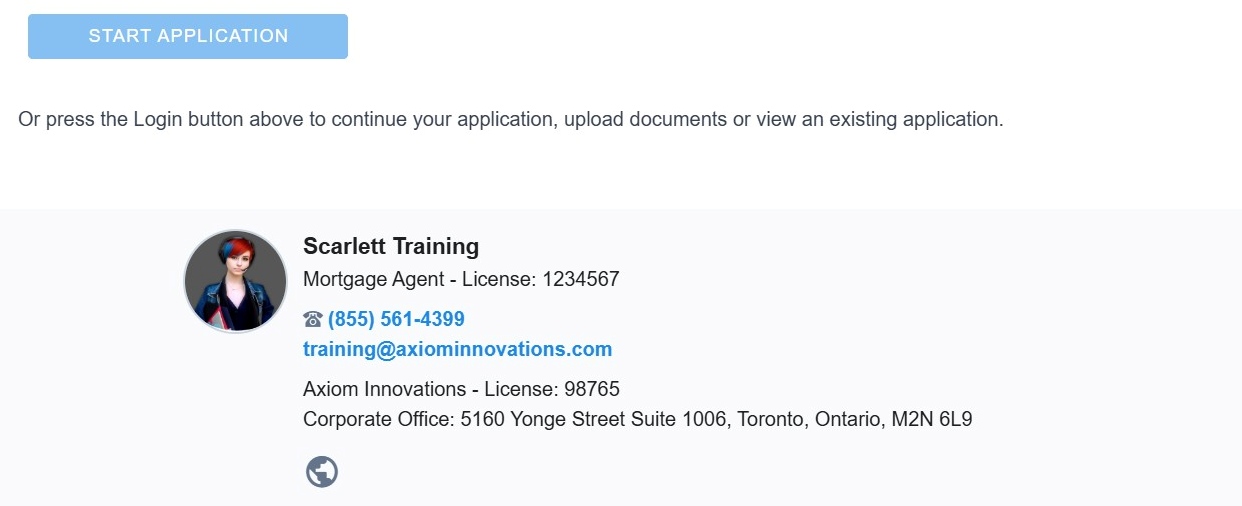
1) Complete the My Profile section with your name, title, contact information, license number(s), brokerage information, and social media links.

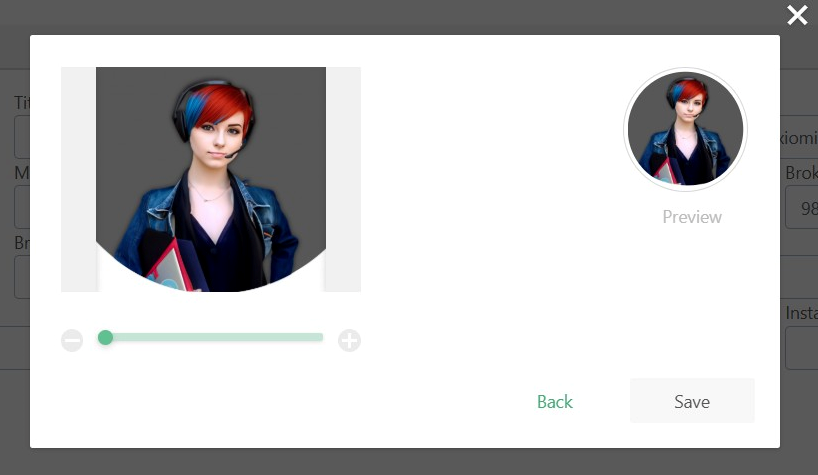
2) Add your picture to your application by clicking "Upload" in this section.
3) The upload pop-up will appear, allowing you to choose and size your photo.
4) Remember to preview your mortgage application so you can make sure that your profile looks correct.
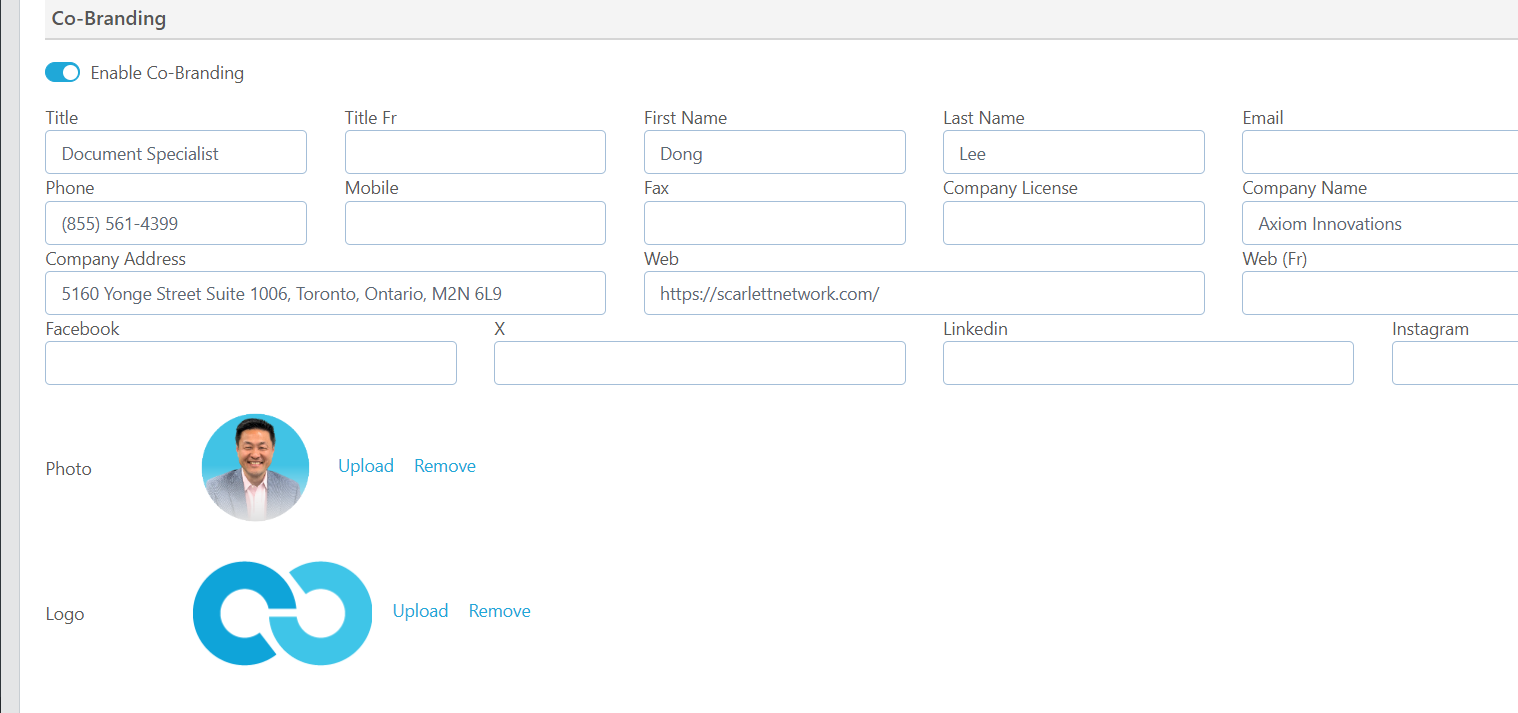
Co-Branding
This section allows you to add another person to your application portal display. This could be your underwriter or assistant, or if the link is going to be used by a referral partner you could enter their information here to be displayed on your application portal.
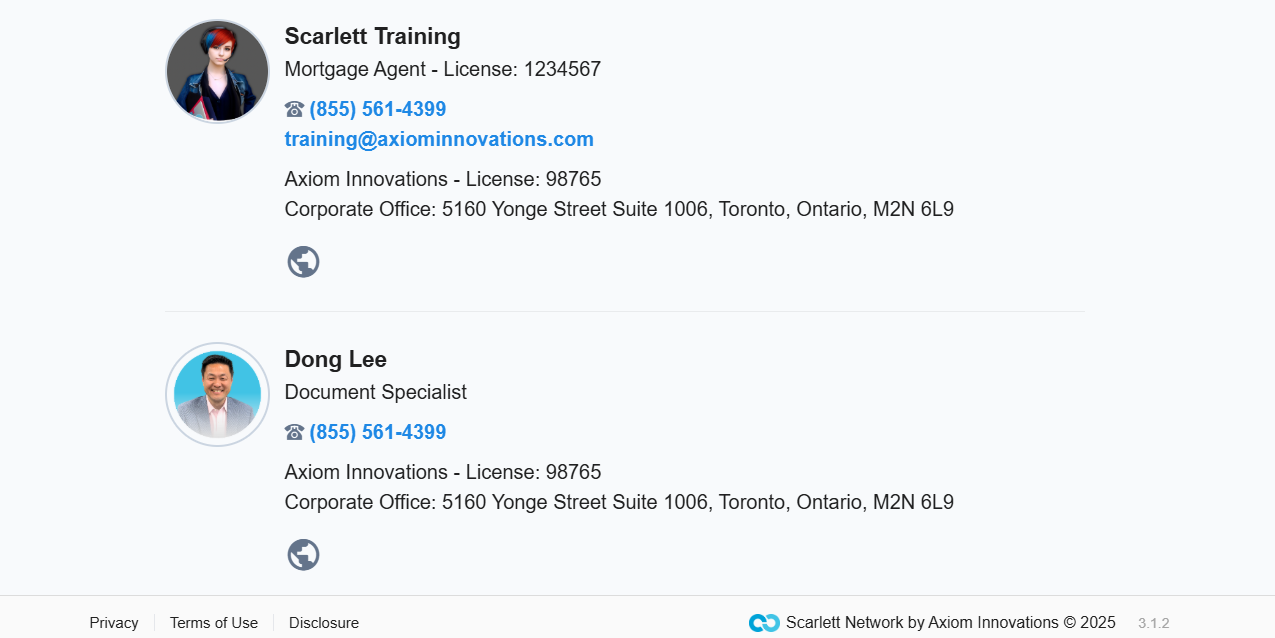
1) Simply toggle on "Co-Branding" and fill in the information of the other person.
2) Be sure to preview your application to be sure their information looks correct.
Scarlett Tips
Multiple application links?
You can have more than one application link. You may want a second link that is co-branded with a referral partner, or an event you are sponsoring.
You may want multiple links that look the same, but can be tracked separately so you can embed one in your website, one in your email, and one on your social media. That will allow you to see where leads are converting from.