Organize Files & Documents
This guide provides step-by-step instructions for organizing and documents in Scarlett Mortgage. It covers navigating to the system, creating folders, and moving files. If you need to efficiently manage documents in the Scarlett system, this guide will help you streamline the process.
Video Walkthrough
Step-by-Step Guide
Create a Document Folder & Move Documents
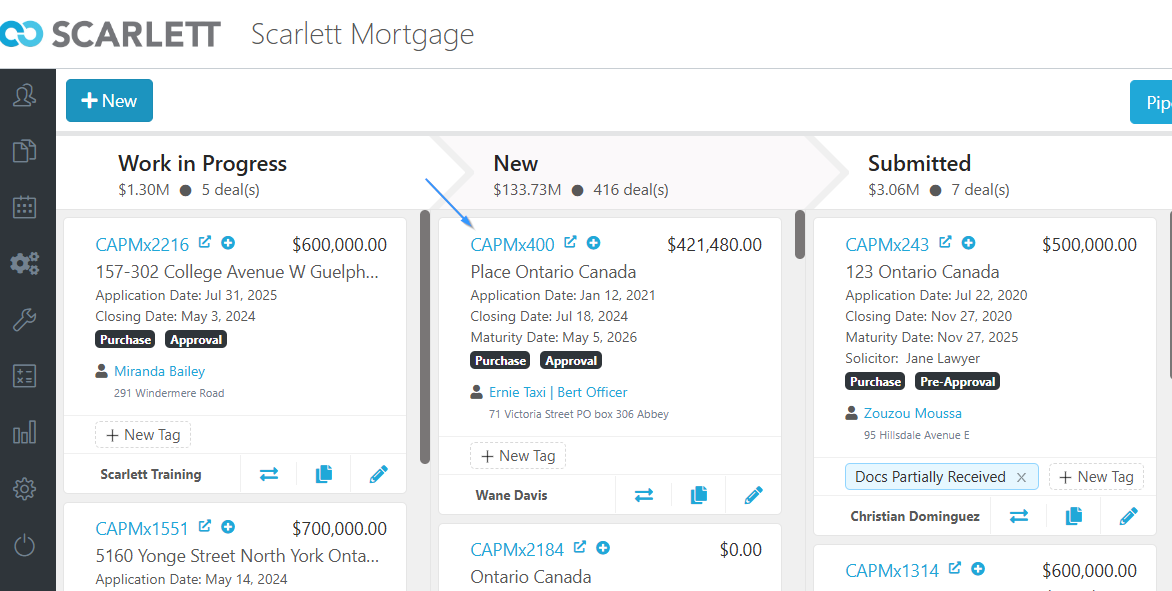
1) Click on the deal you want to edit in the Deal Dashboard. Here we will choose Deal # 400.
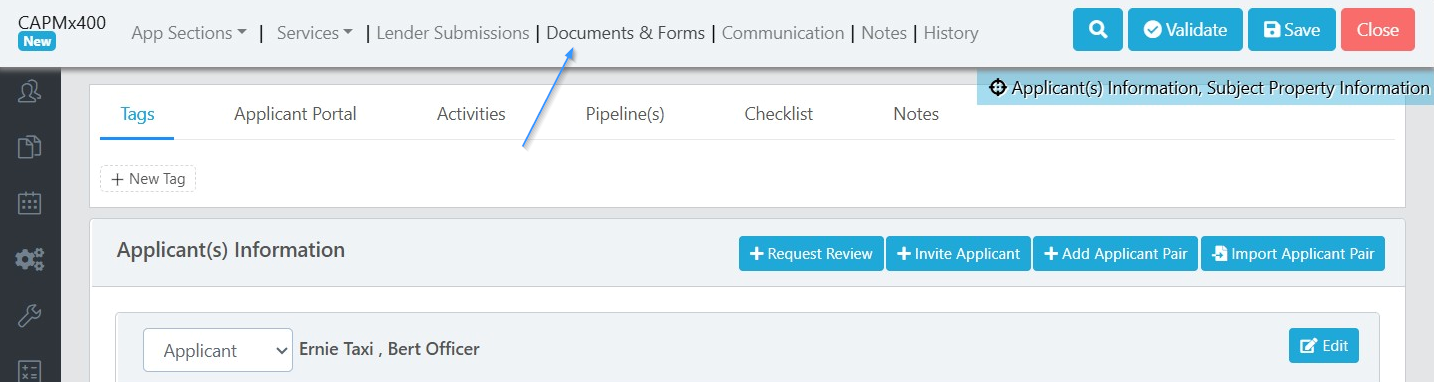
2) Next, go to the upper menu and select "Documents and Forms"
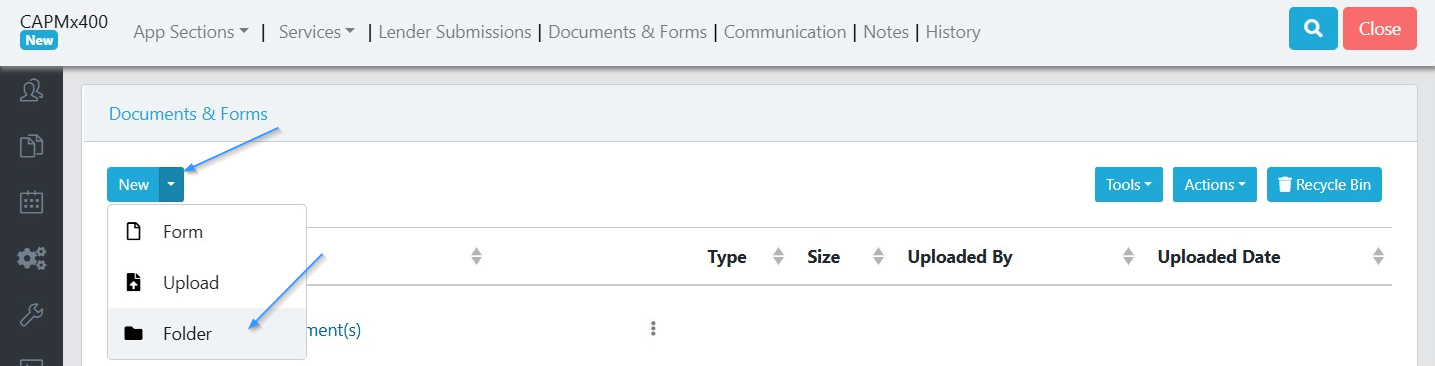
3) Click on "New" and create a new folder
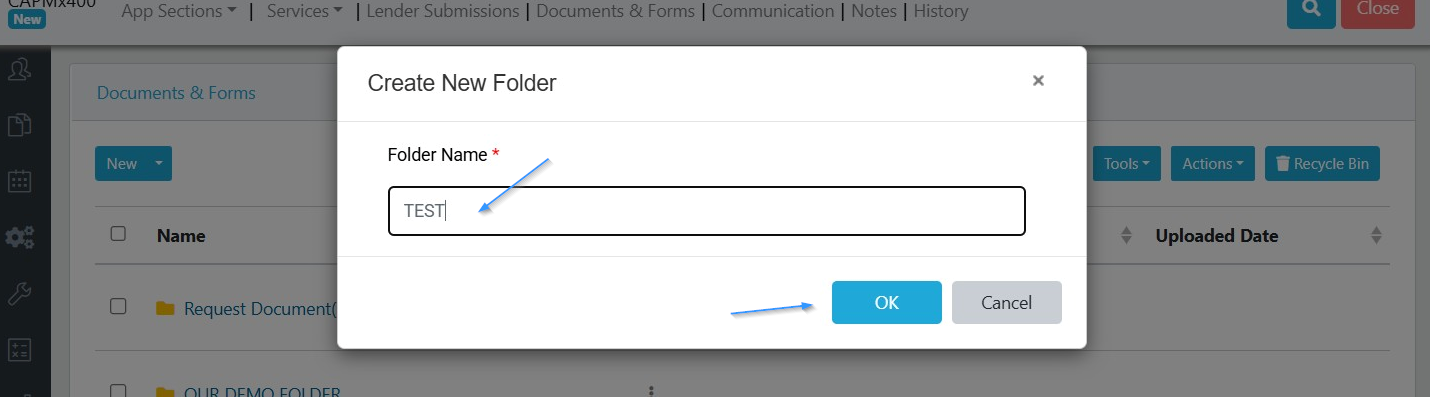
4) Name the folder and click "OK". Here we will name it "TEST".
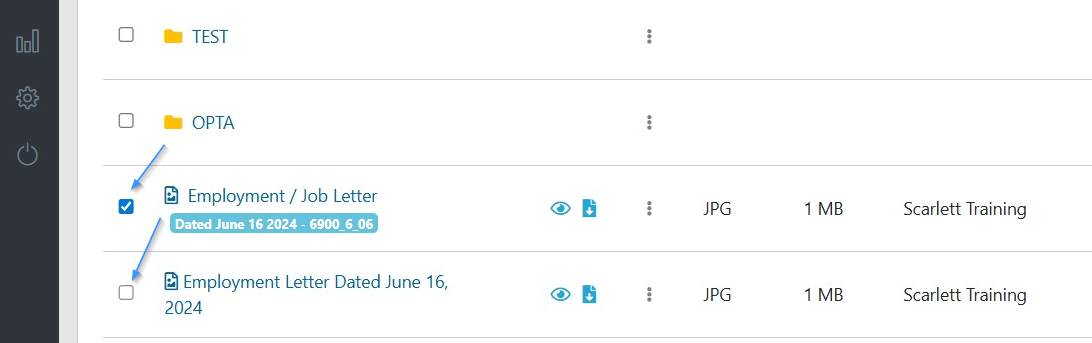
5) To move documents to the folder, click on the tick boxes next to the documents you want to move.
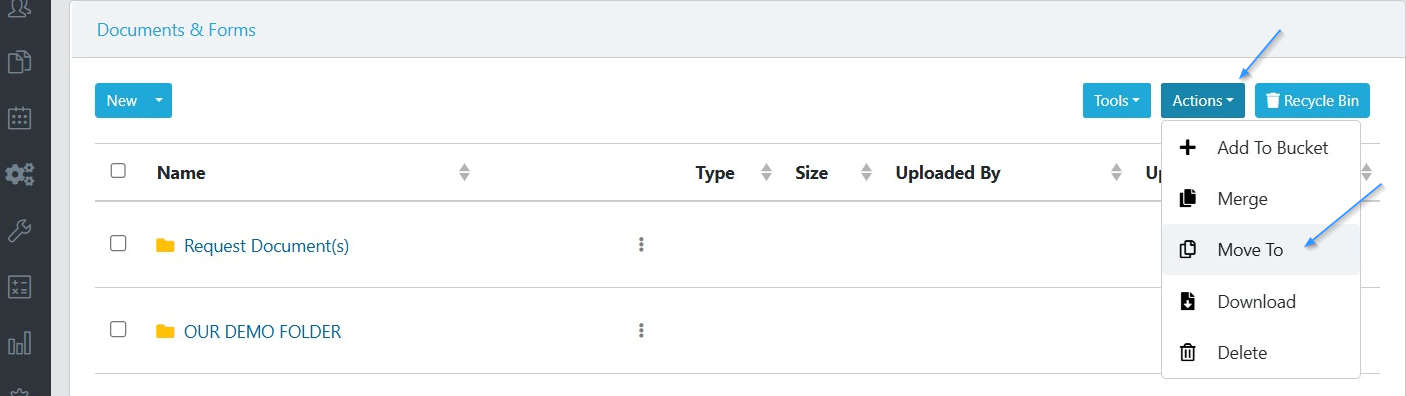
6) Then, click the "Actions" dropdown and click "Move To".
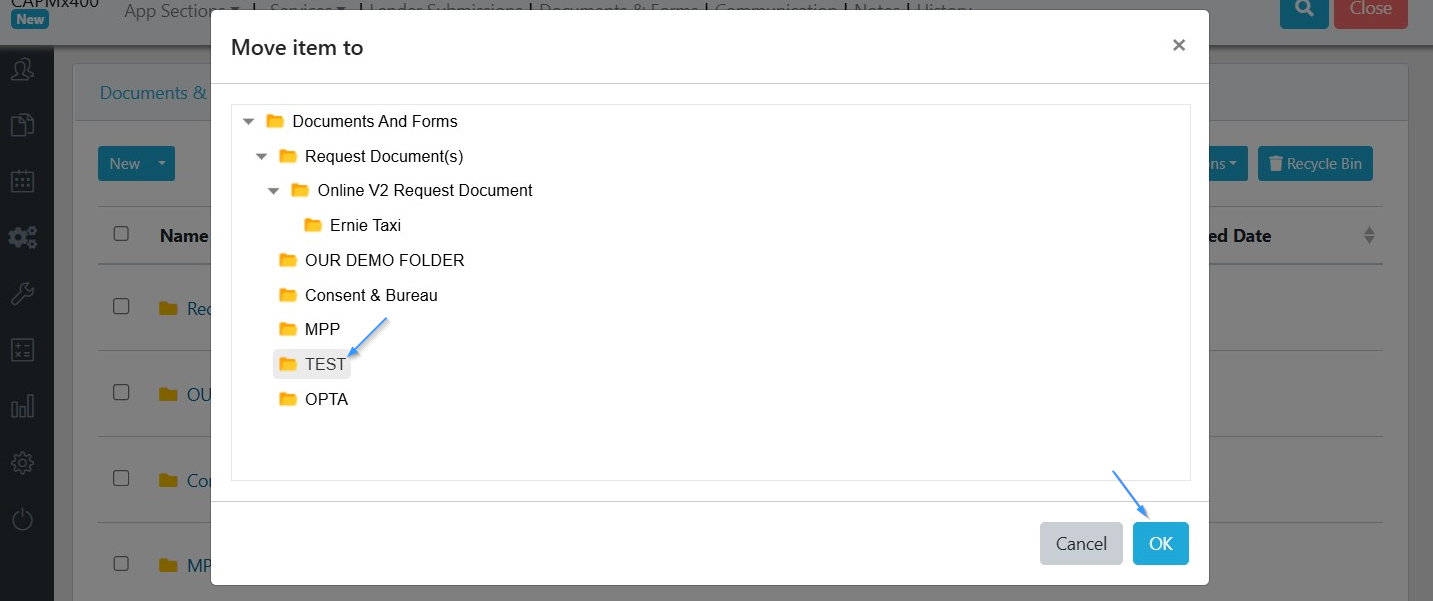
7) Select the folder you want to move the documents to. We will select our "TEST" folder and click "OK".
8) Click on the folder to open it.
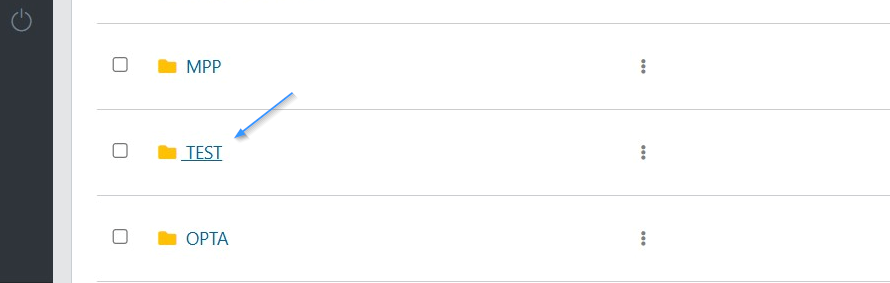
9) The documents you selected to move will show within the folder.
Now you have created a folder and organized your documents within the folder
Documents from the Applicant Portal
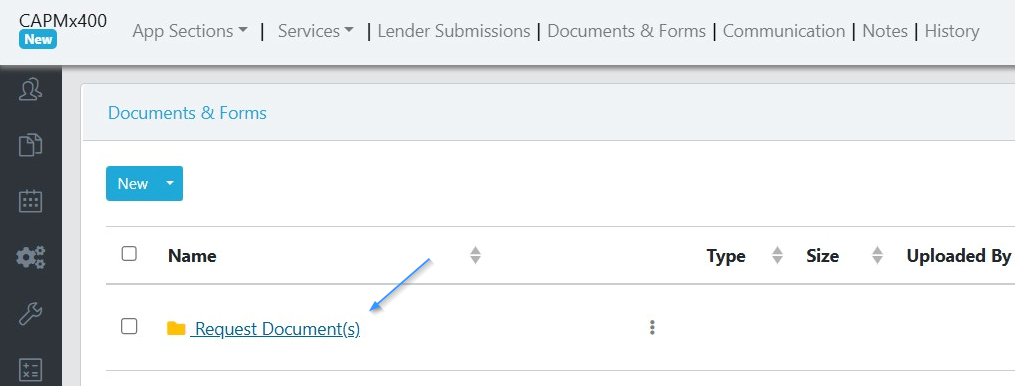
Documents that were uploaded to the applicant portal are stored by default in a folder called "Request Document(s)".
Inside this folder is another folder called "Online V2 Request Document"
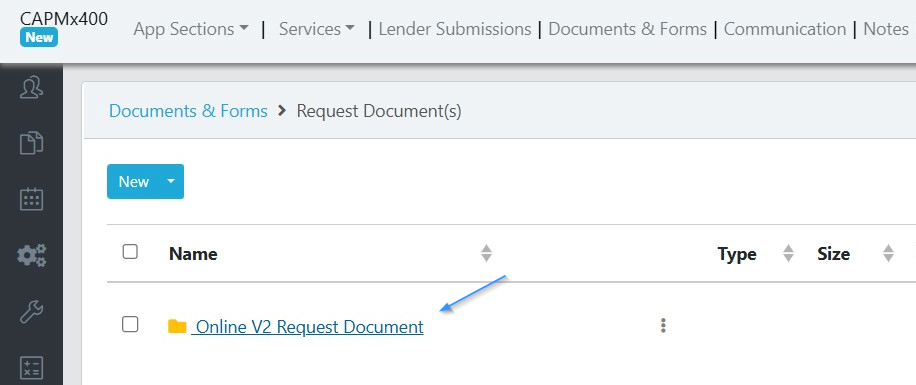
Within this folder will be subfolders: one for each of the tabs in the Applicant Portal (subject property, and each applicant). These subfolders are created when a document is uploaded into that section for the first time.
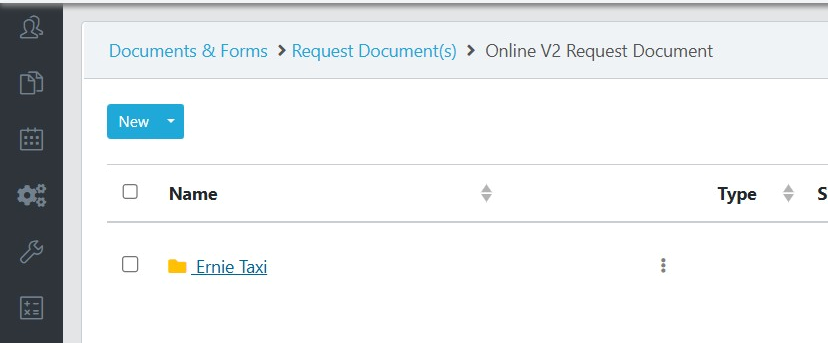
In our example here, we have a folder for the applicant Ernie Taxi because Ernie uploaded his ID. When documents are uploaded that belong to our other applicant, Bert, or to the Subject property, the subfolders for these will be created automatically as well.
Moving documents from these default folders will not disconnect them from the applicant portal. If a different organization strategy makes more sense for you, you can move these documents as you see fit.
Categorizing & Labelling Documents
Our document does not have a very descriptive name. Lets update this.
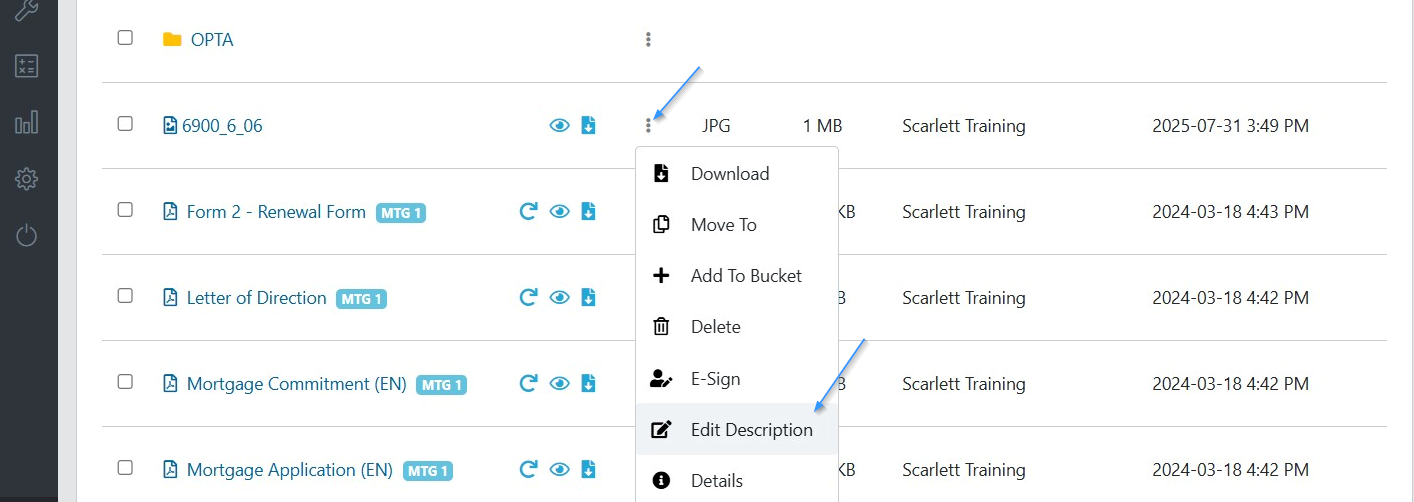
1) Click on the three dots next to the file, and select "Edit Description".
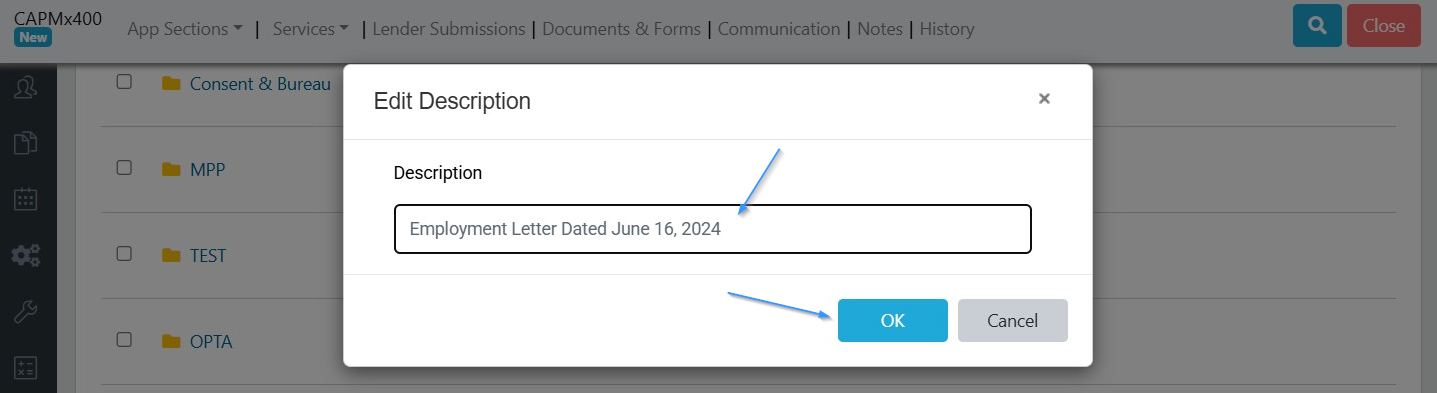
2) Enter your new file name and click "OK".
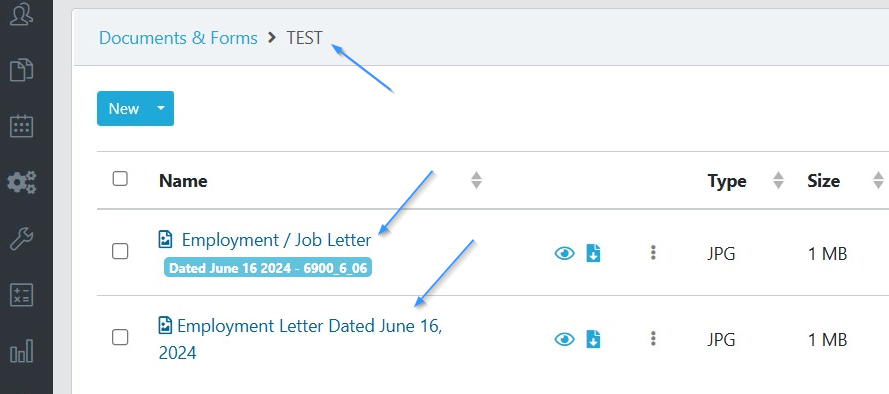
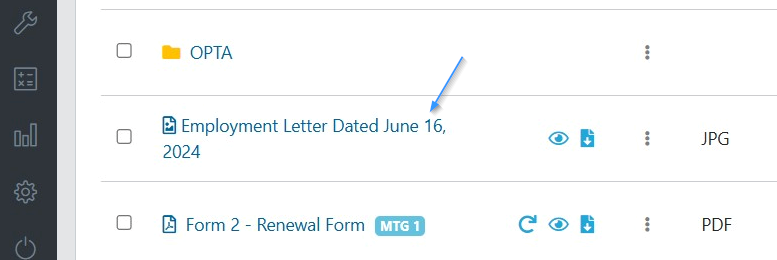
3) You can see the updated file name here.
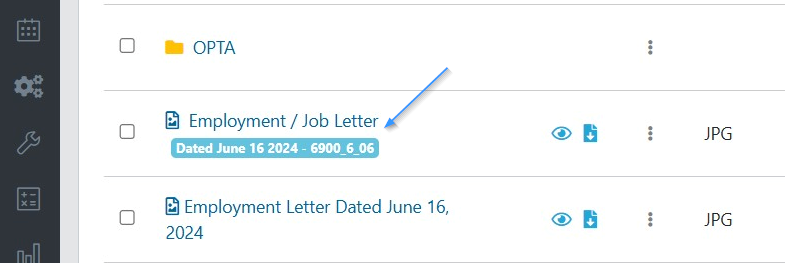
4) When uploading a document we have the option to add a document type and notes. Lets upload our document again, and this time enter the document type as "Employment / Job Letter" and enter the note "Dated June 16, 2024".

5) Here you can see our newly uploaded document shows both the document type, and the notes we entered.
Deleting a Saved Document
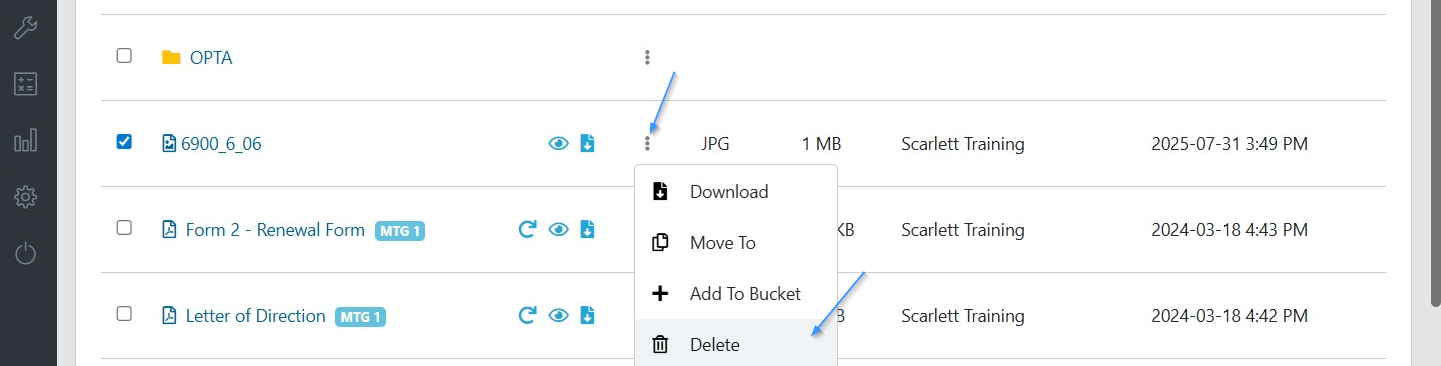
1) To remove a document, click on the three dots in the document column and click delete
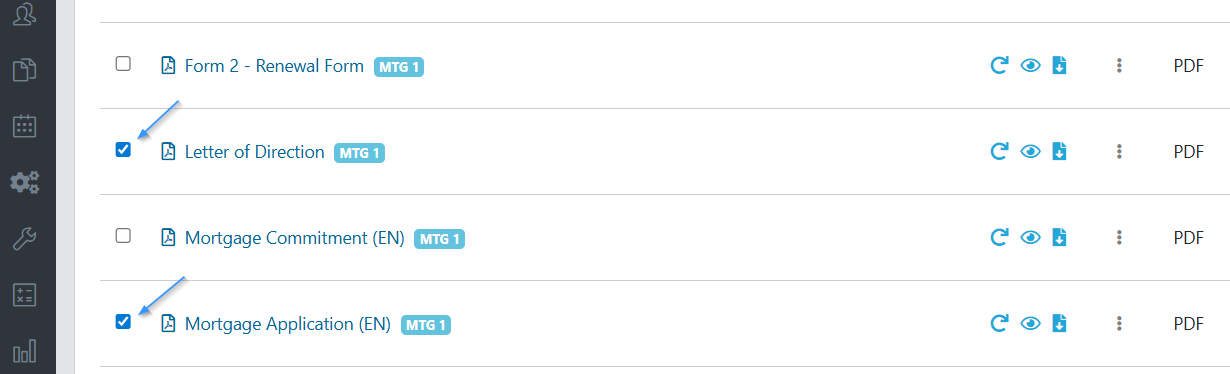
2) Alternatively, you can delete multiple files by clicking the checkboxes next to the files you want deleted
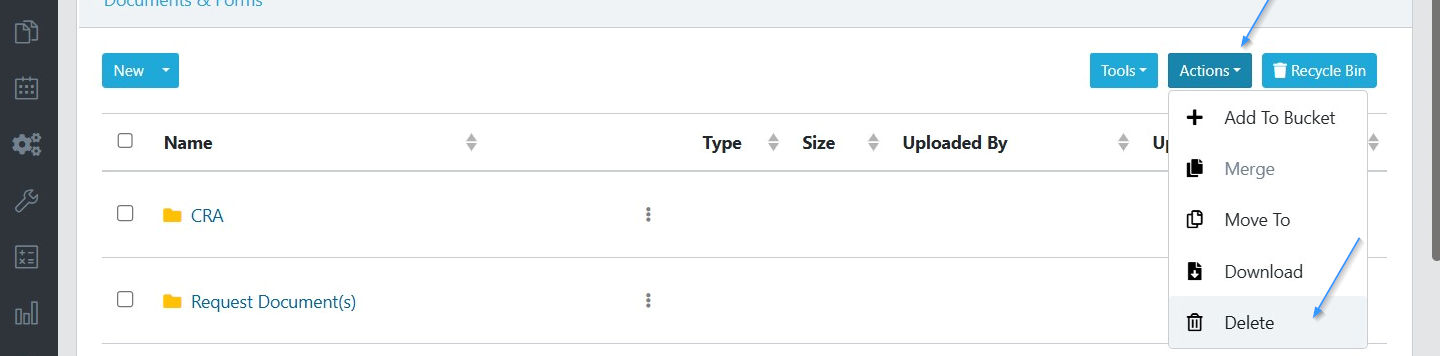
3) Then go to Actions and select delete.
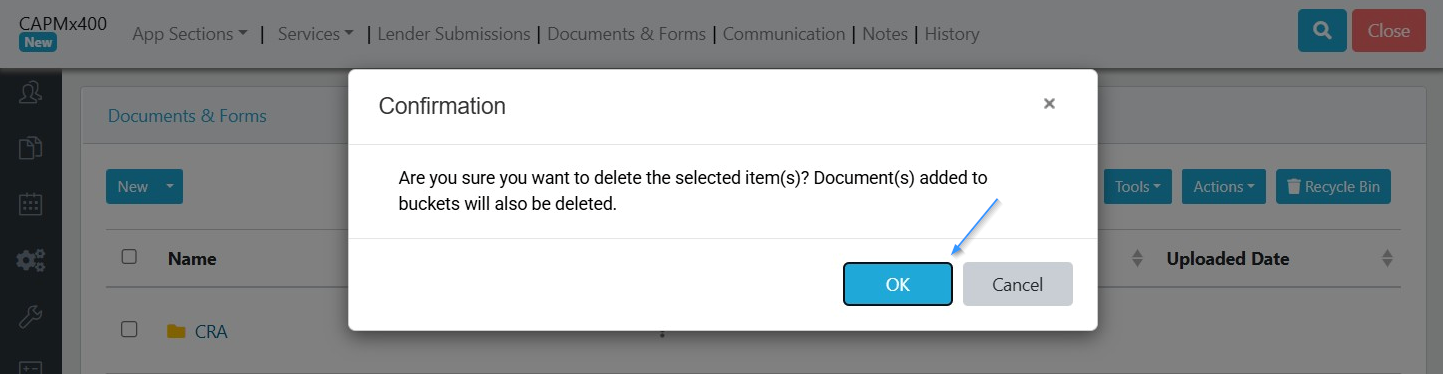
4) Both of these open a new popup window asking you to confirm if you want to delete the selected items. Simply press "OK" and they will both be deleted.
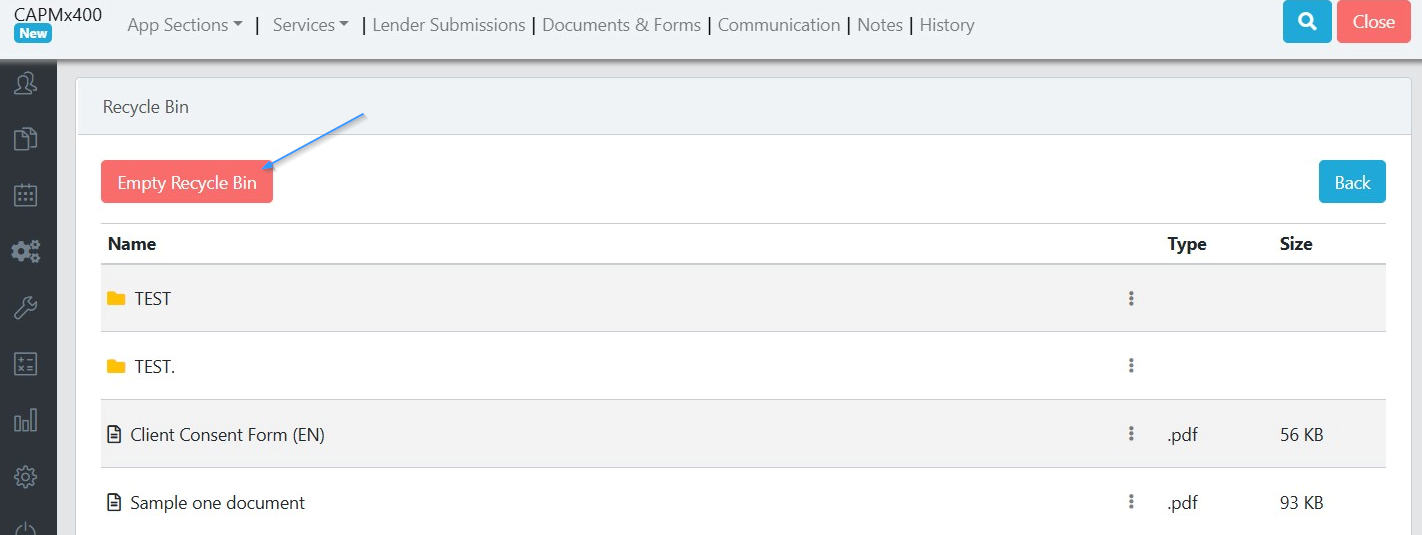
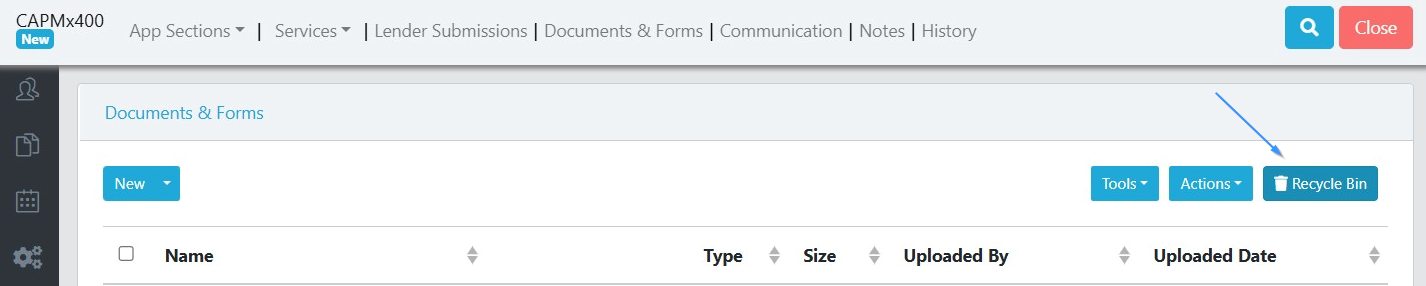
5) Pressing delete moves the document to the Recycle Bin. This Recycle Bin is a failsafe in case you accidentally delete a document which you didn't want to. You can get to the Recycle Bin by clicking the blue button in the top right part of the screen.
6) In the Recycle Bin you can view everything which you had decided to delete
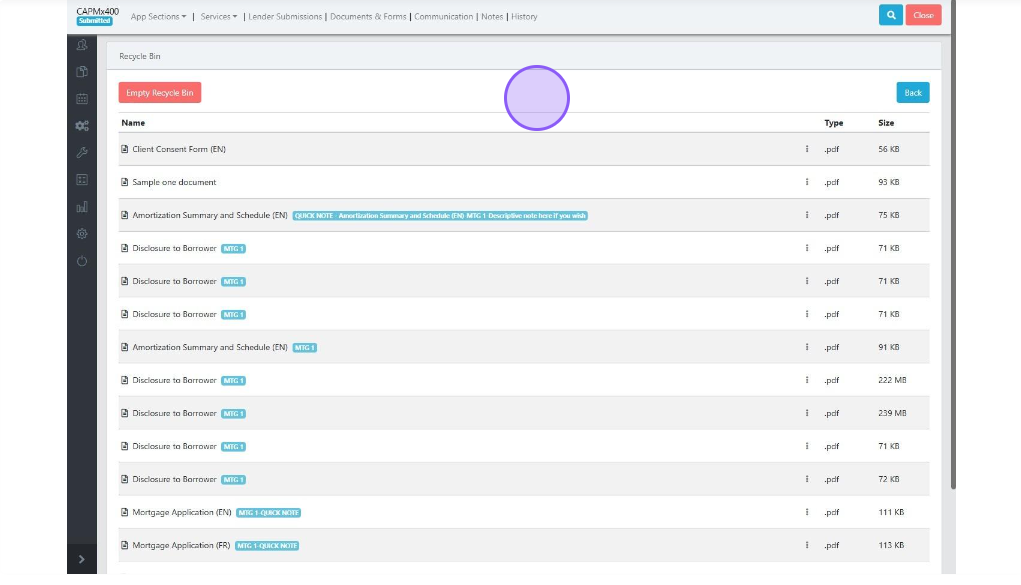
7) To permanently delete these documents you can click "Empty Recycle Bin".