
Sending Documents from Scarlett Mortgage
Scarlett Mortgage has the ability to send documents securely to lenders (pending their connectivity) and also to third parties. This guide will walk you through the two different ways of sending documents outside the system.
Video Walkthrough
Step-by-Step Guide
Sending Documents to Lenders
Some lenders are set up to receive documents direct from submission platforms. You may or may not see this option within your deal, depending on the lender.
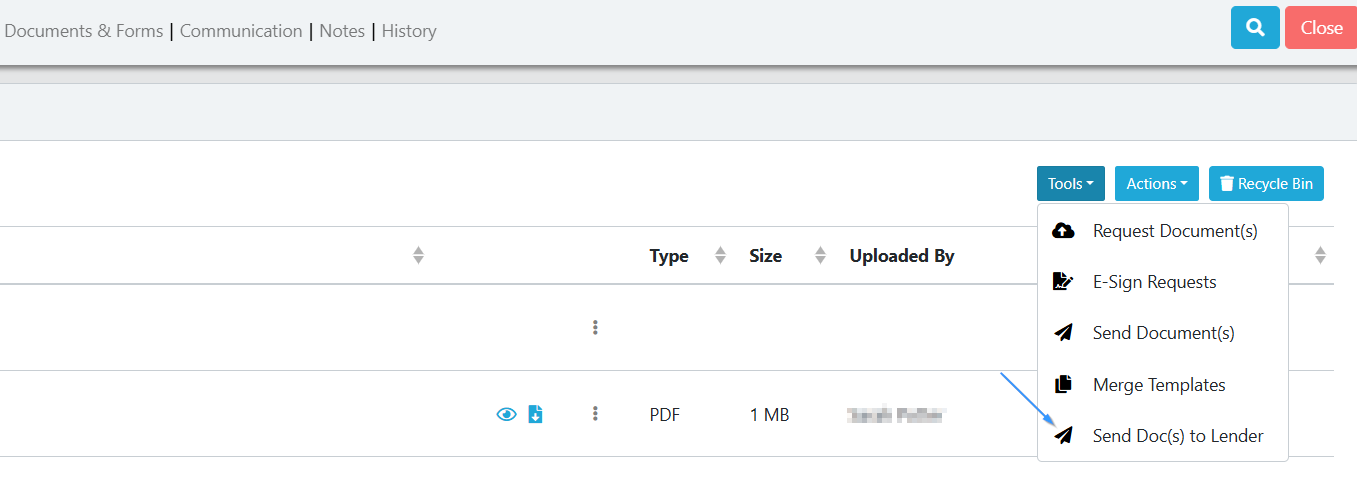
1) From within Documents & Forms, click on Tools and select "Send Doc(s) to Lender"
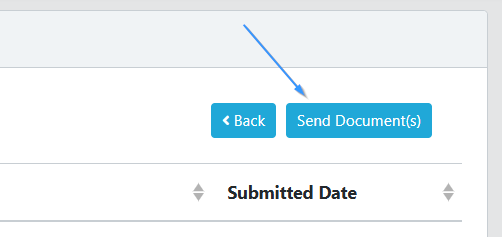
2) Click "Send Documents"
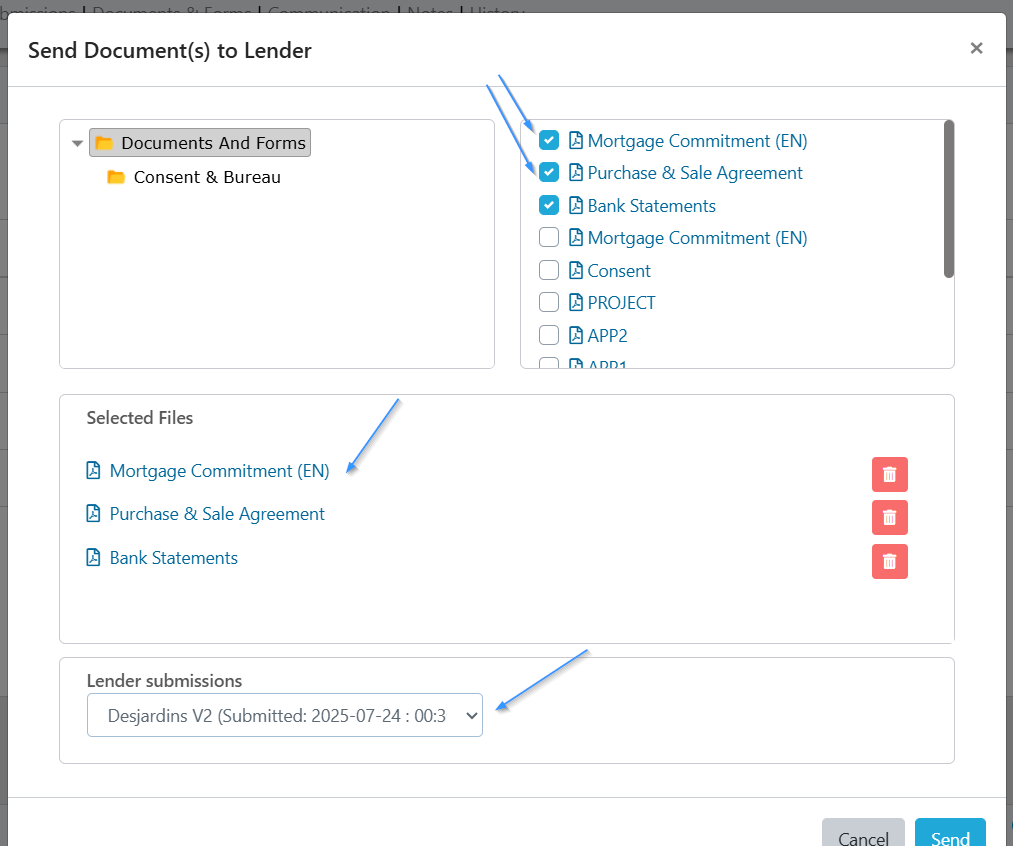
3) Select any/all documents you want to send to the lender, and then select the submission you want to attach the documents to.
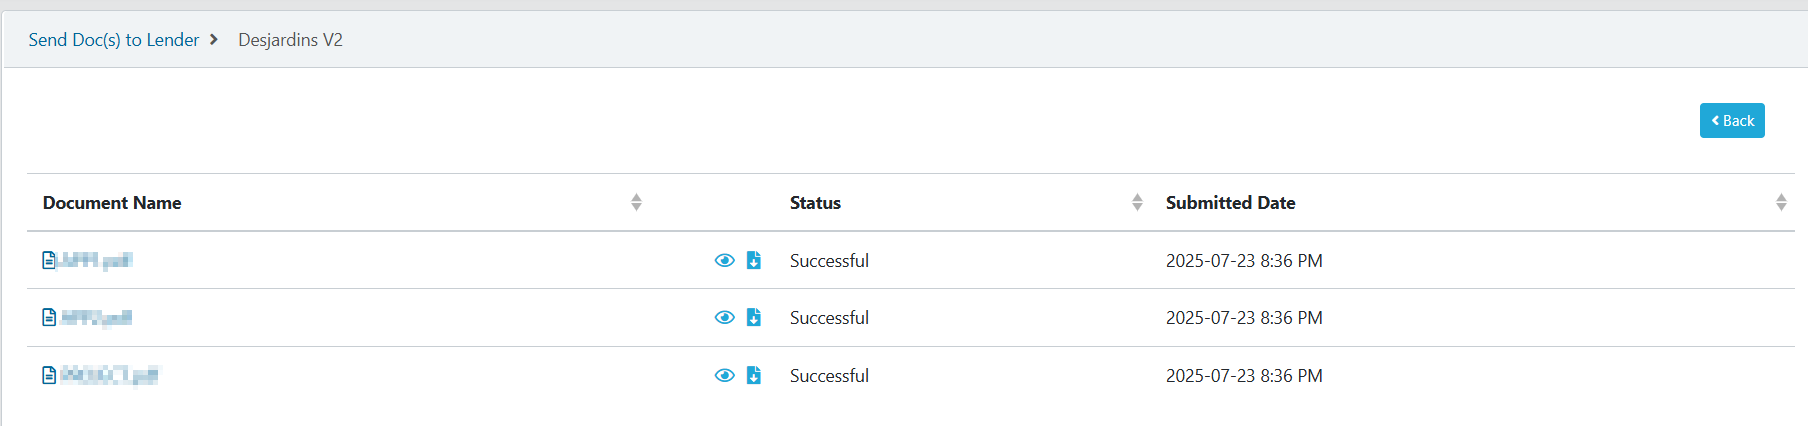
4) When you click the "Send" button, the document folder will appear under the history. The status will initially say "queued". Depending on the size of the documents being transmitted, it can take several minutes to send. Refresh your page to see the "Successful" message.

5) You can check the status of individual documents within this folder, or double-check which documents you have already sent to the lender.
This is how you send documents securely through Scarlett Mortgage to lenders.
Sending Documents to Clients & Third Parties
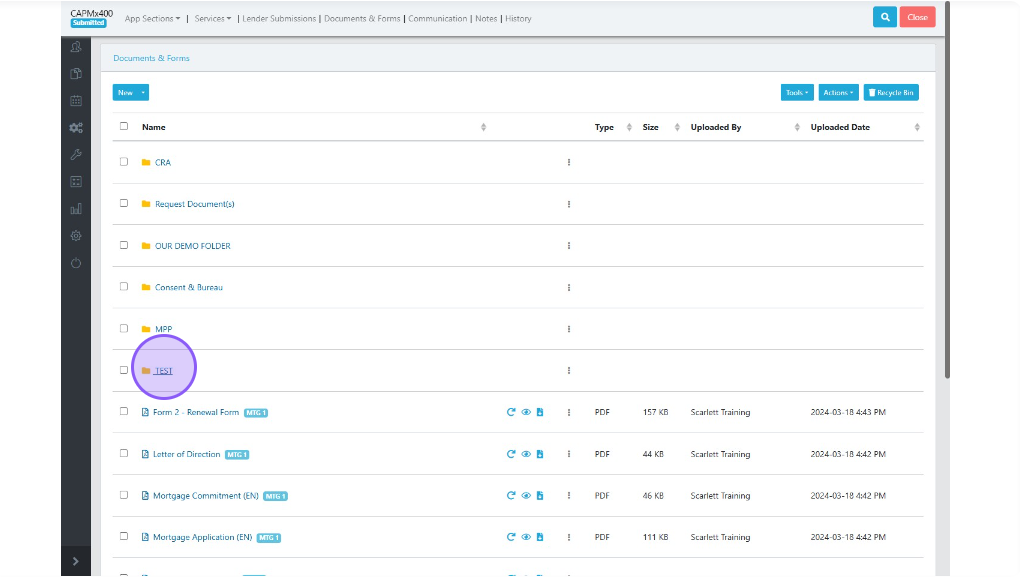
1) Now let's look at how to send documents in our documents and forms page. Let's select some documents out of our test folder to send.
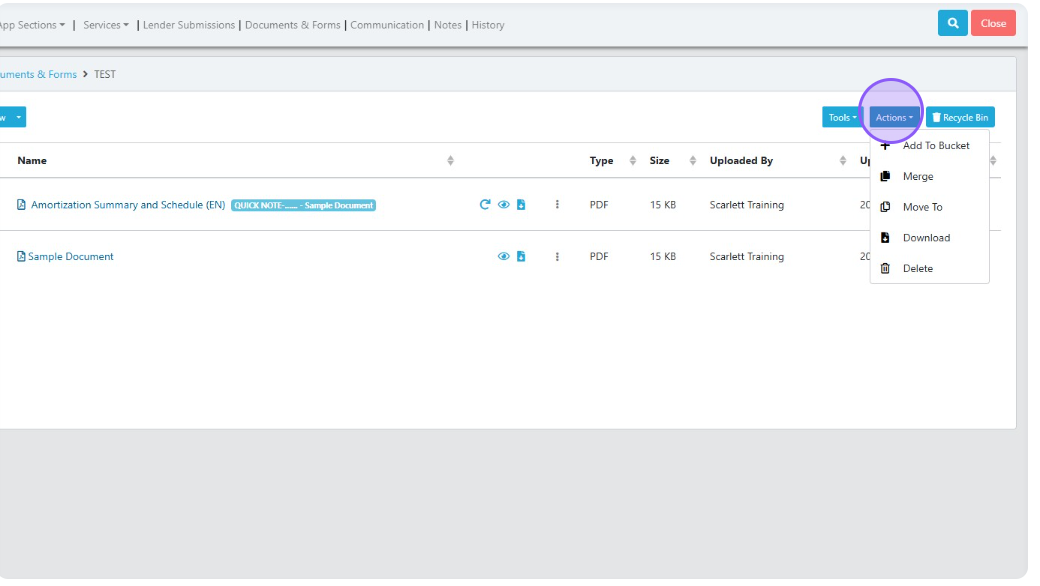
9) After selecting the documents you want to send, click the "Actions" button and click "Add to Bucket"

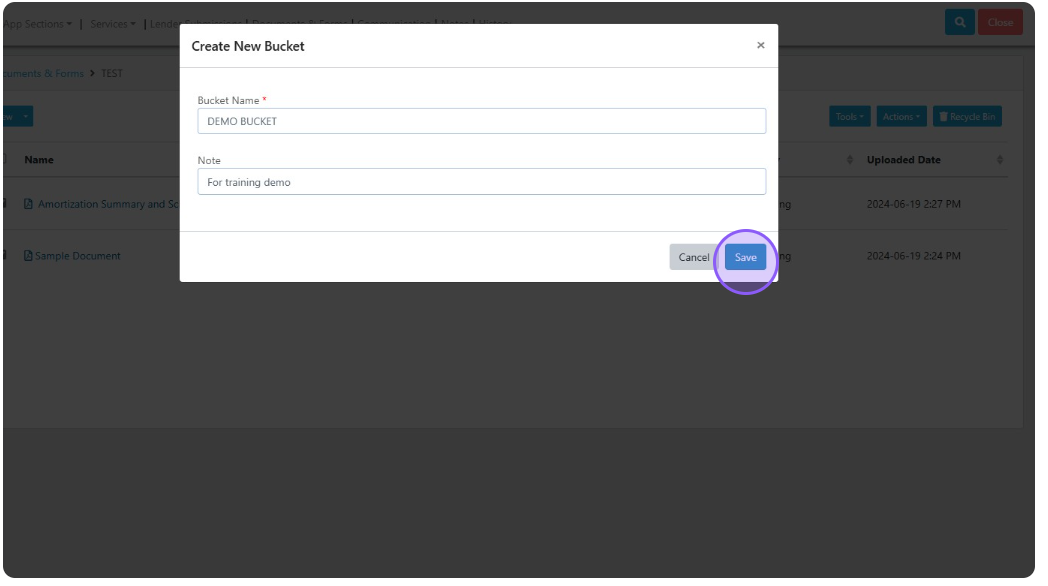
10) If you haven't created a bucket before you will need to create one. To do this simply click on "Create Bucket" which will open a new pop-up window.

11) Here we can give the bucket a name as well as adding notes to detail what the bucket is for. Click "Save" when you are finished.
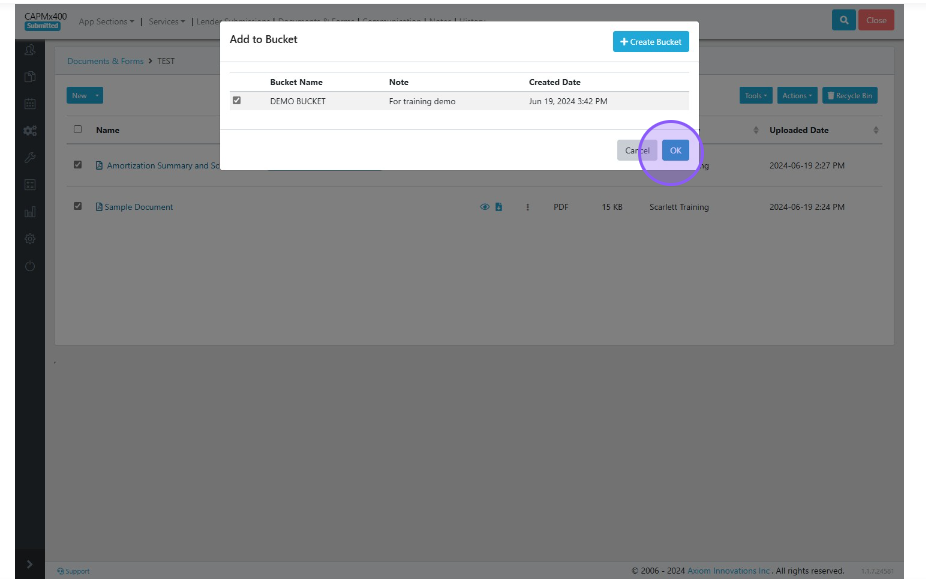
12) Select the tick box beside our new bucket and press "OK"
13) In the new pop-up window, you can see the contents of the bucket
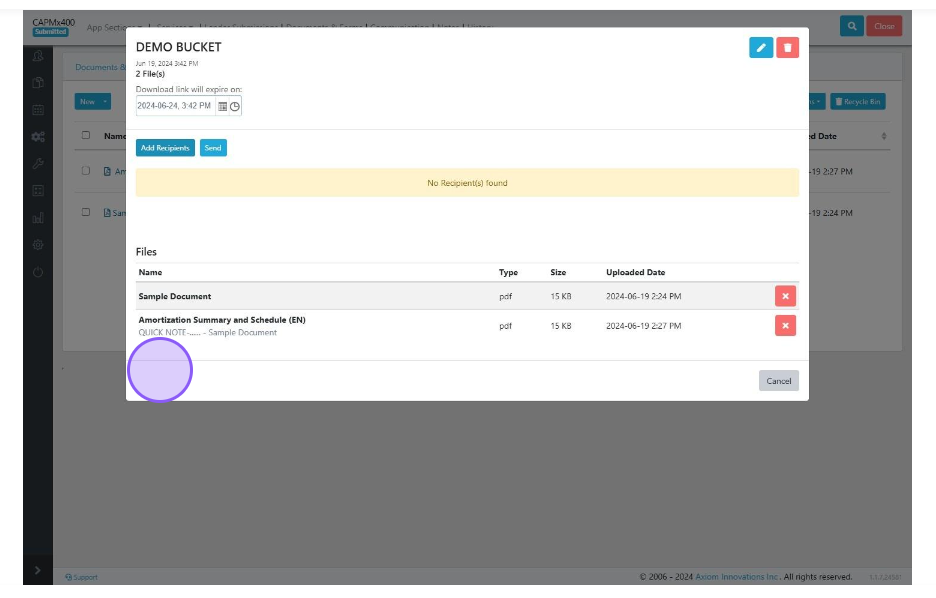
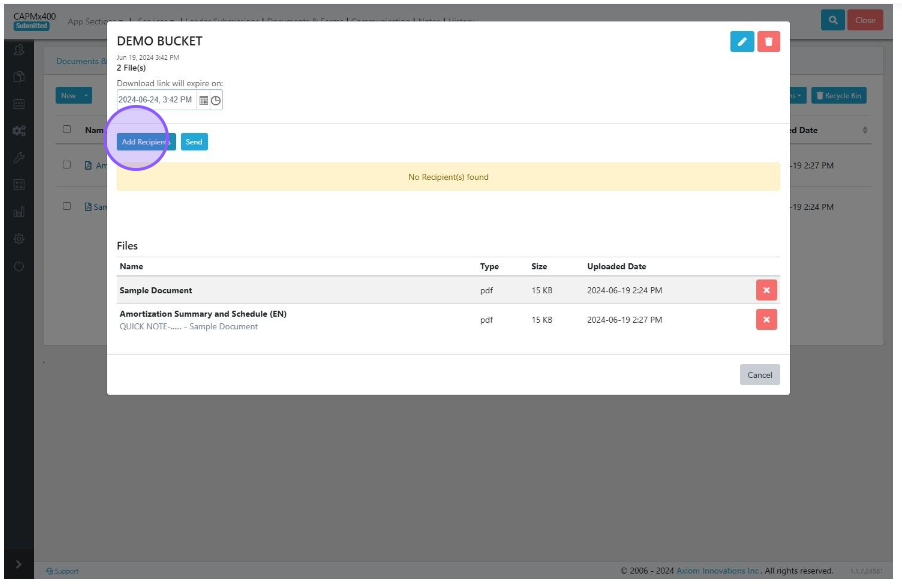
14) In this pop-up, you can add recipients to the bucket and delete contents within the bucket. Let's add a recipient by clicking on the blue "Add Recipients" button.
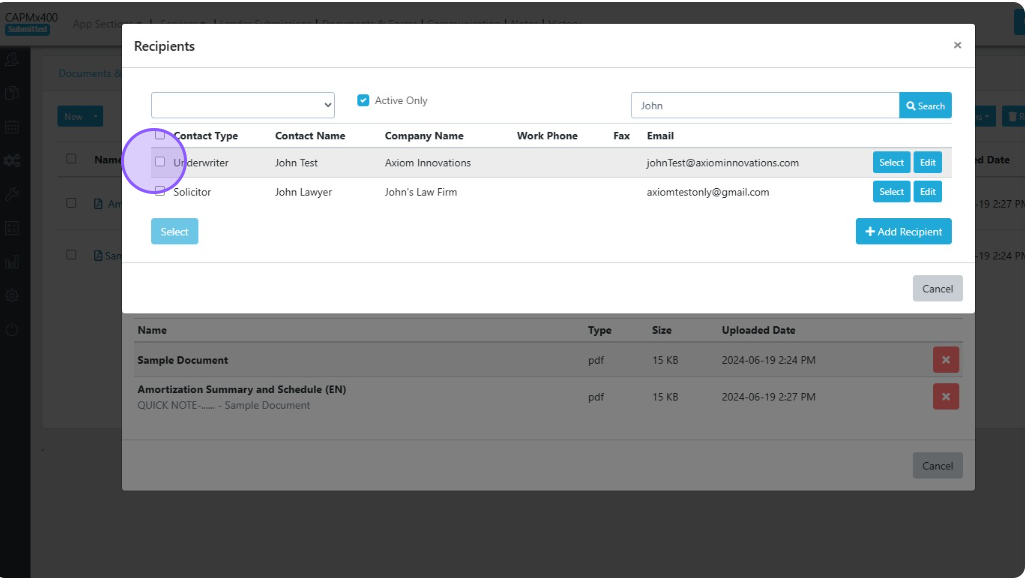
15) This will load in a new pop-up menu. In this menu you can choose a recipient by searching their Name, Phone, or Address. You can also select a recipient or filter by active recipients only.
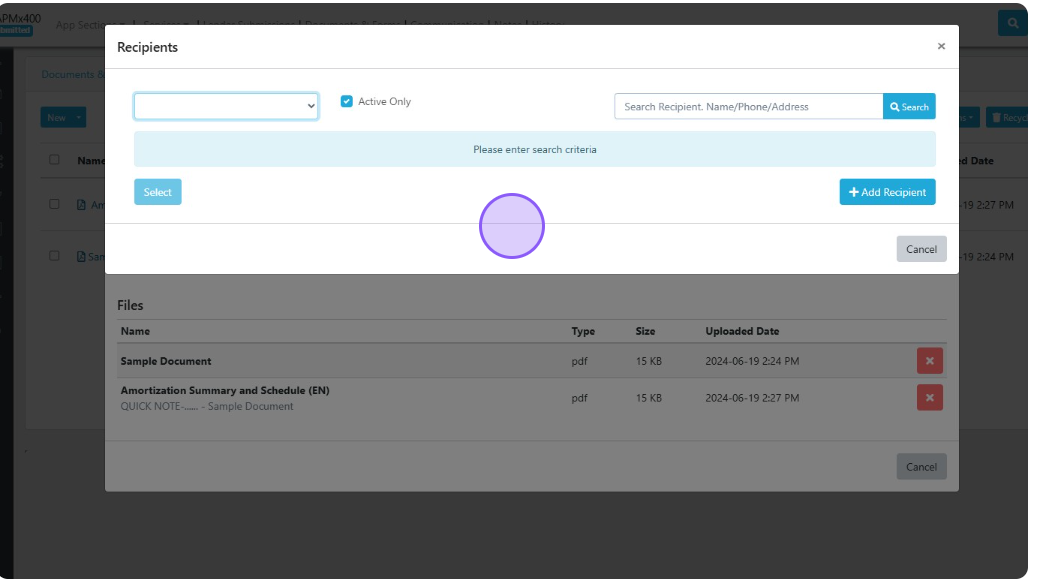
16) For example, let's search up John
17) You have the opportunity to edit this new pop-up by pressing edit on the top right or deleting the bucket altogether
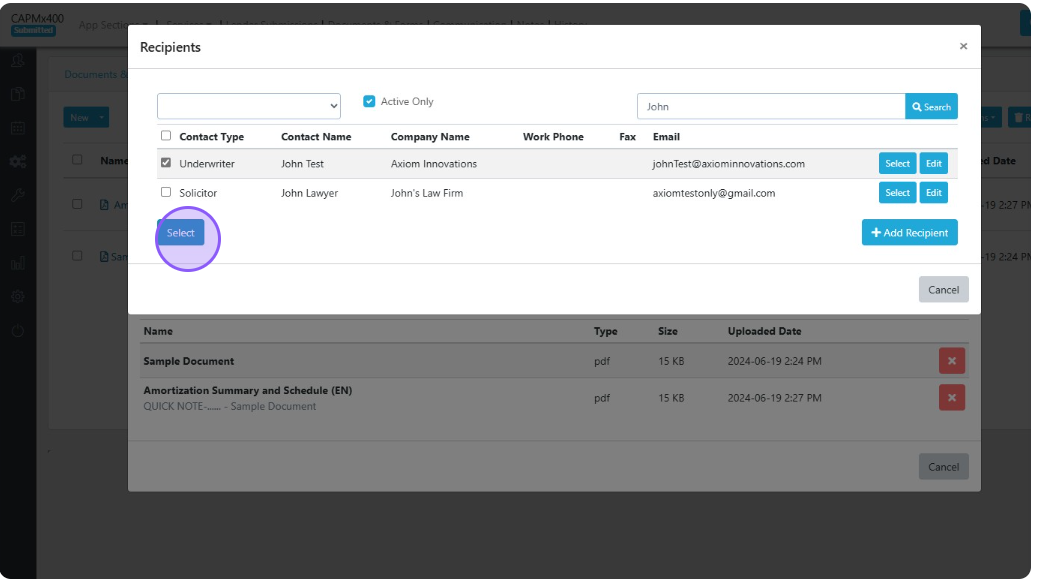
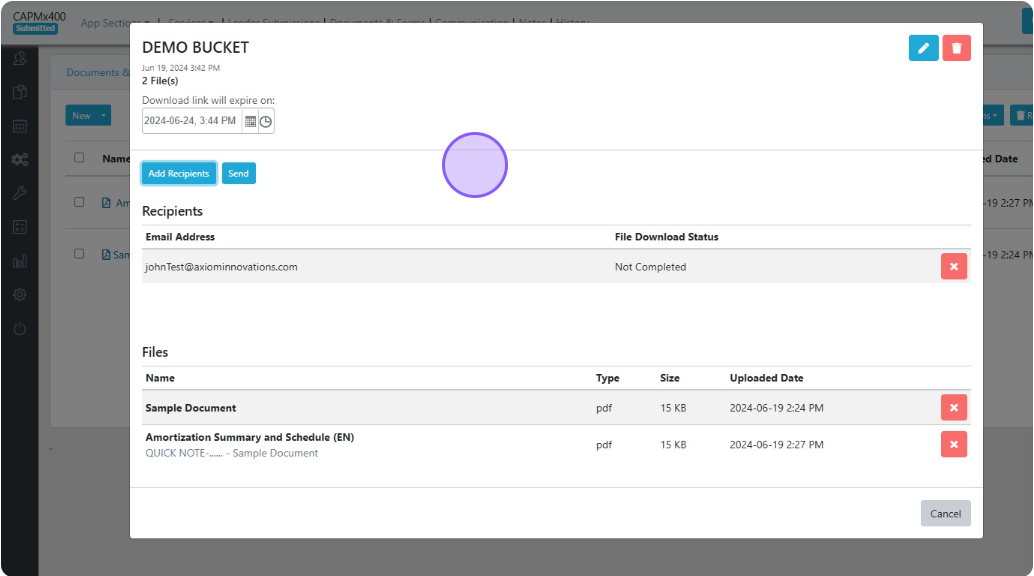
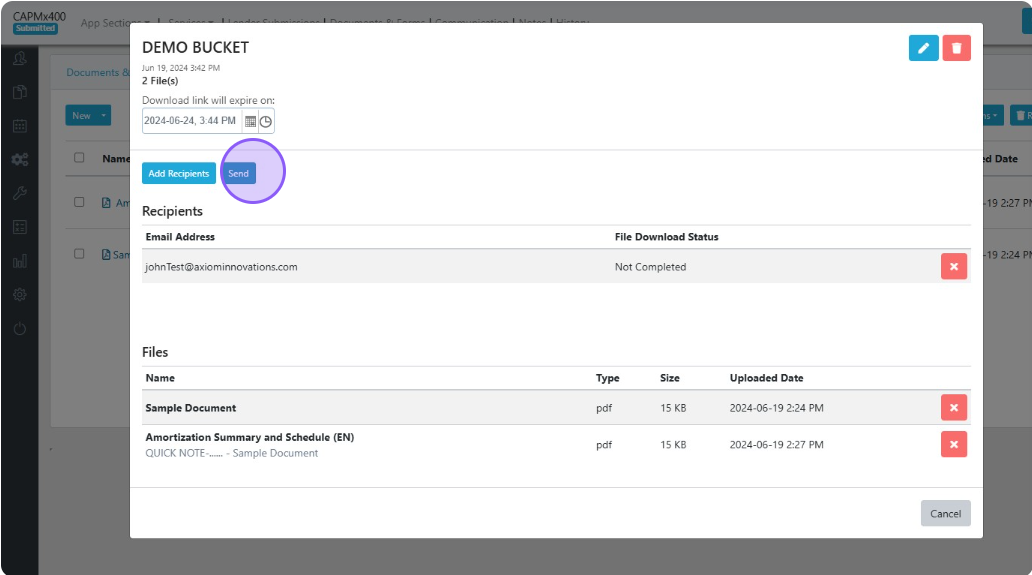
18) In this case we are just going to send it to John, so press "Send"
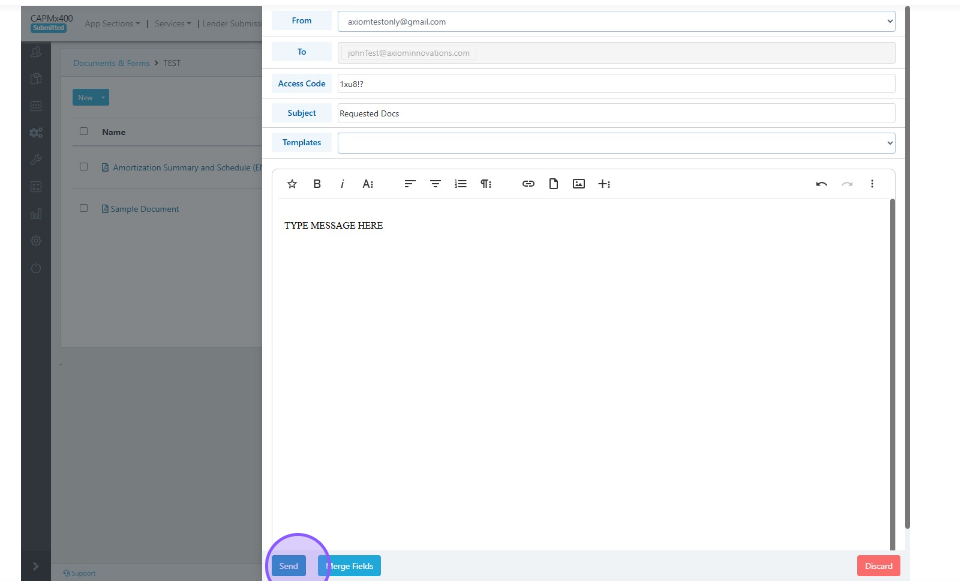
19) In the new e-mail template, you have the opportunity to customize the e-mail that's going to be sent
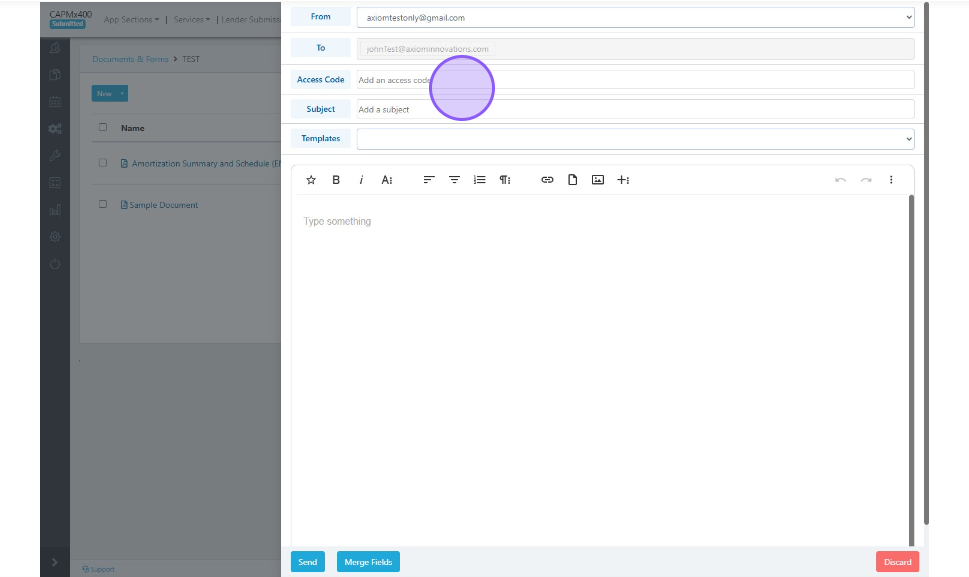
20) In this section you can change your e-mail, add a subject, and write something in the body of the e-mail. The access code now automatically generates and does not require your input.
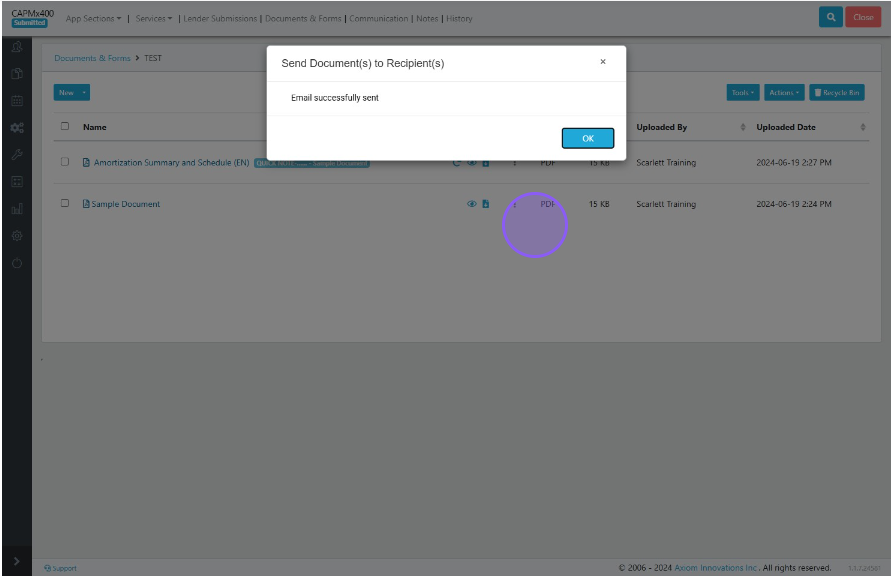
21) You will get a confirmation pop-up of the Email being successfully sent
22) The system will automatically generate two emails to your client, one with the access code and the second with the link to access the documents.
That is how you send documents securely to your clients, or to third party vendors.