Automation using Contact Lists
There are times when you may need to send automated communication to a contact list, rather than a filtered set of clients from within your database. As an example, perhaps you want to send emails out to a set of referral sources or partners. You may find this easier to do through using a managed contact list.
Related Training
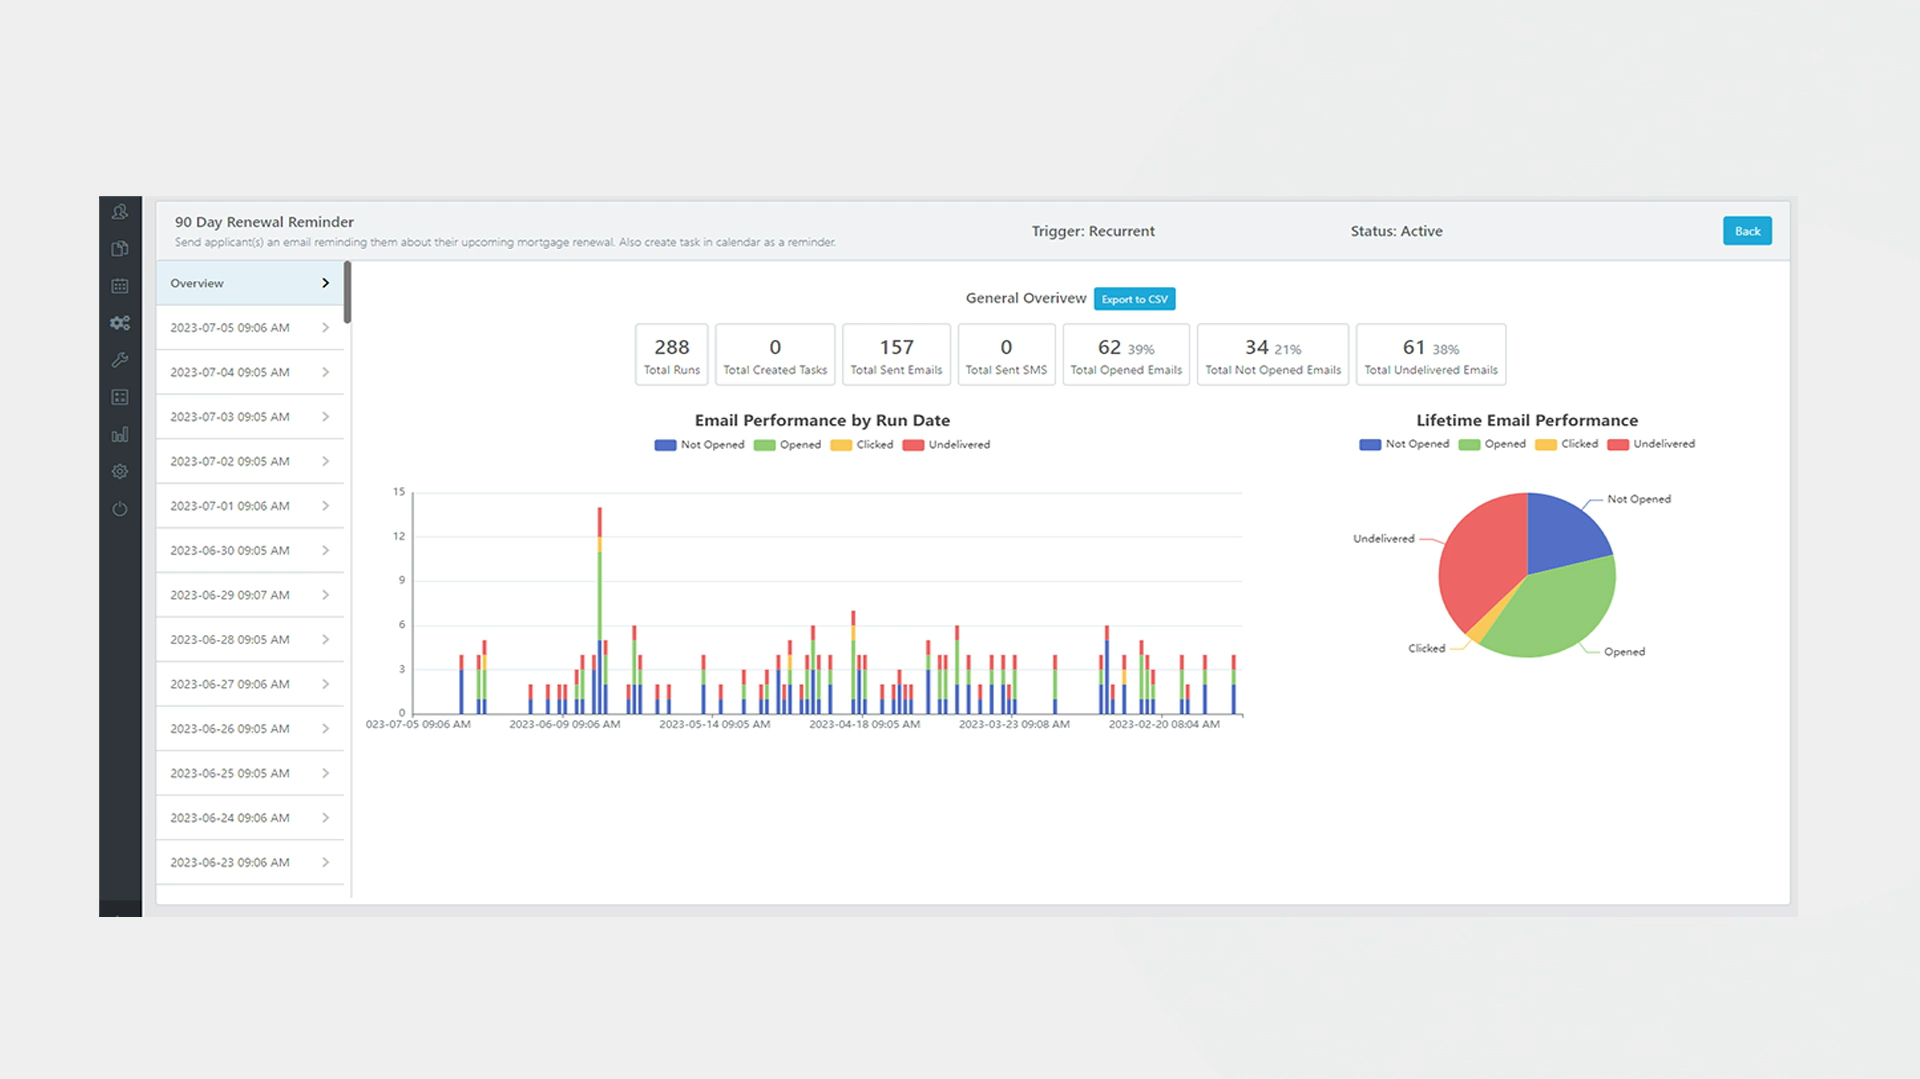
Checking Reports on Automations
Video Walkthrough
Step-by-Step Guide
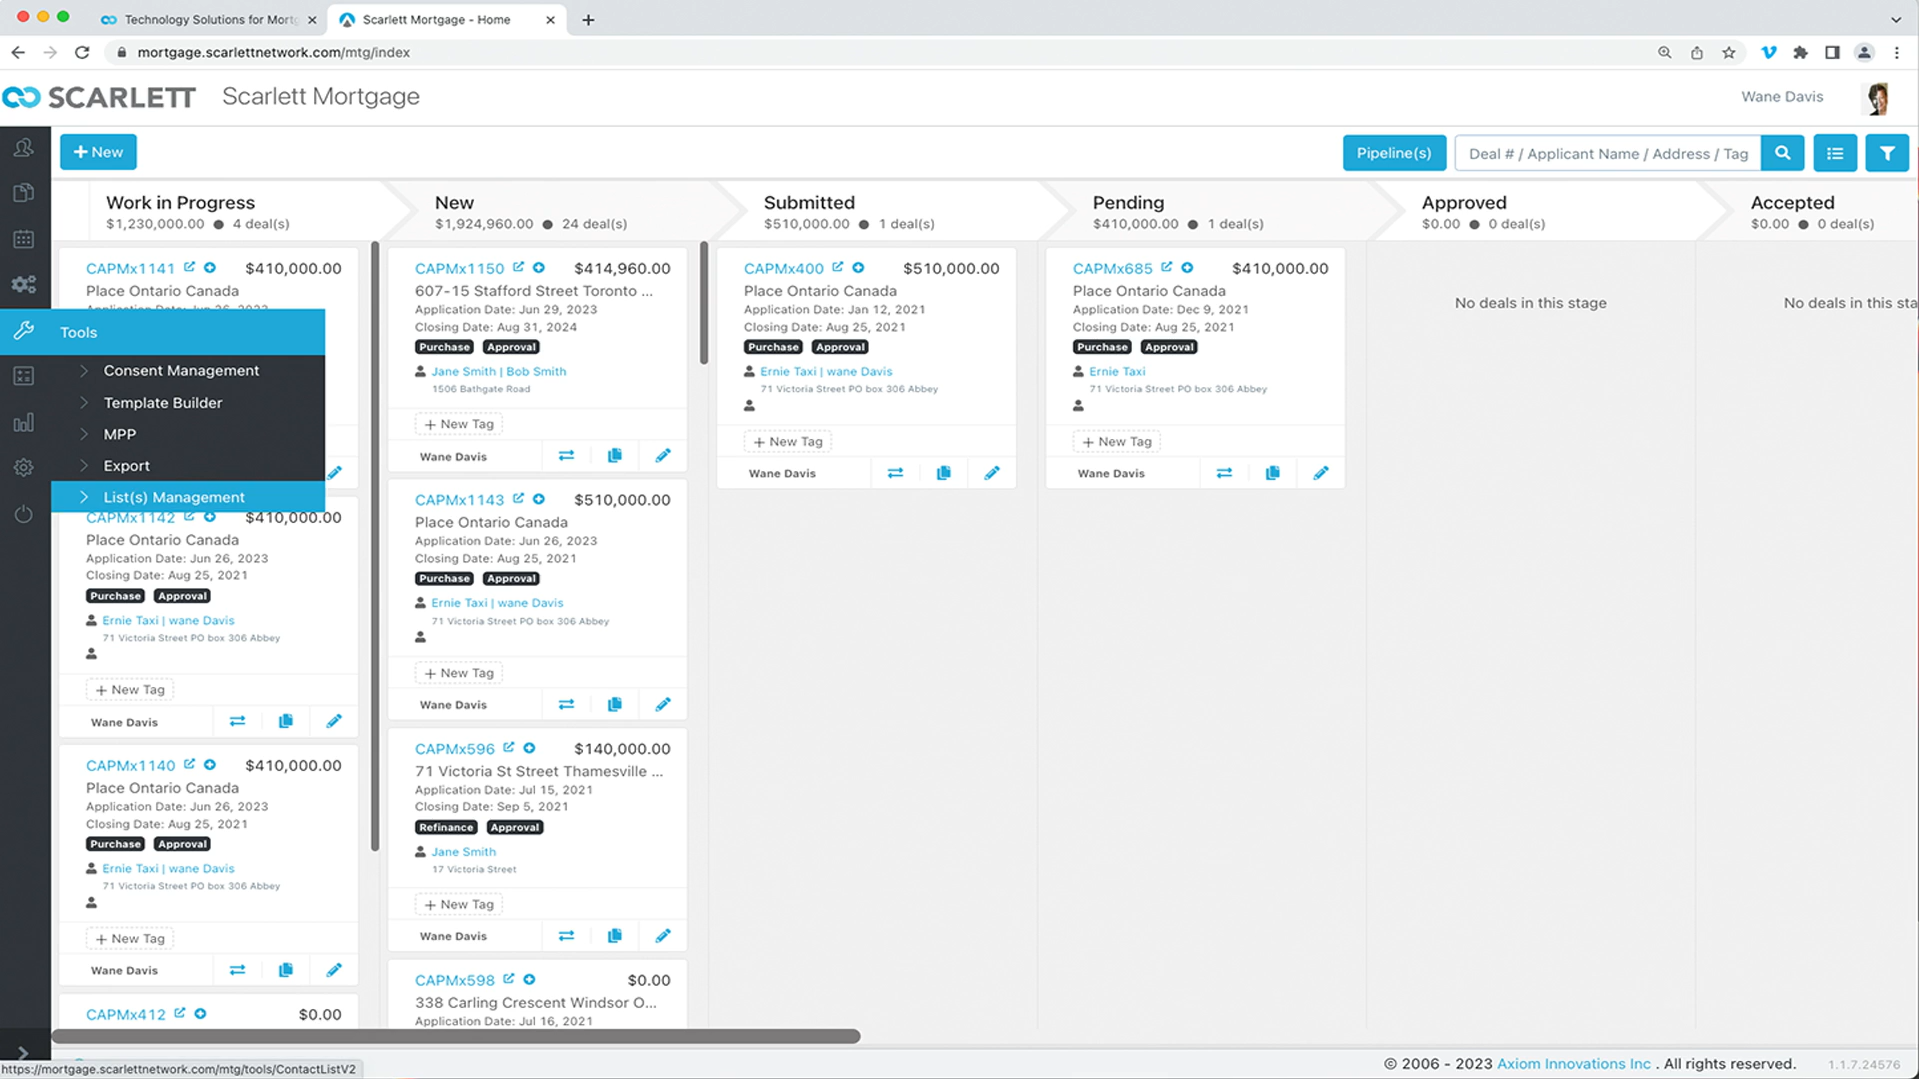
1) In your Deal Dashboard, click Tools, and then click "List(s) Management"
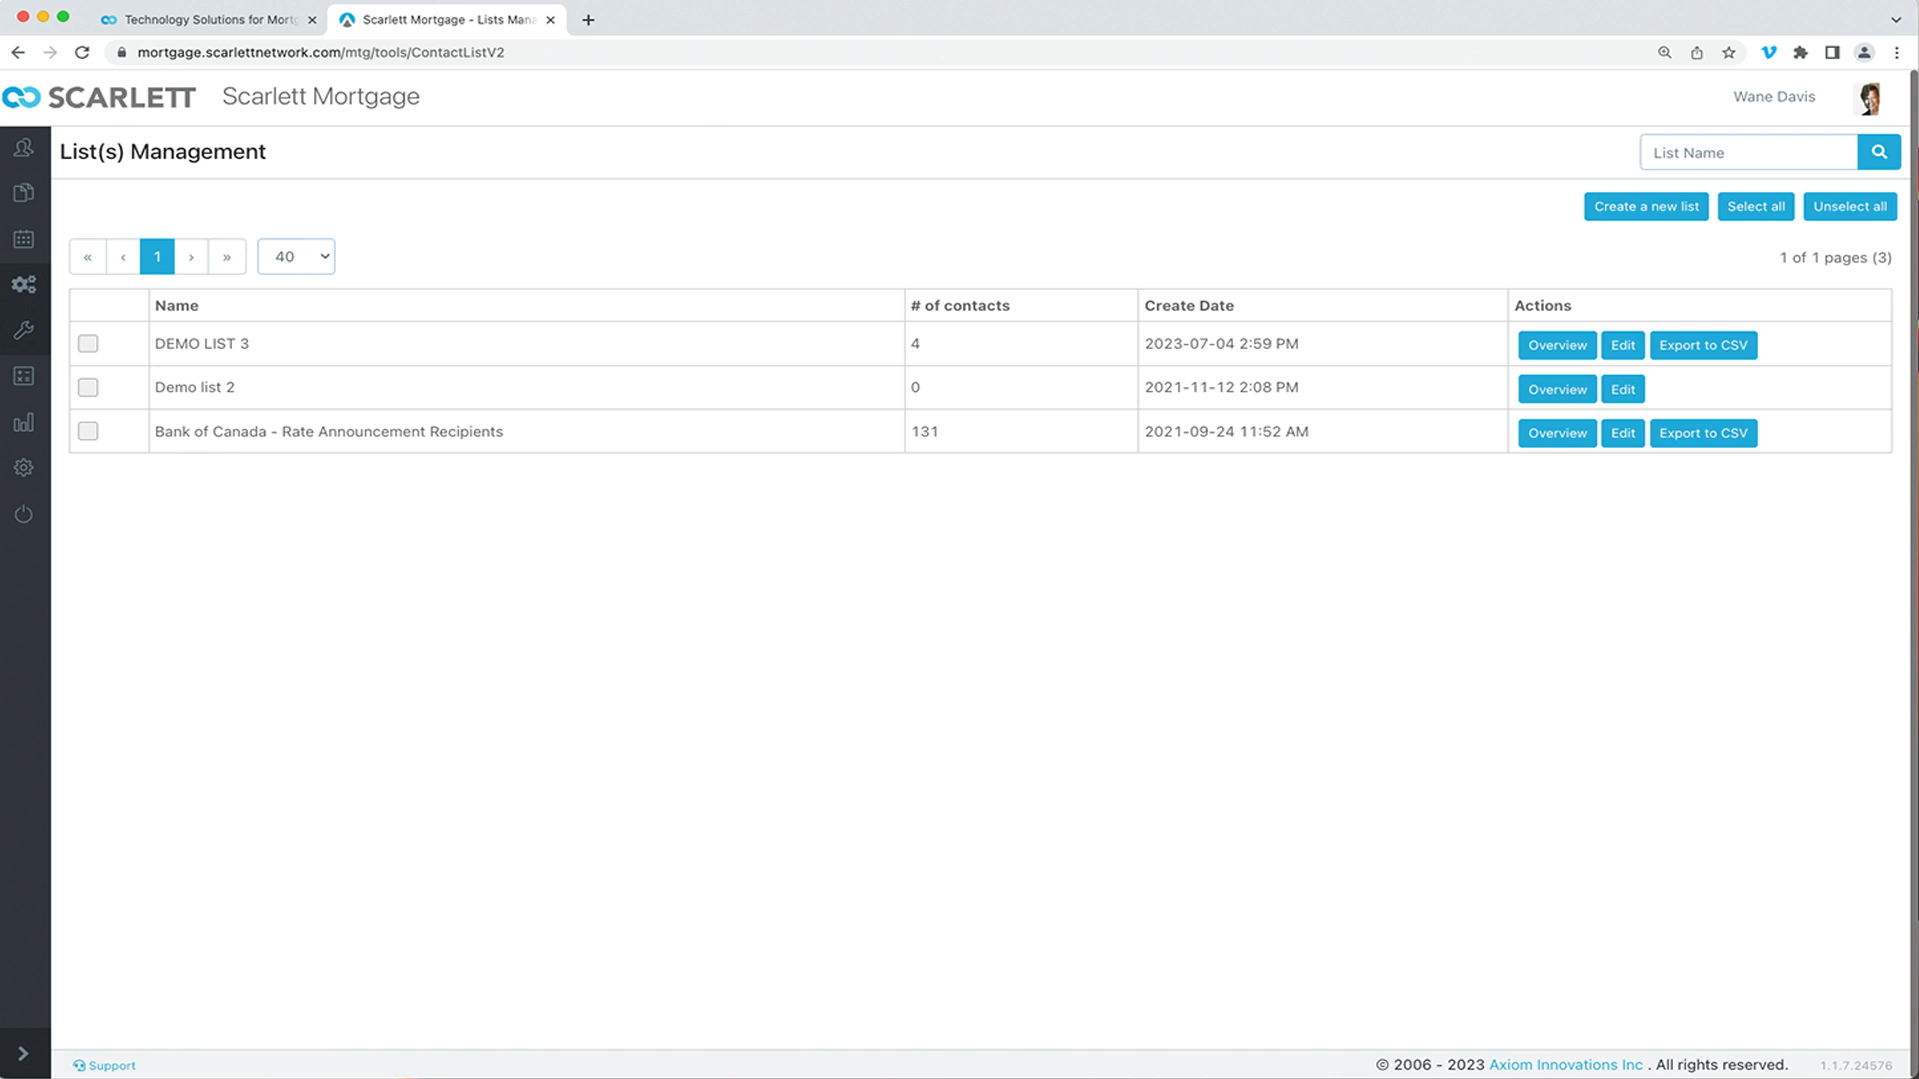
2) The list management tool allows you to upload your list of recipients and then send out targeted e-mail blasts
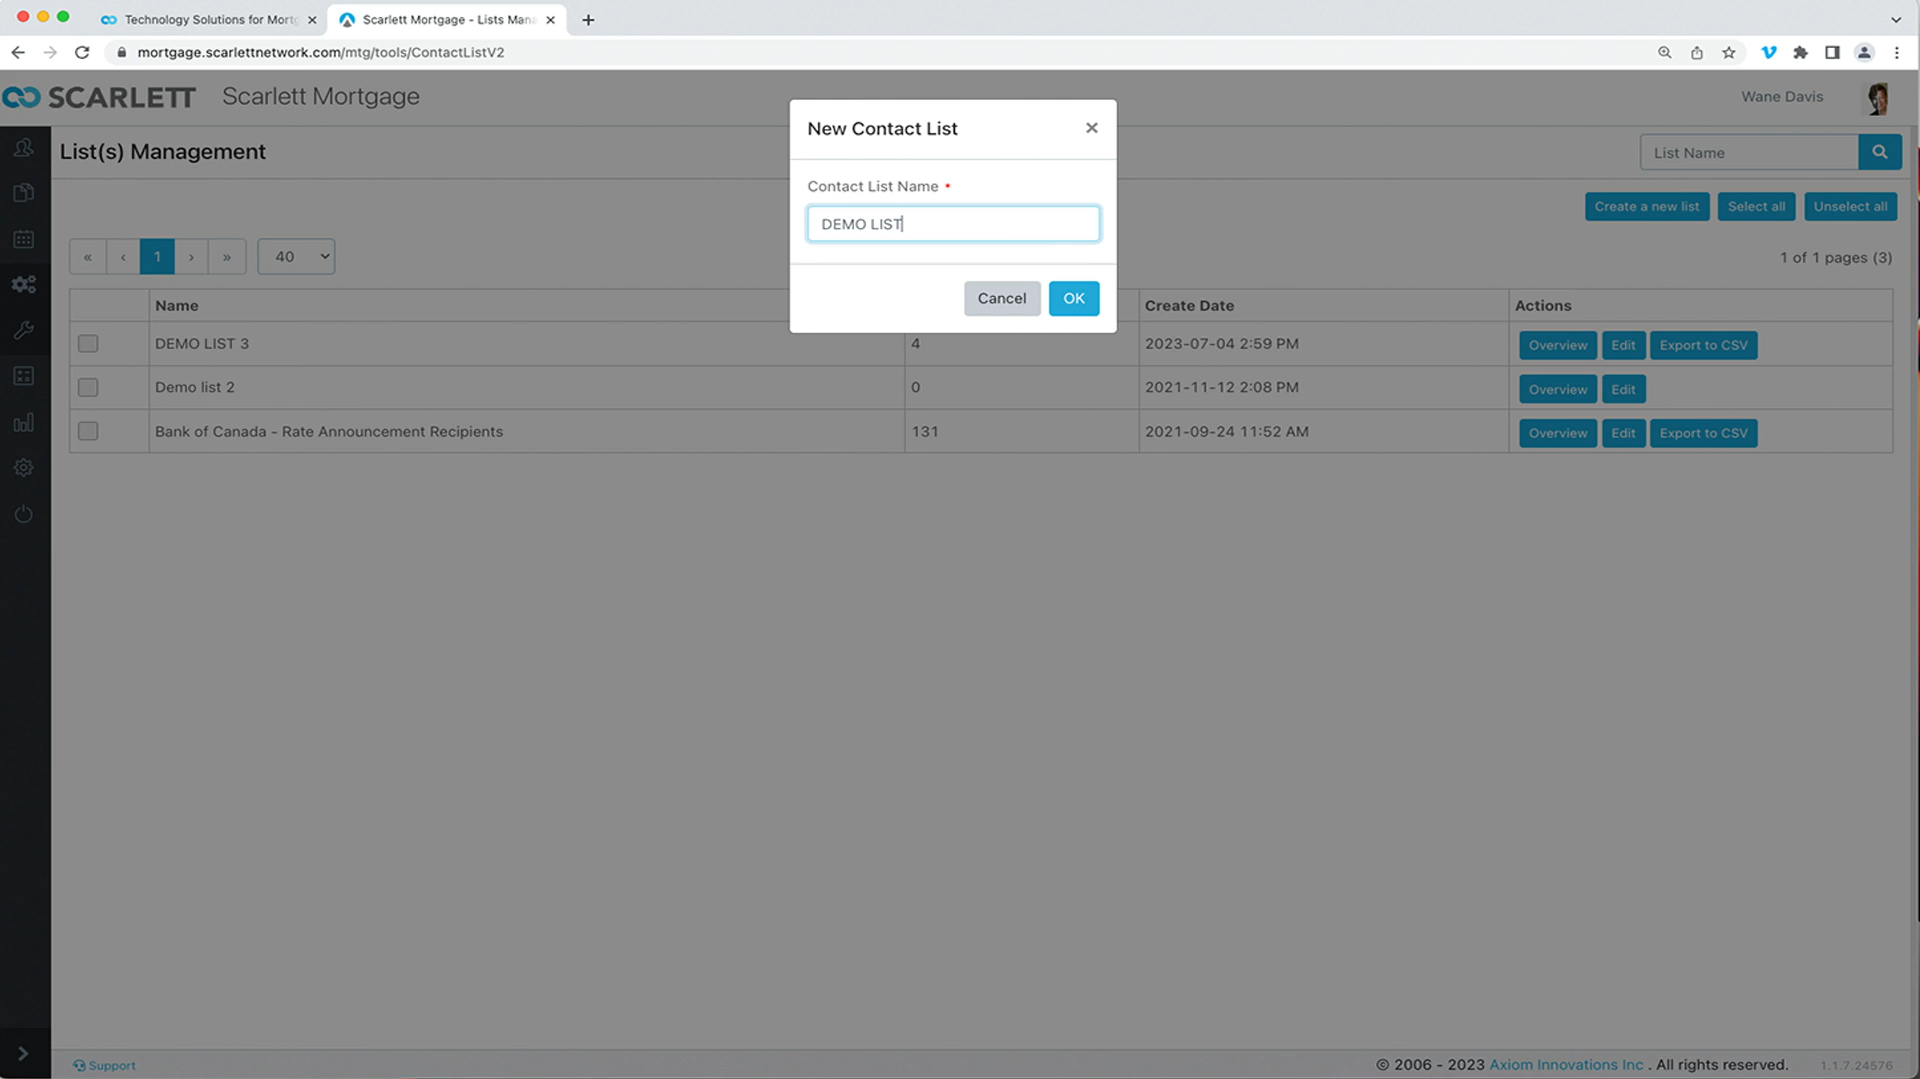
3) In the upper right corner click "Create a new list" and for this demo, we will name it "DEMO LIST" and now click on "OK"
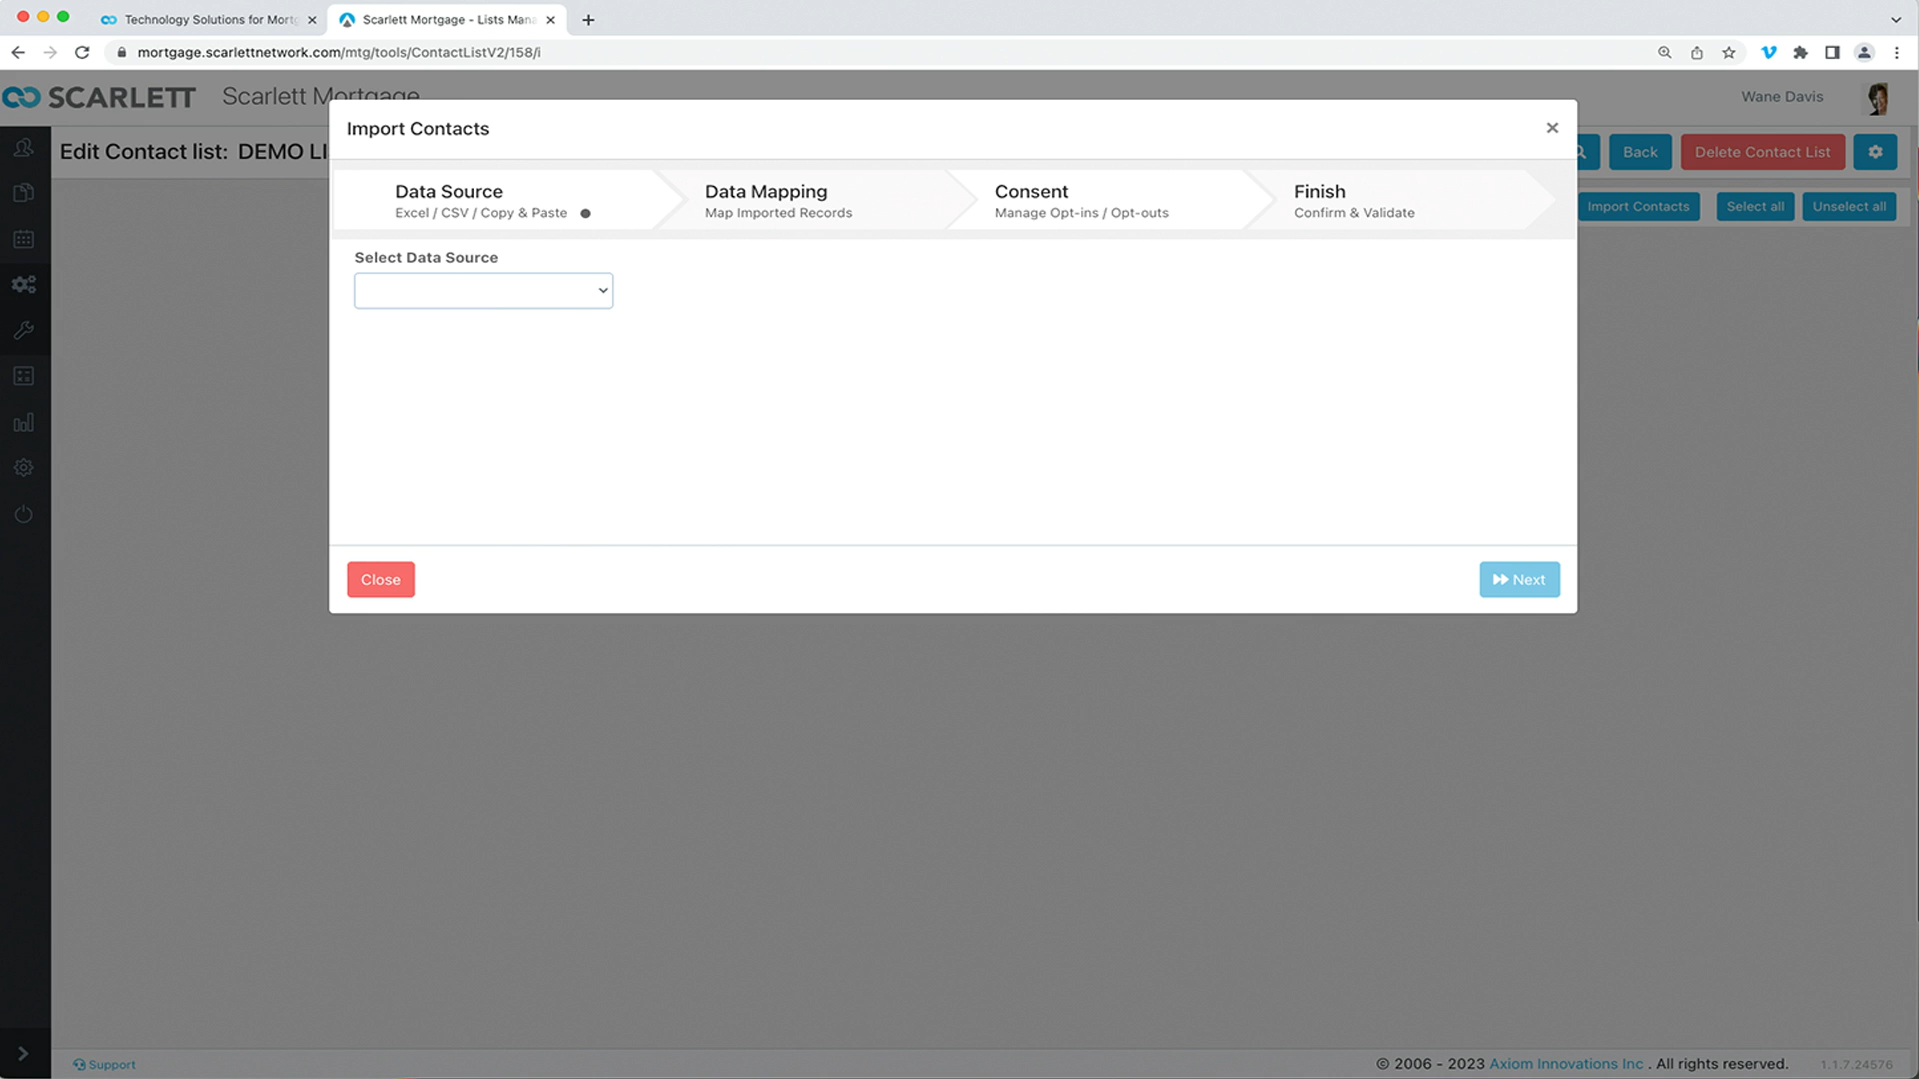
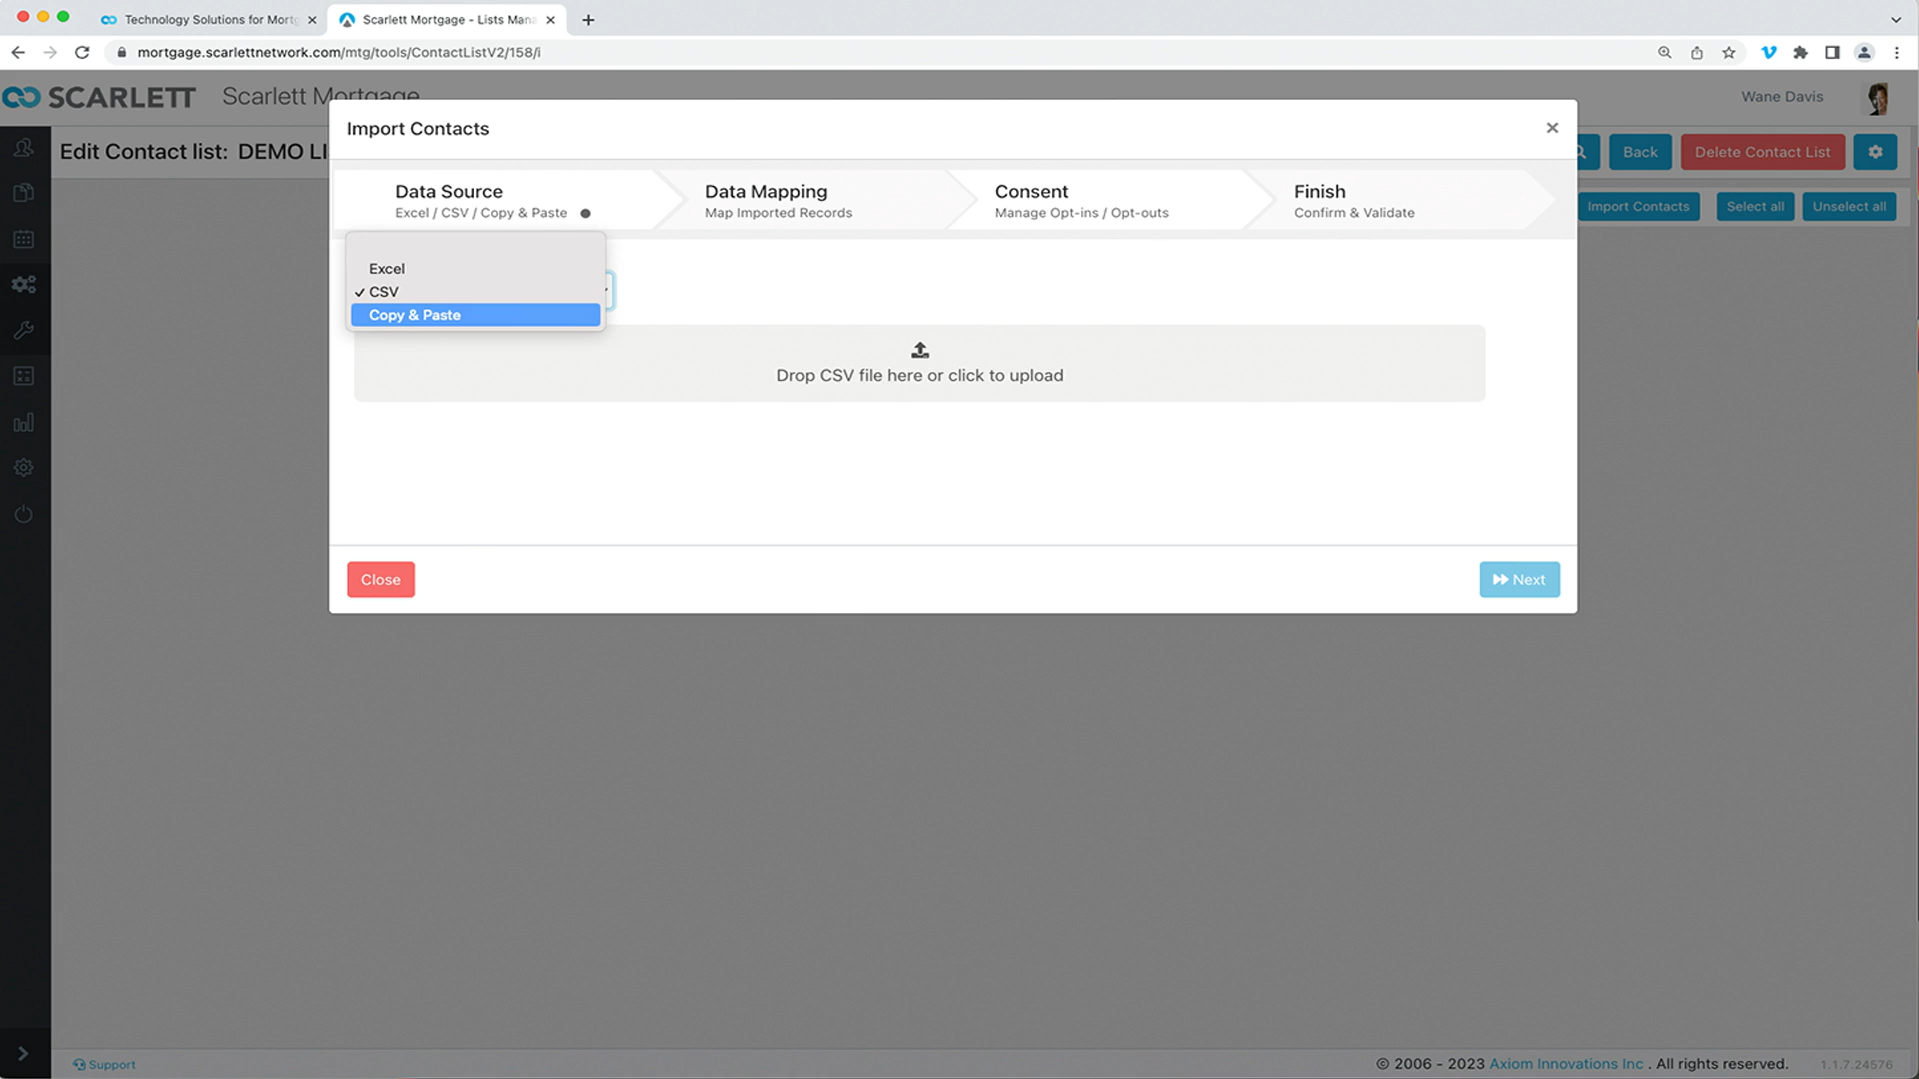
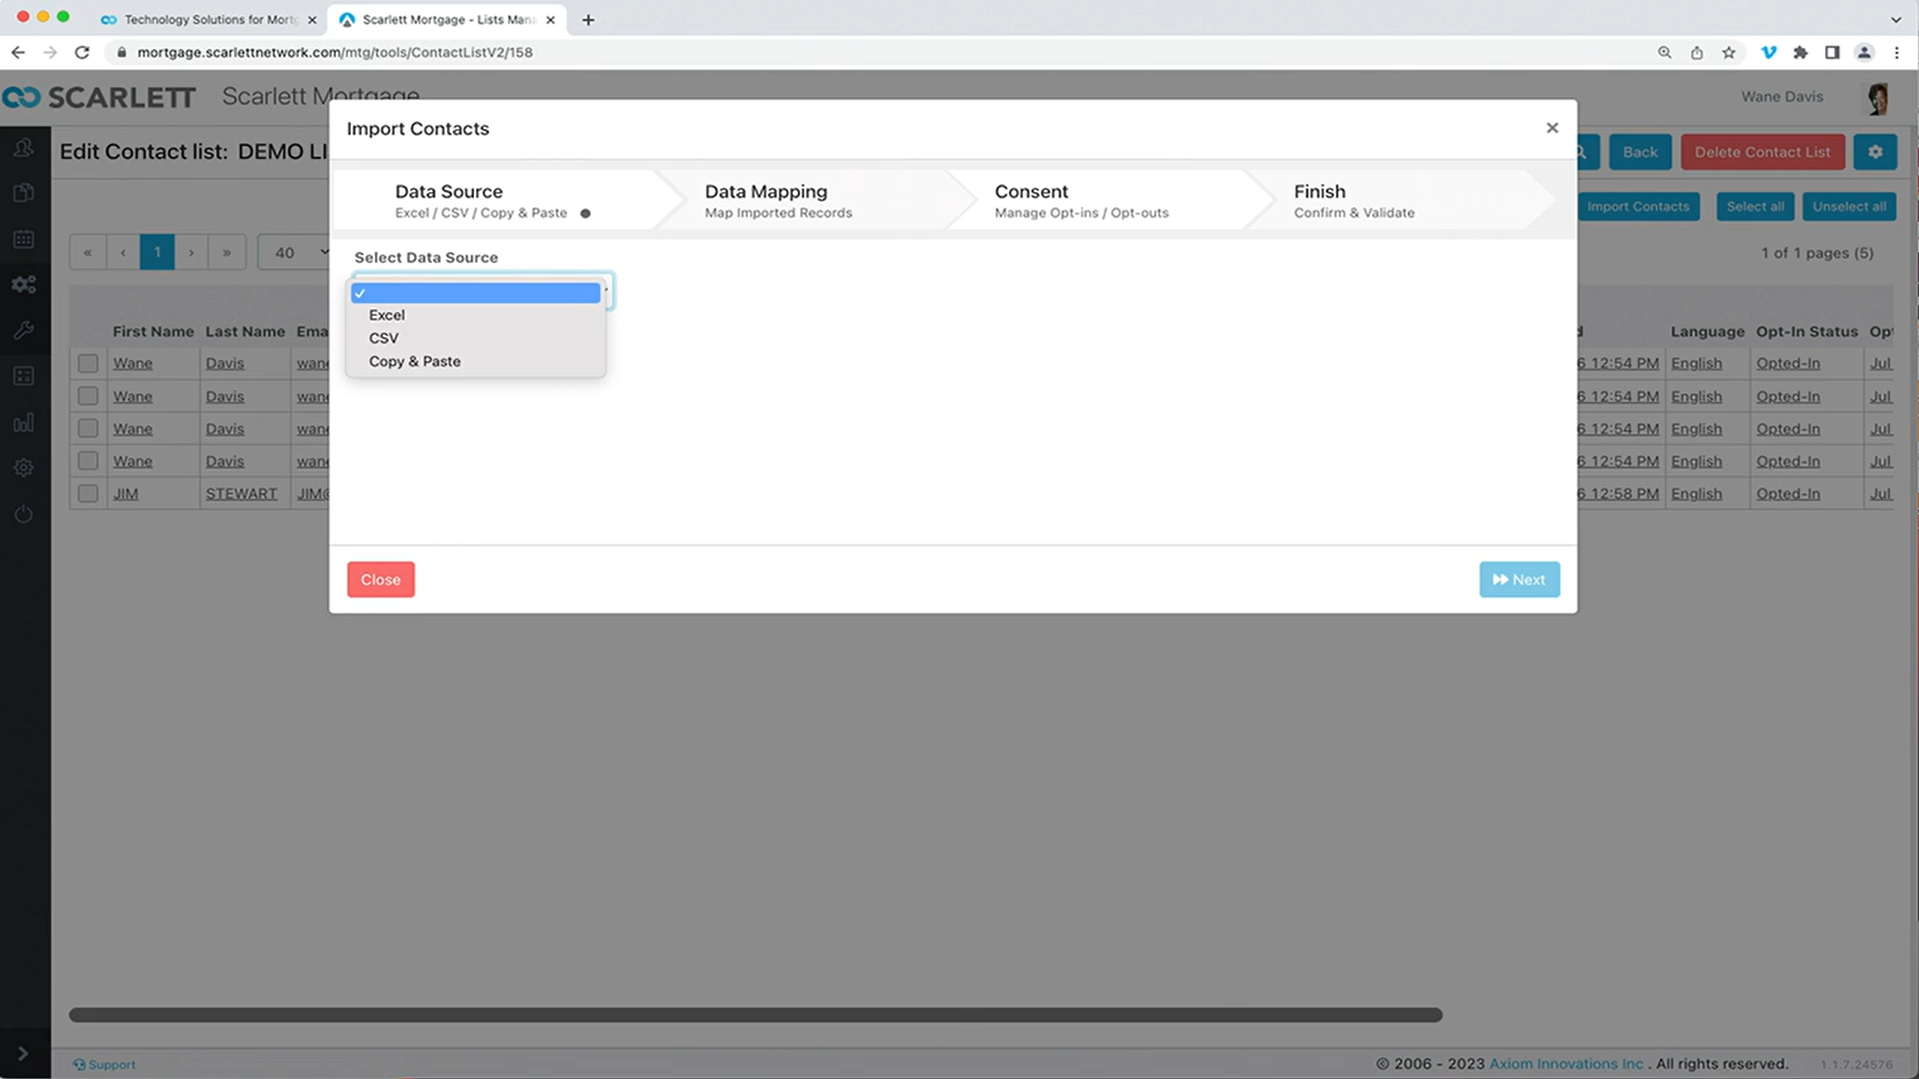
4) That automatically generates the "Import Contacts" list window. Scarlett supports three different data sources: Excel, CSV, and Copy & Paste.
5) For Excel and CSV you can either upload or drag and drop the appropriate file
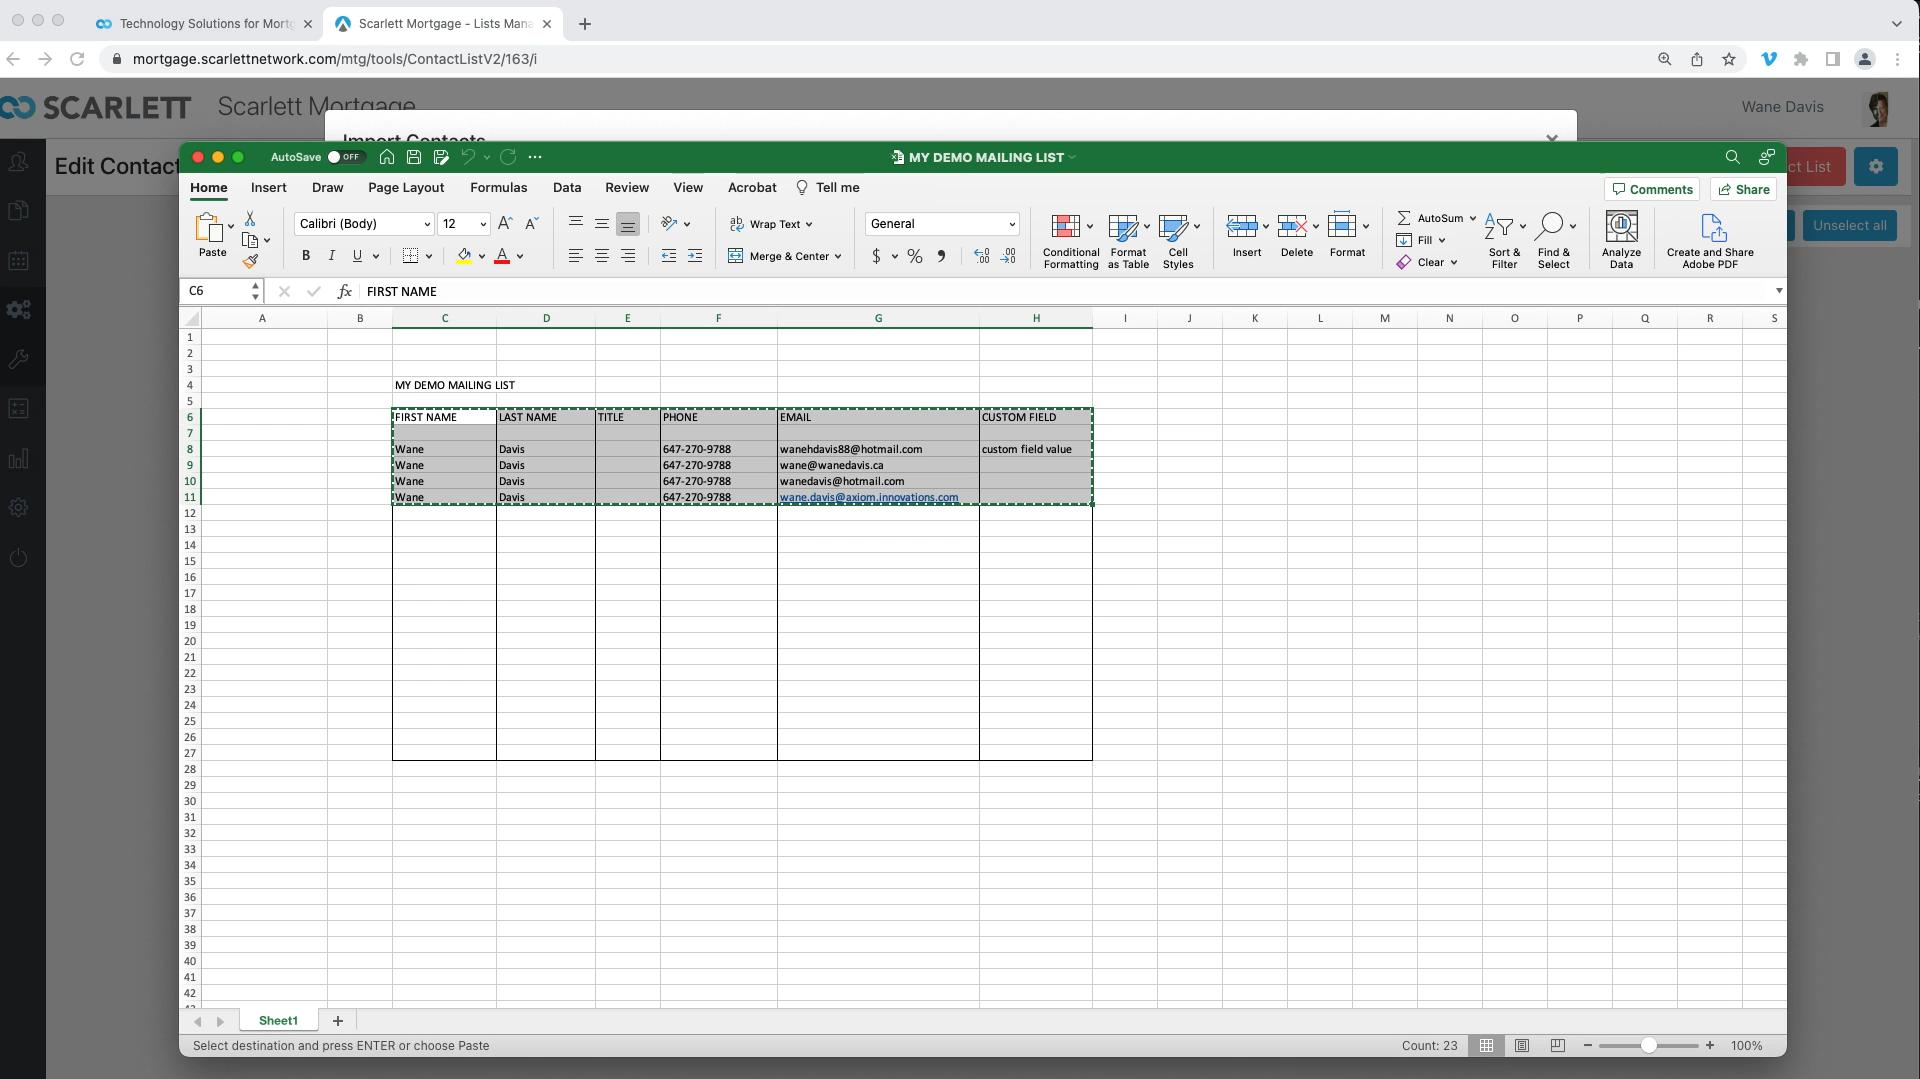
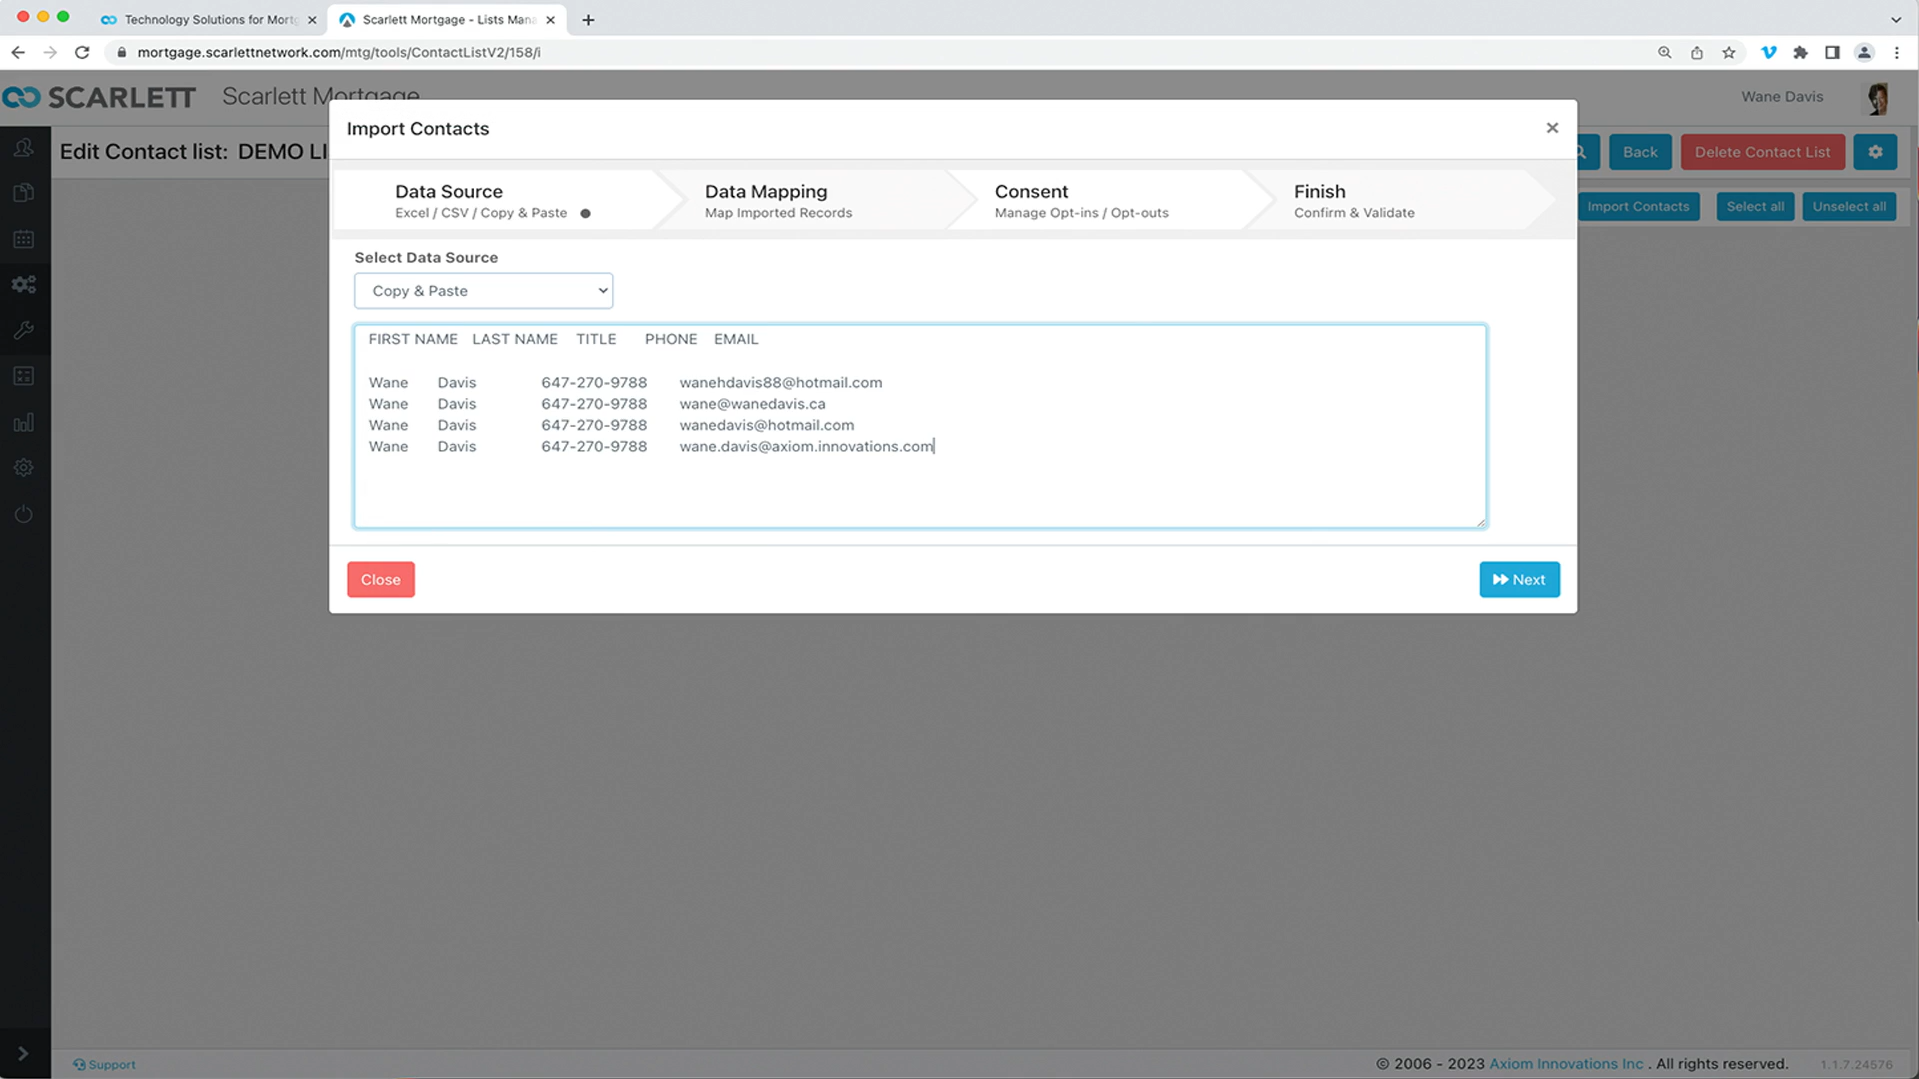
6) The Copy & Paste functionality is a bit different. Here we will open an excel sheet, which you can drag and drop, or you can select from the fields you want to upload. You can also add a custom field.
7) Select the row and columns you want to upload, and go back into Scarlett and paste them in
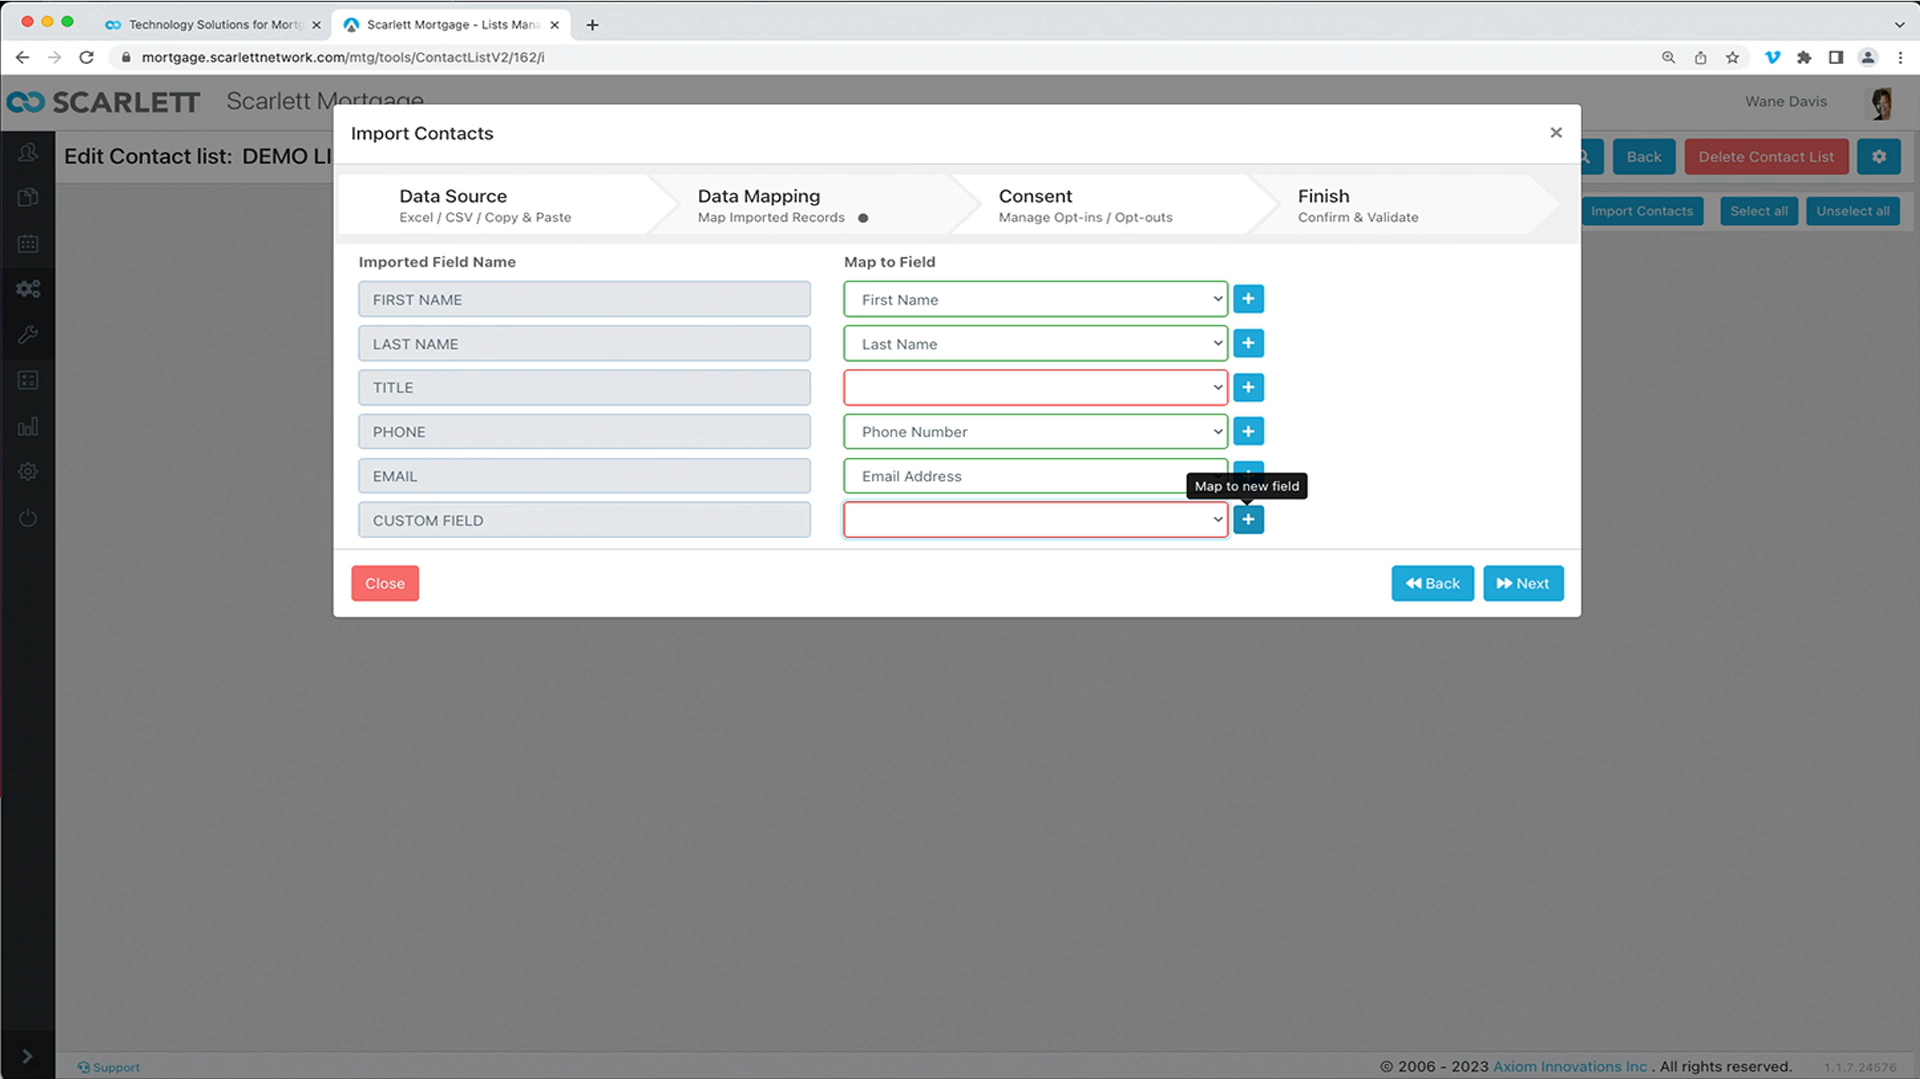
8) Next, in Data Mapping you can add in the appropriate maps to field
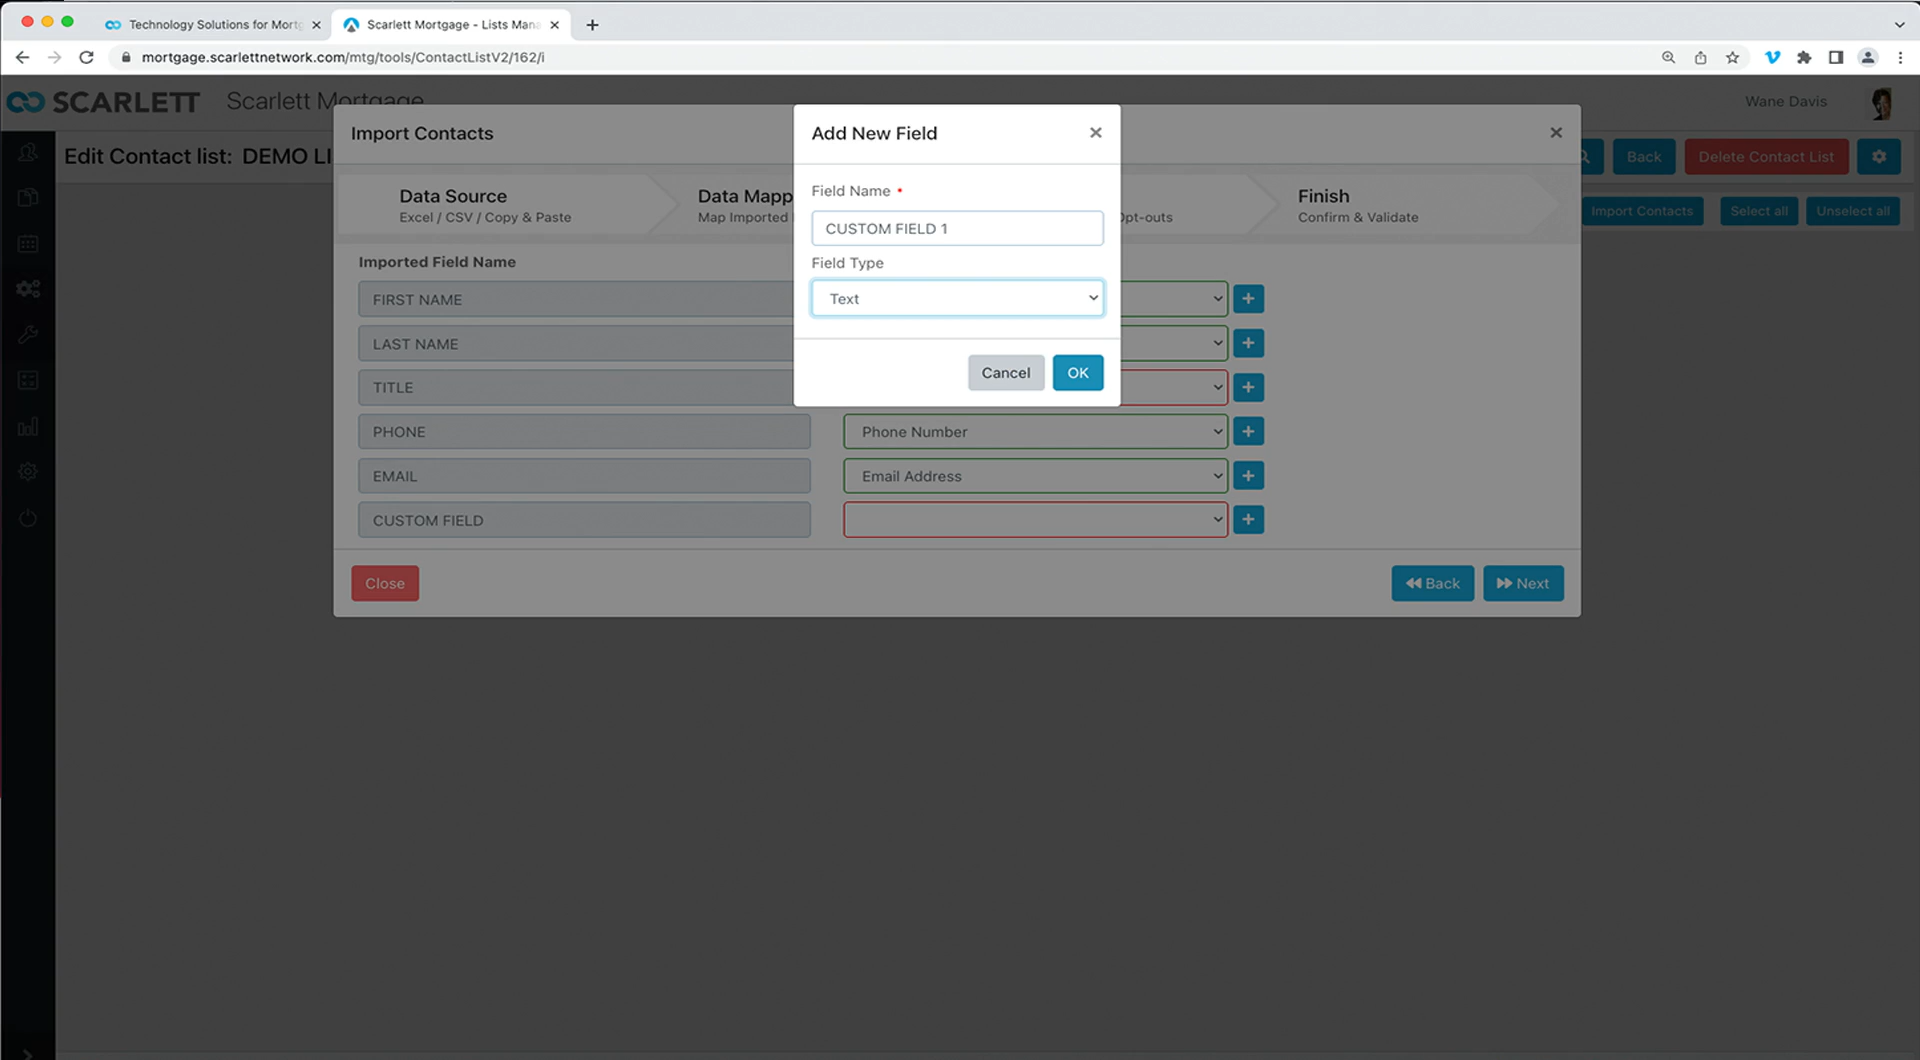
9) Click the plus button in the Custom Field section. We'll call it "Custom Field 1" and then select the Field Type, which for this time we will select "Text". Then click on "OK" and click "Next".
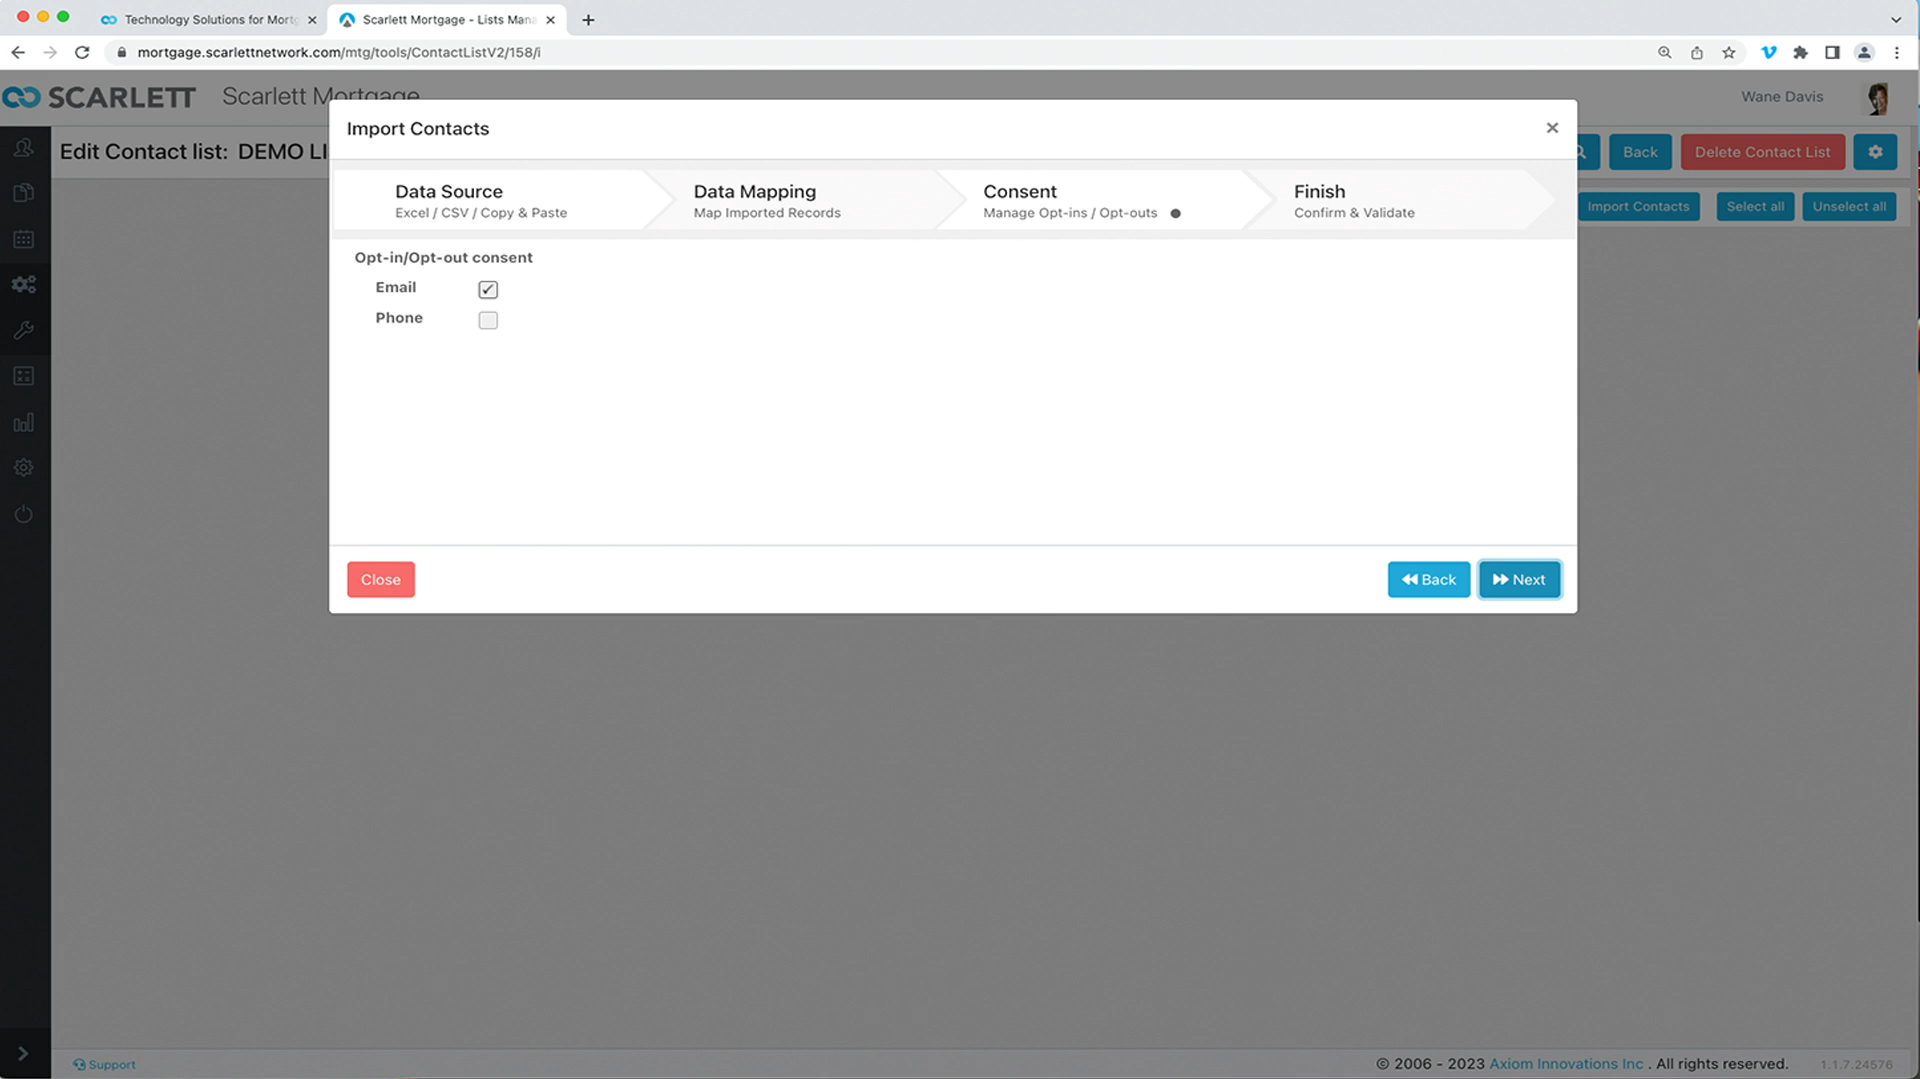
10) The Consent section is where we record the opt-in consent with either e-mail or via phone. Let's click e-mail and click "Next".
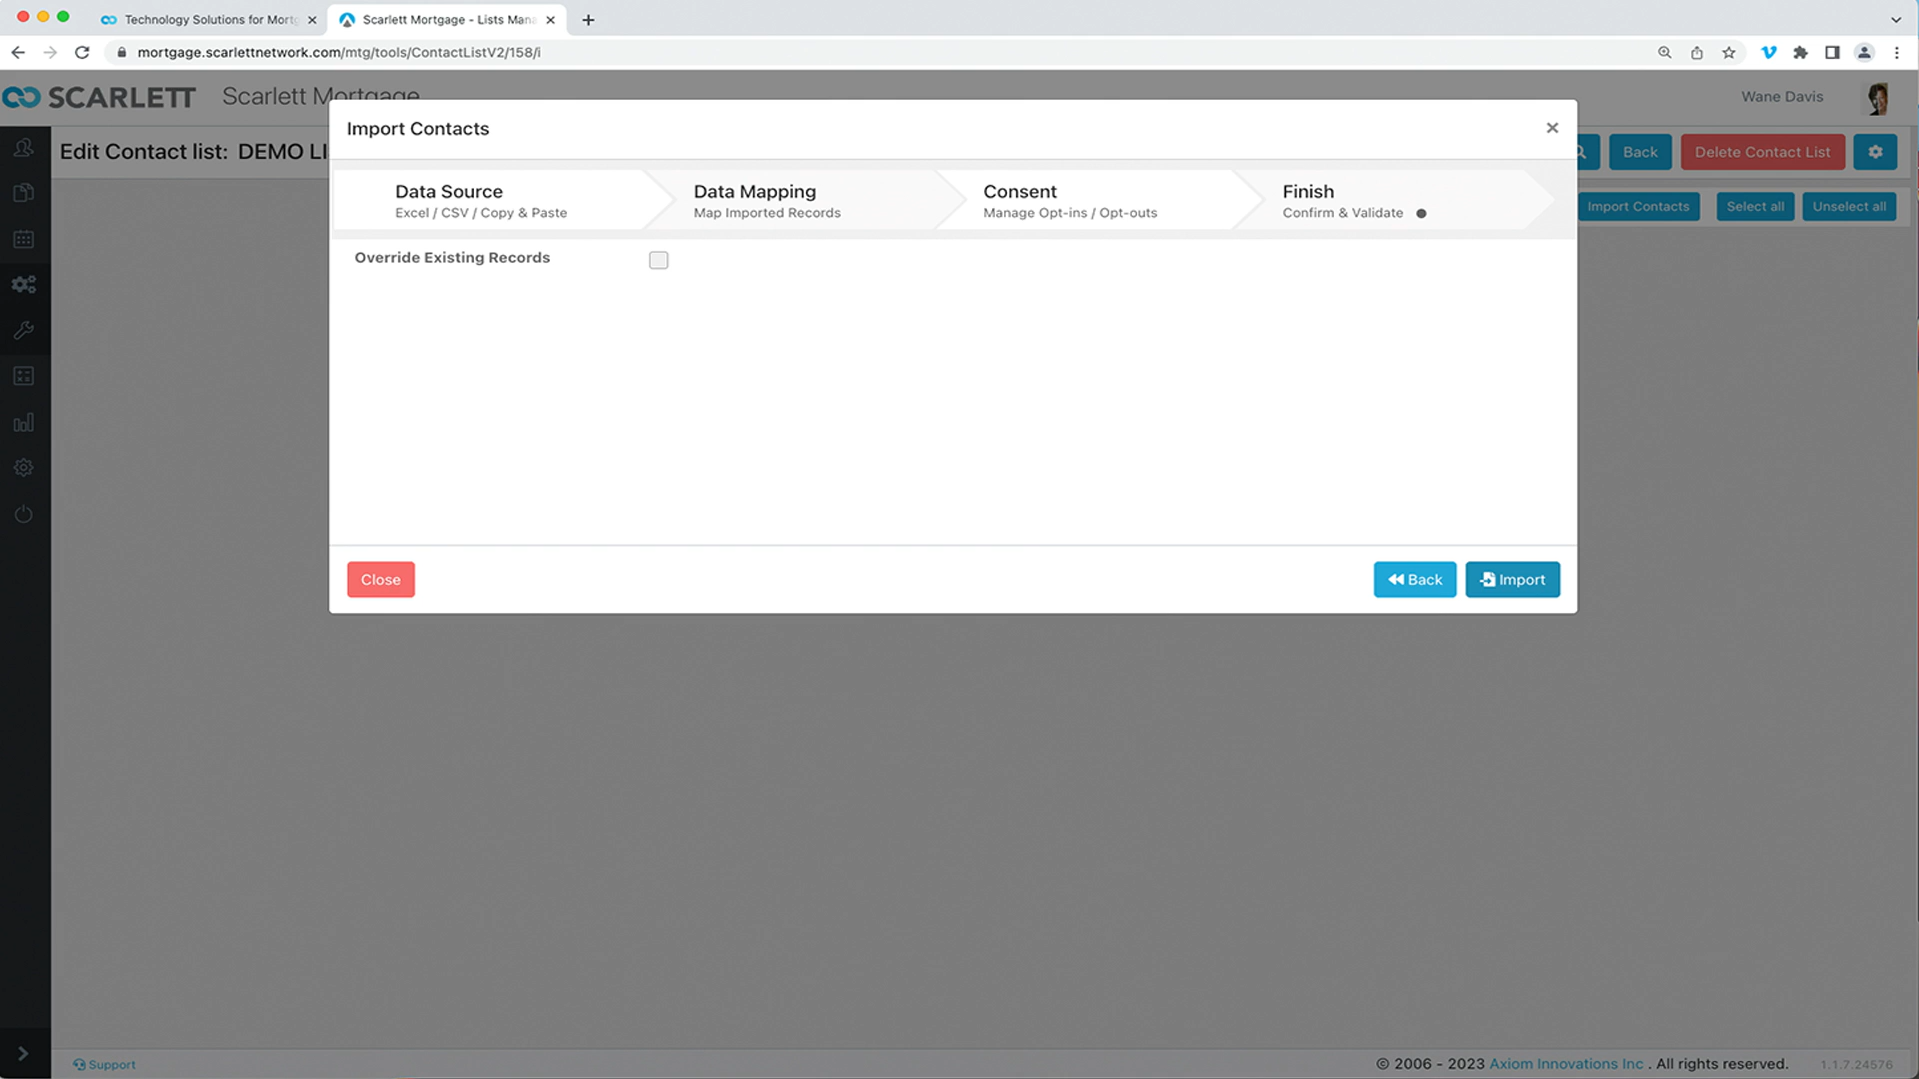
11) This next window we can disregard and override existing lists as we are not adding to an existing list. Next click "Import".
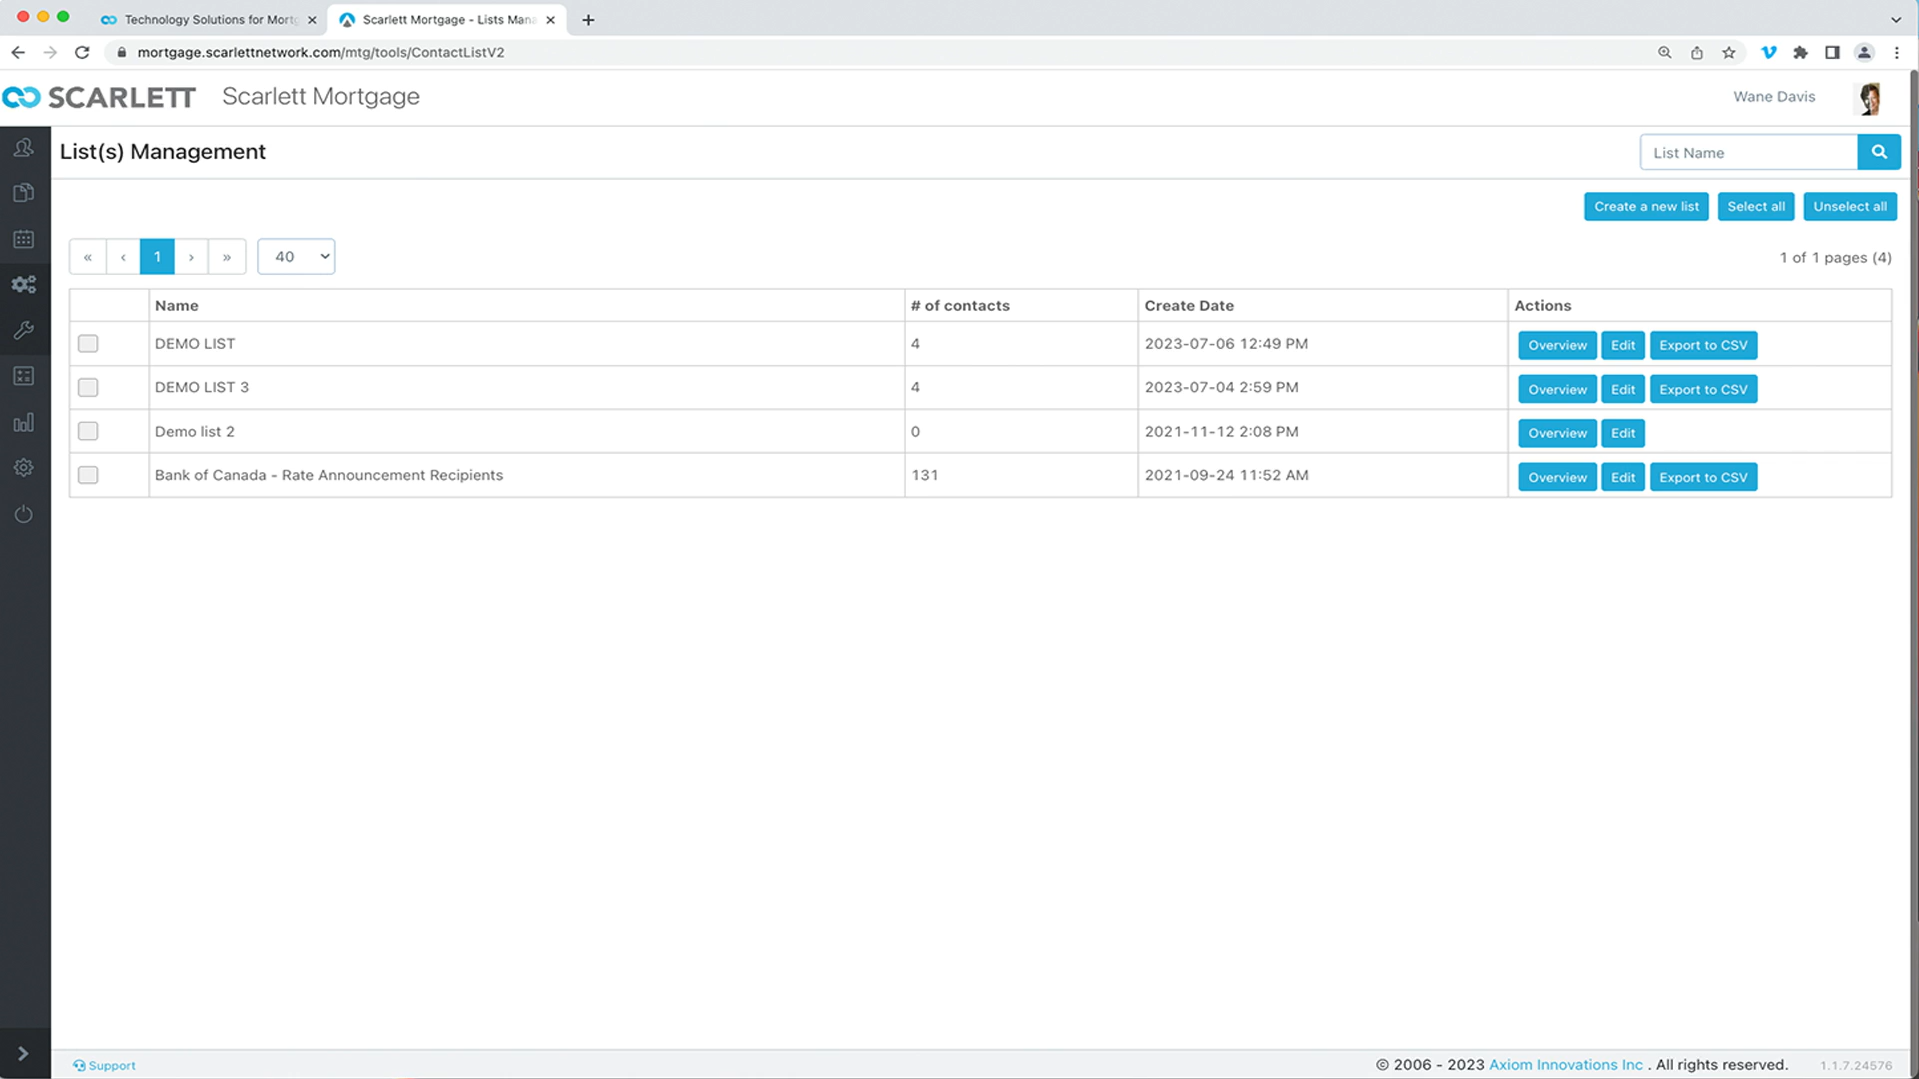
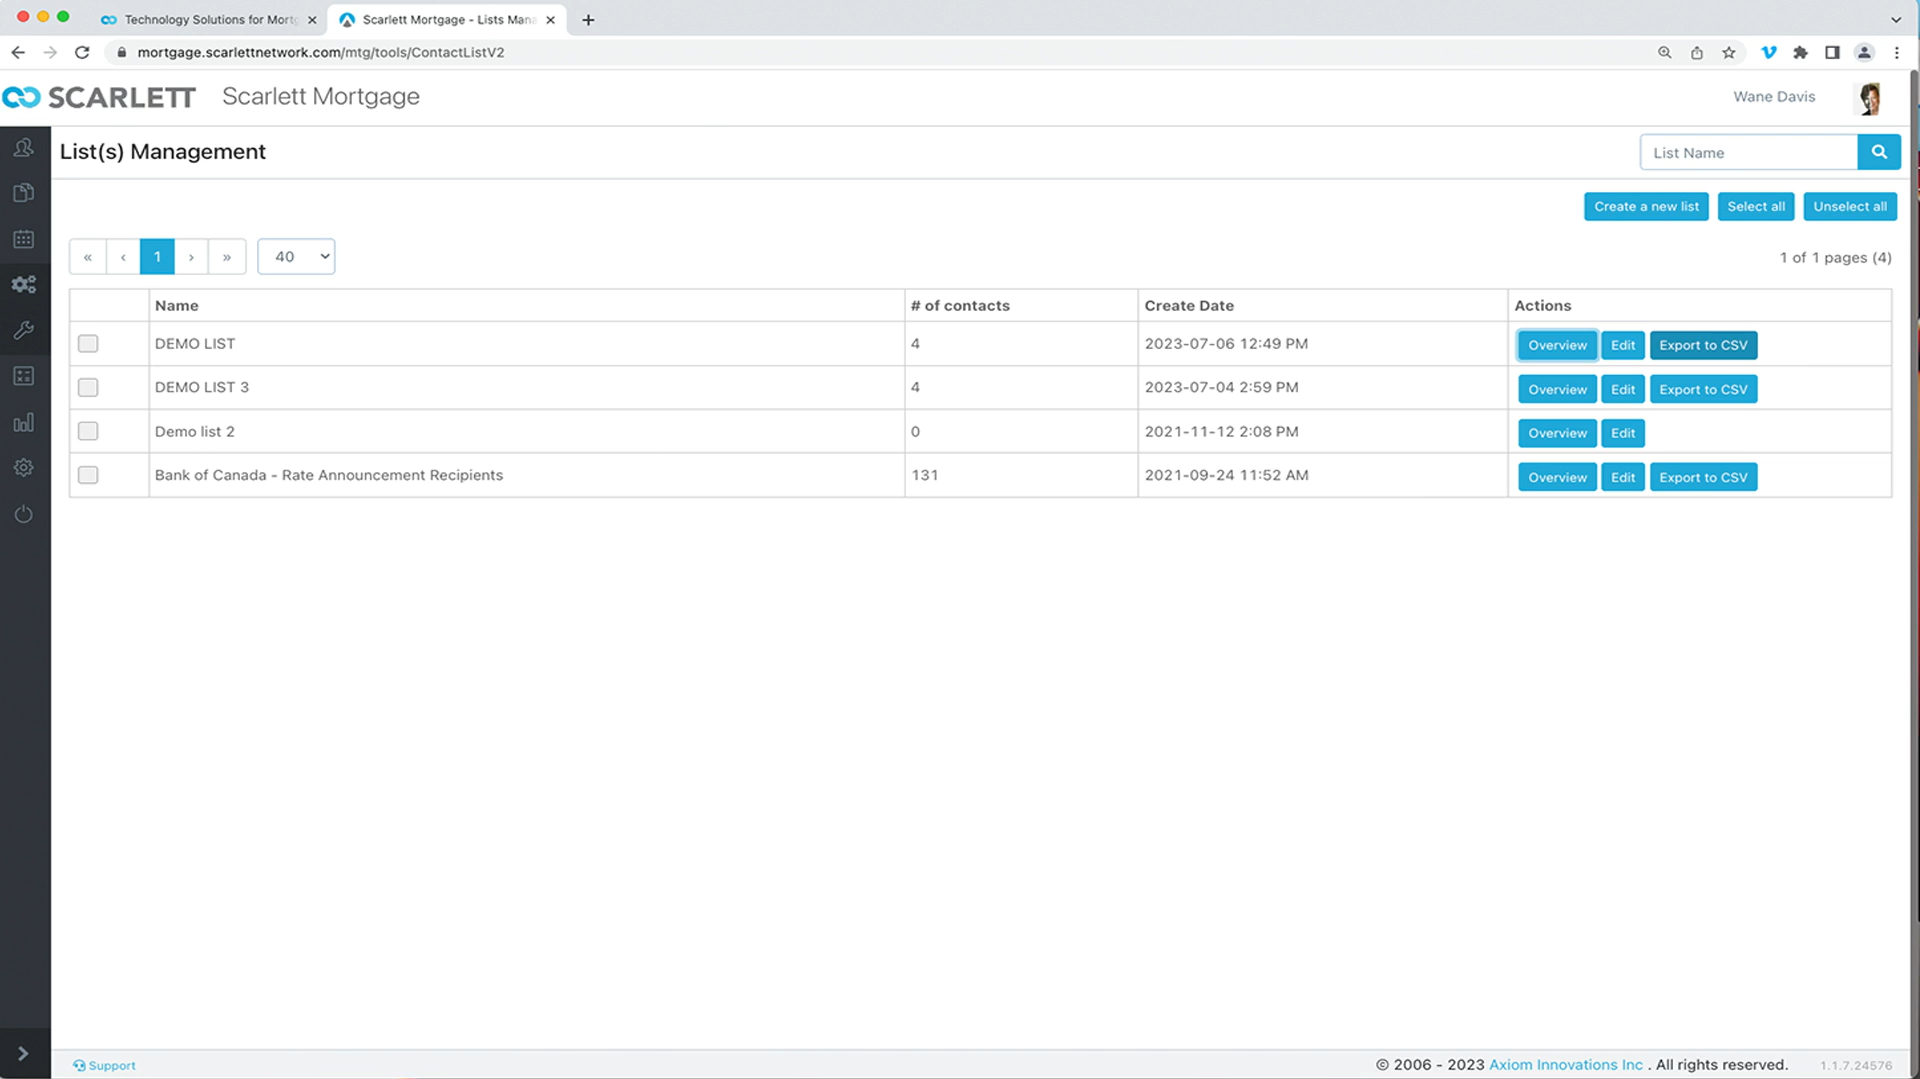
12) Importing can take a bit of time depending on the list size. Under list management, you can see our list is imported.
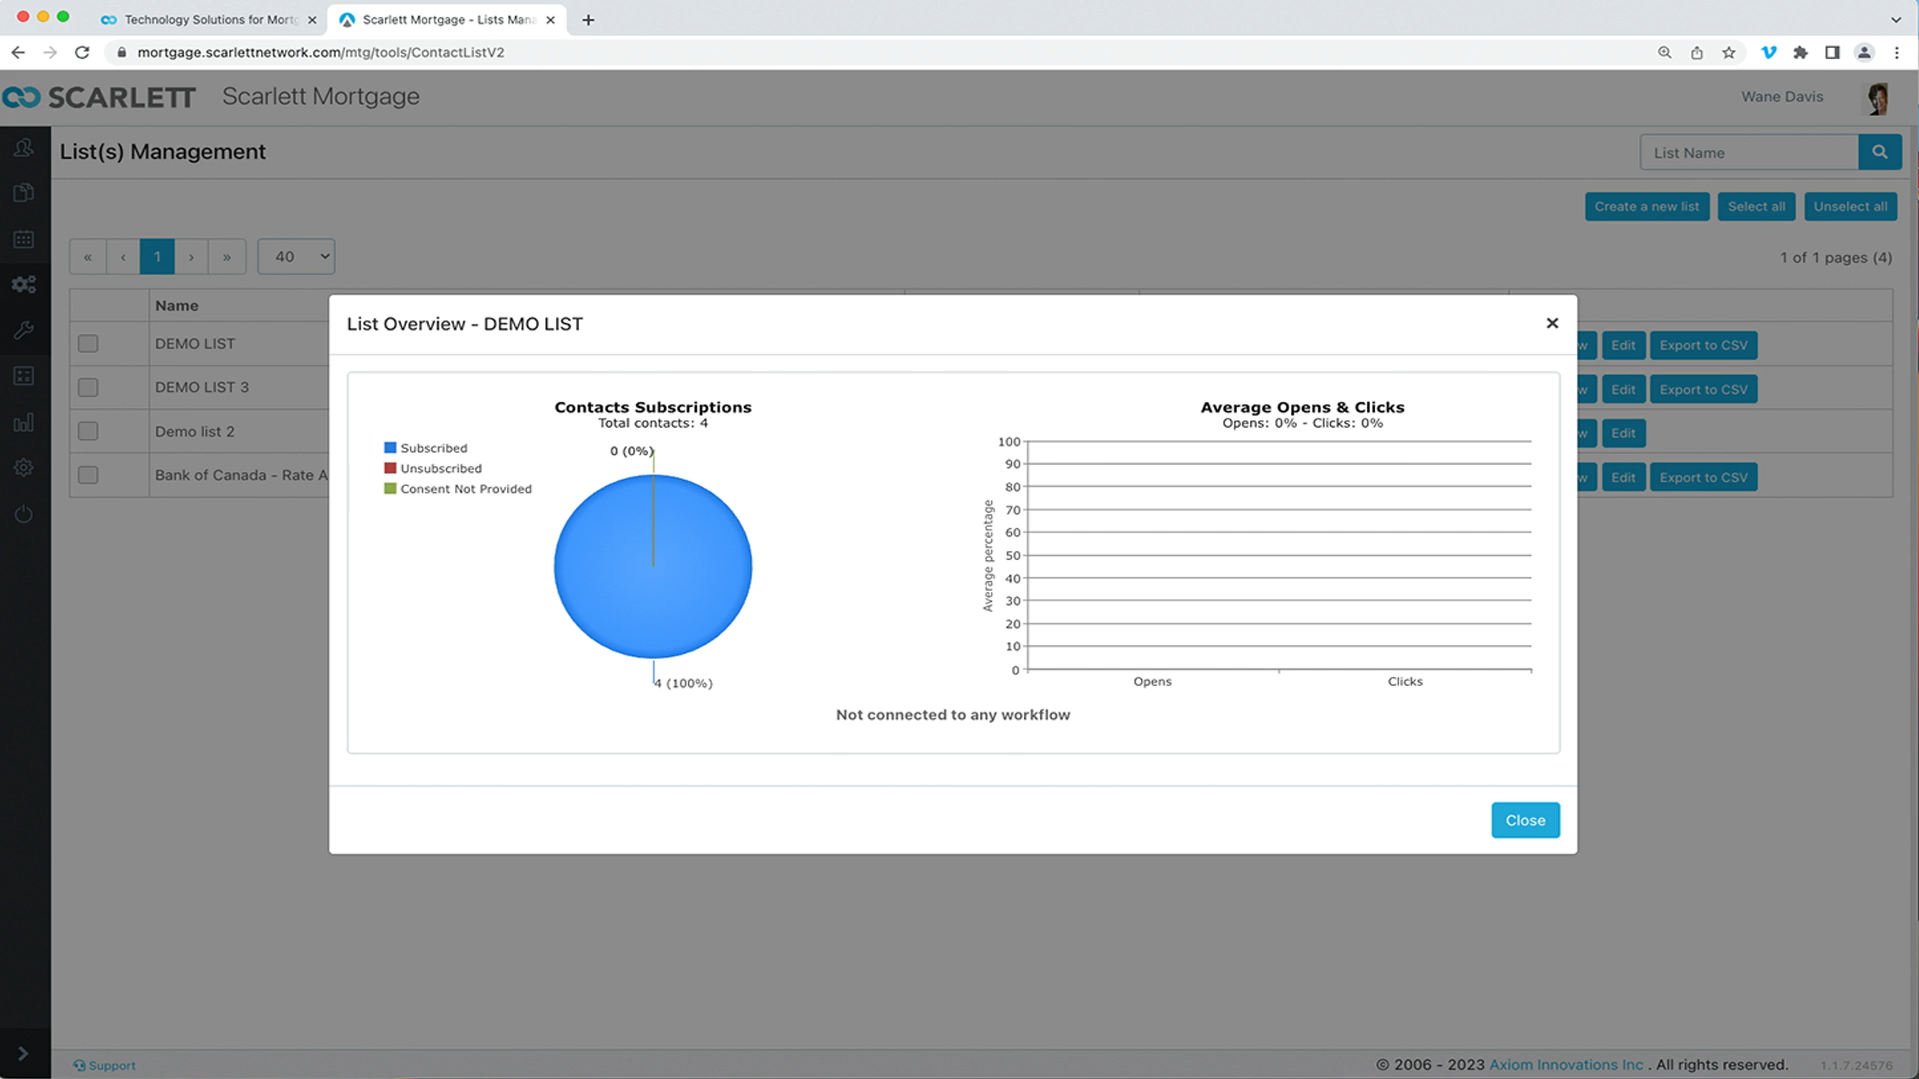
13) You can click overview:
Export to CSV:
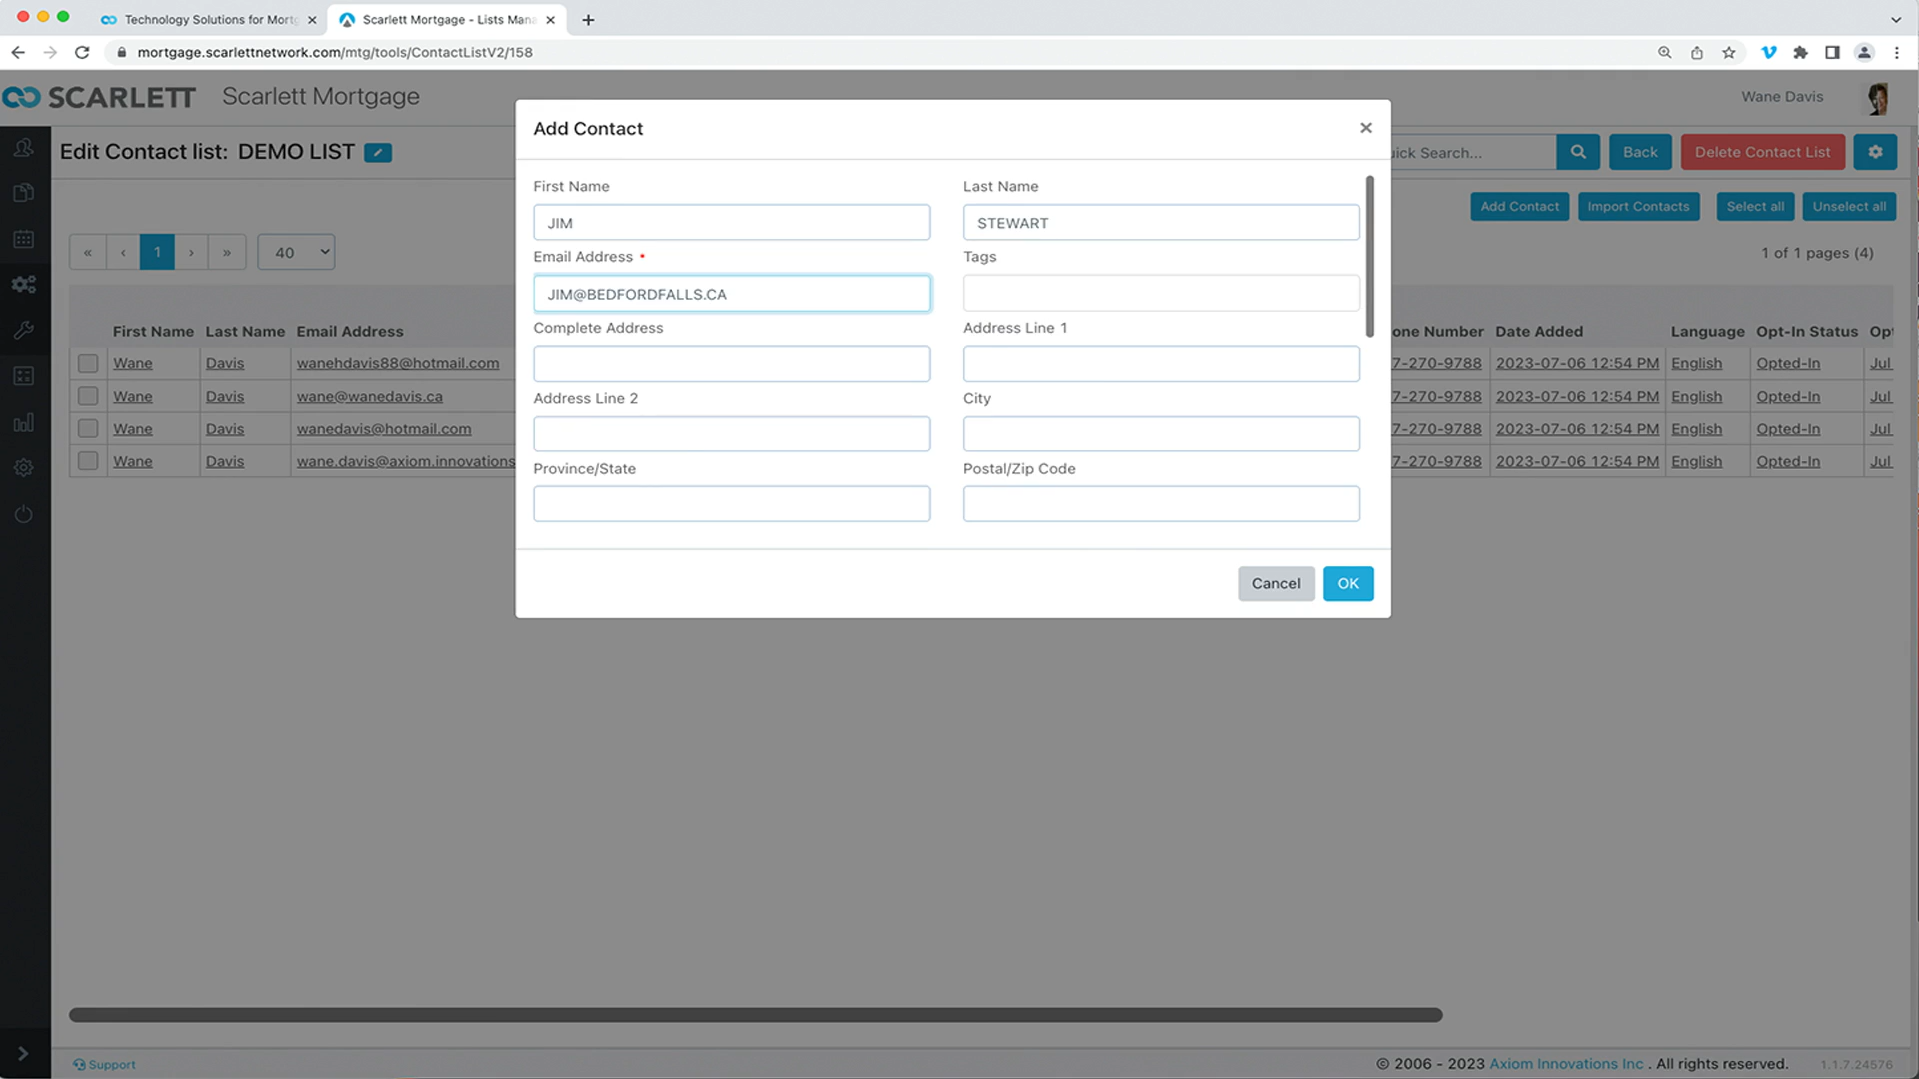
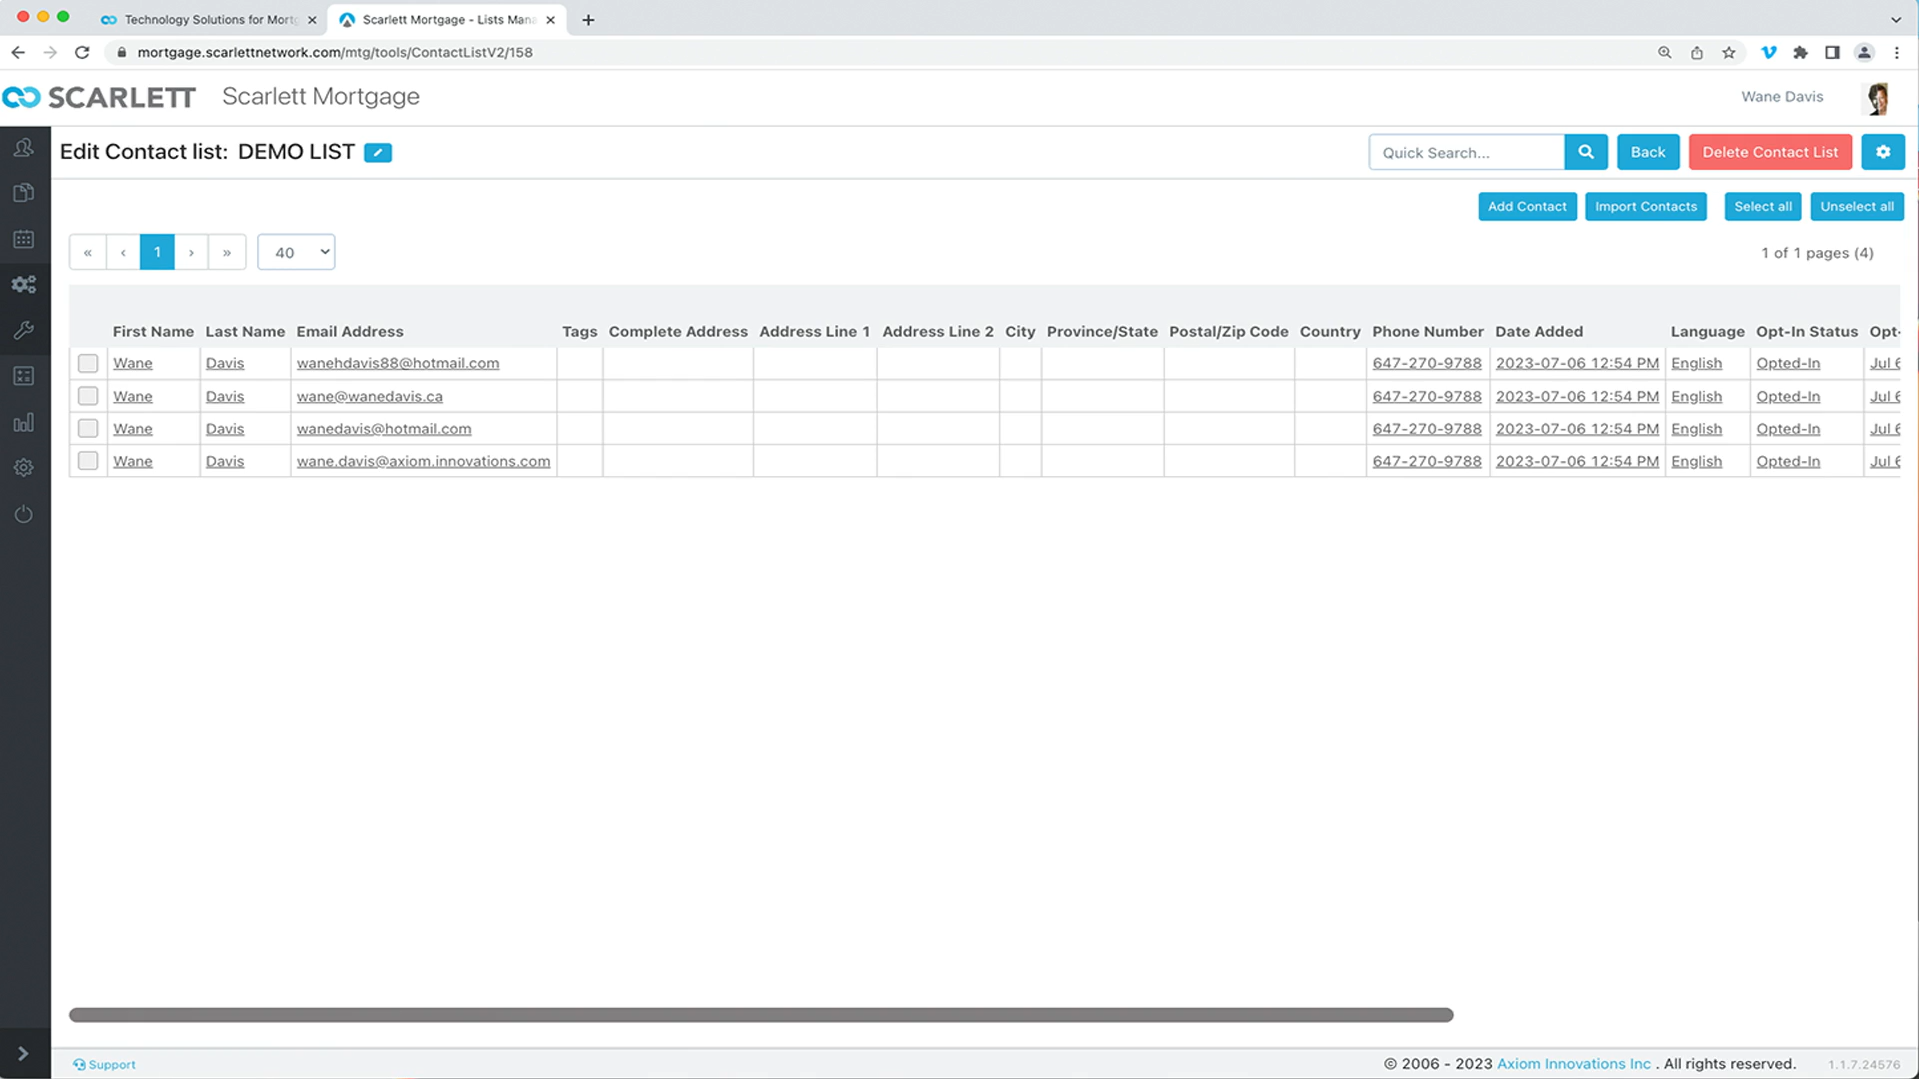
or Edit our list. For example, add a contact.
14) You can also add to a list by Importing Contacts and uploading them. Again, you can use Excel, CSV, or Copy & Paste
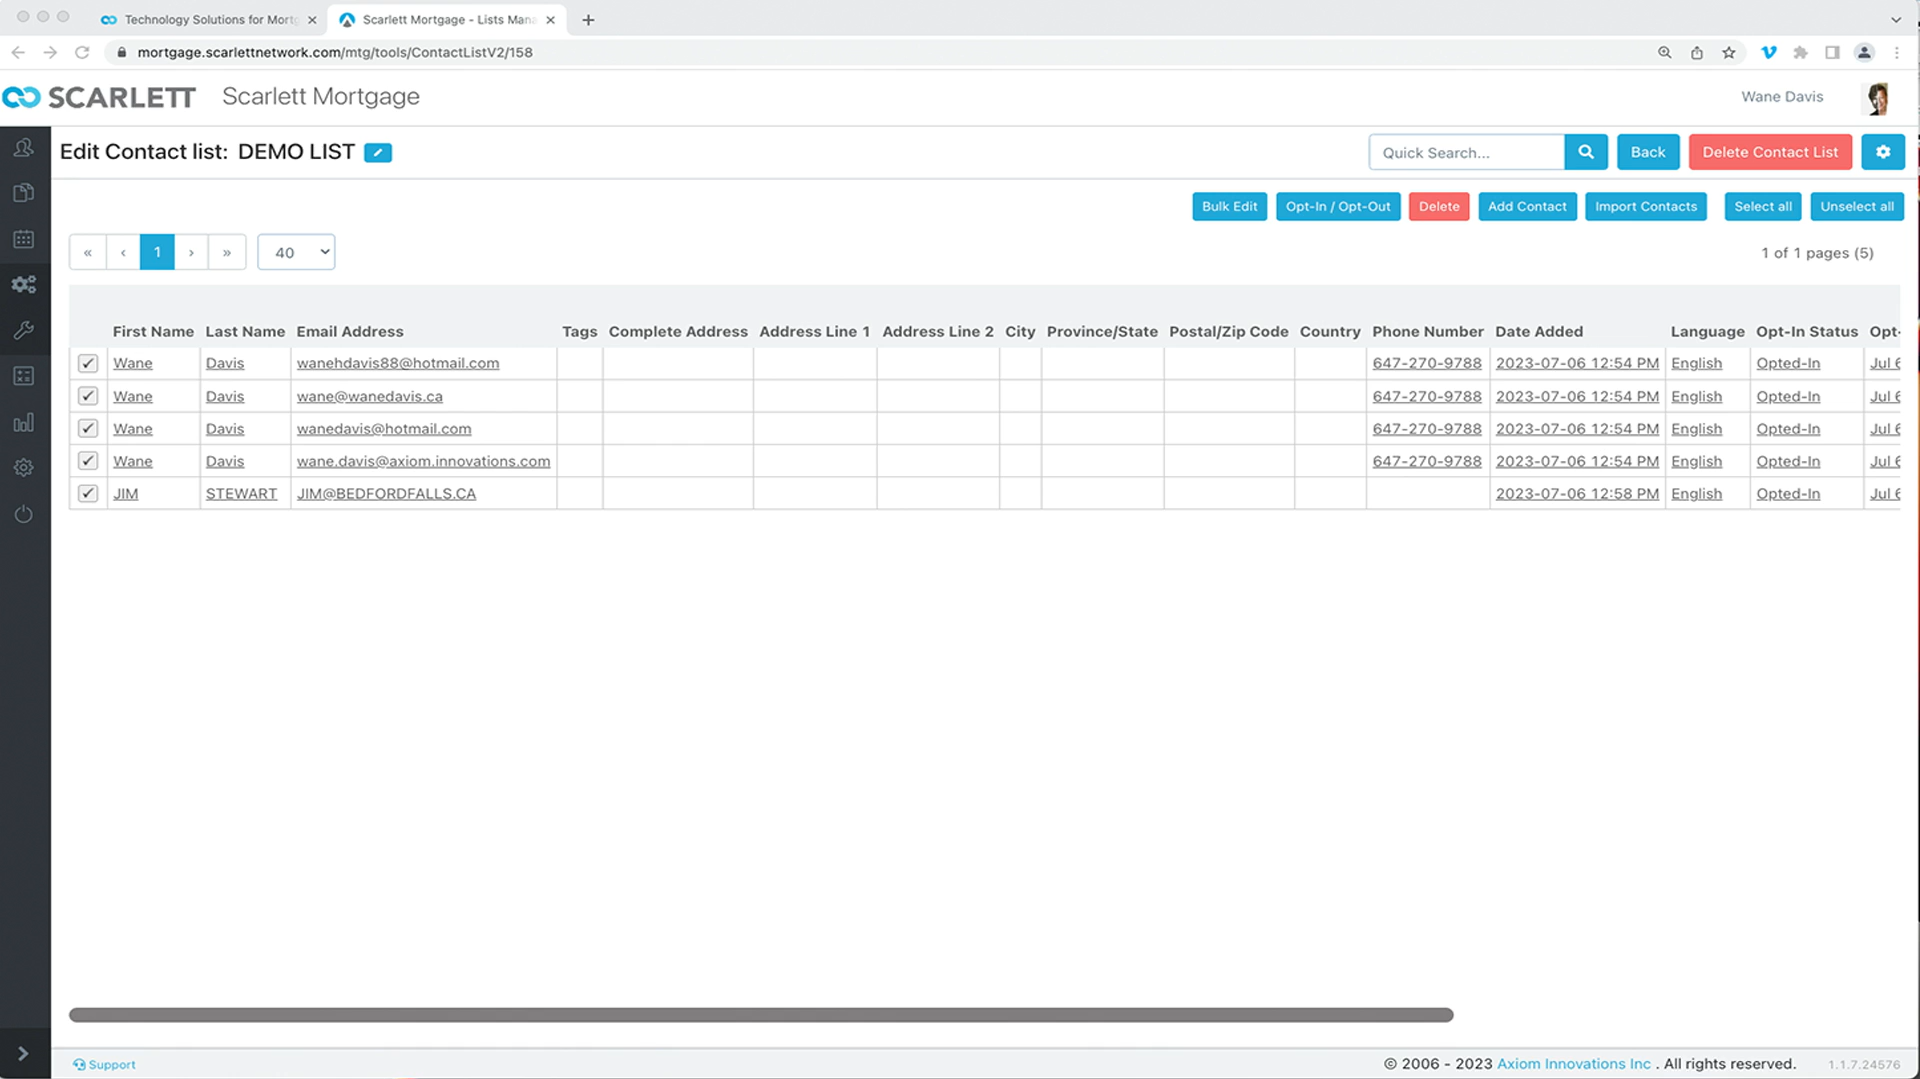
15) You can also select and unselect all to do any bulk operations
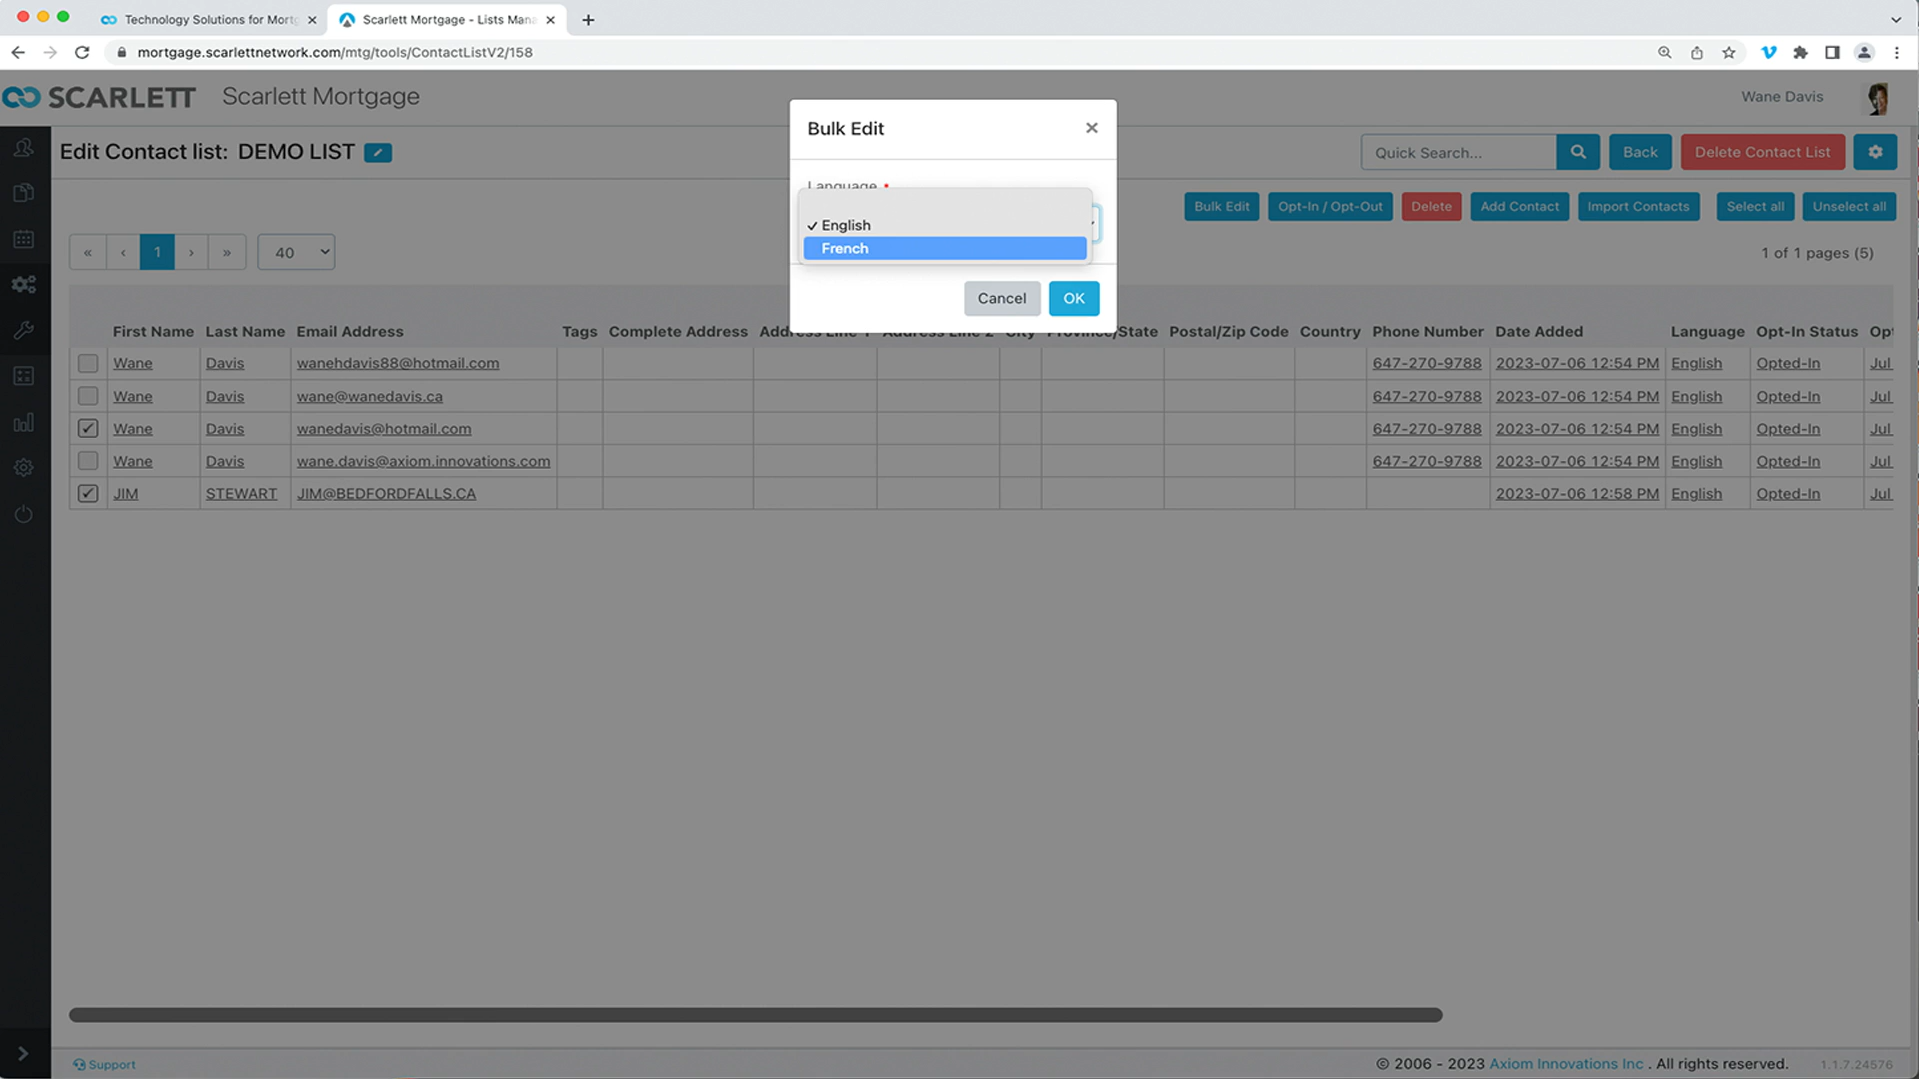
16) As well, you can change the language preference within Bulk Edit
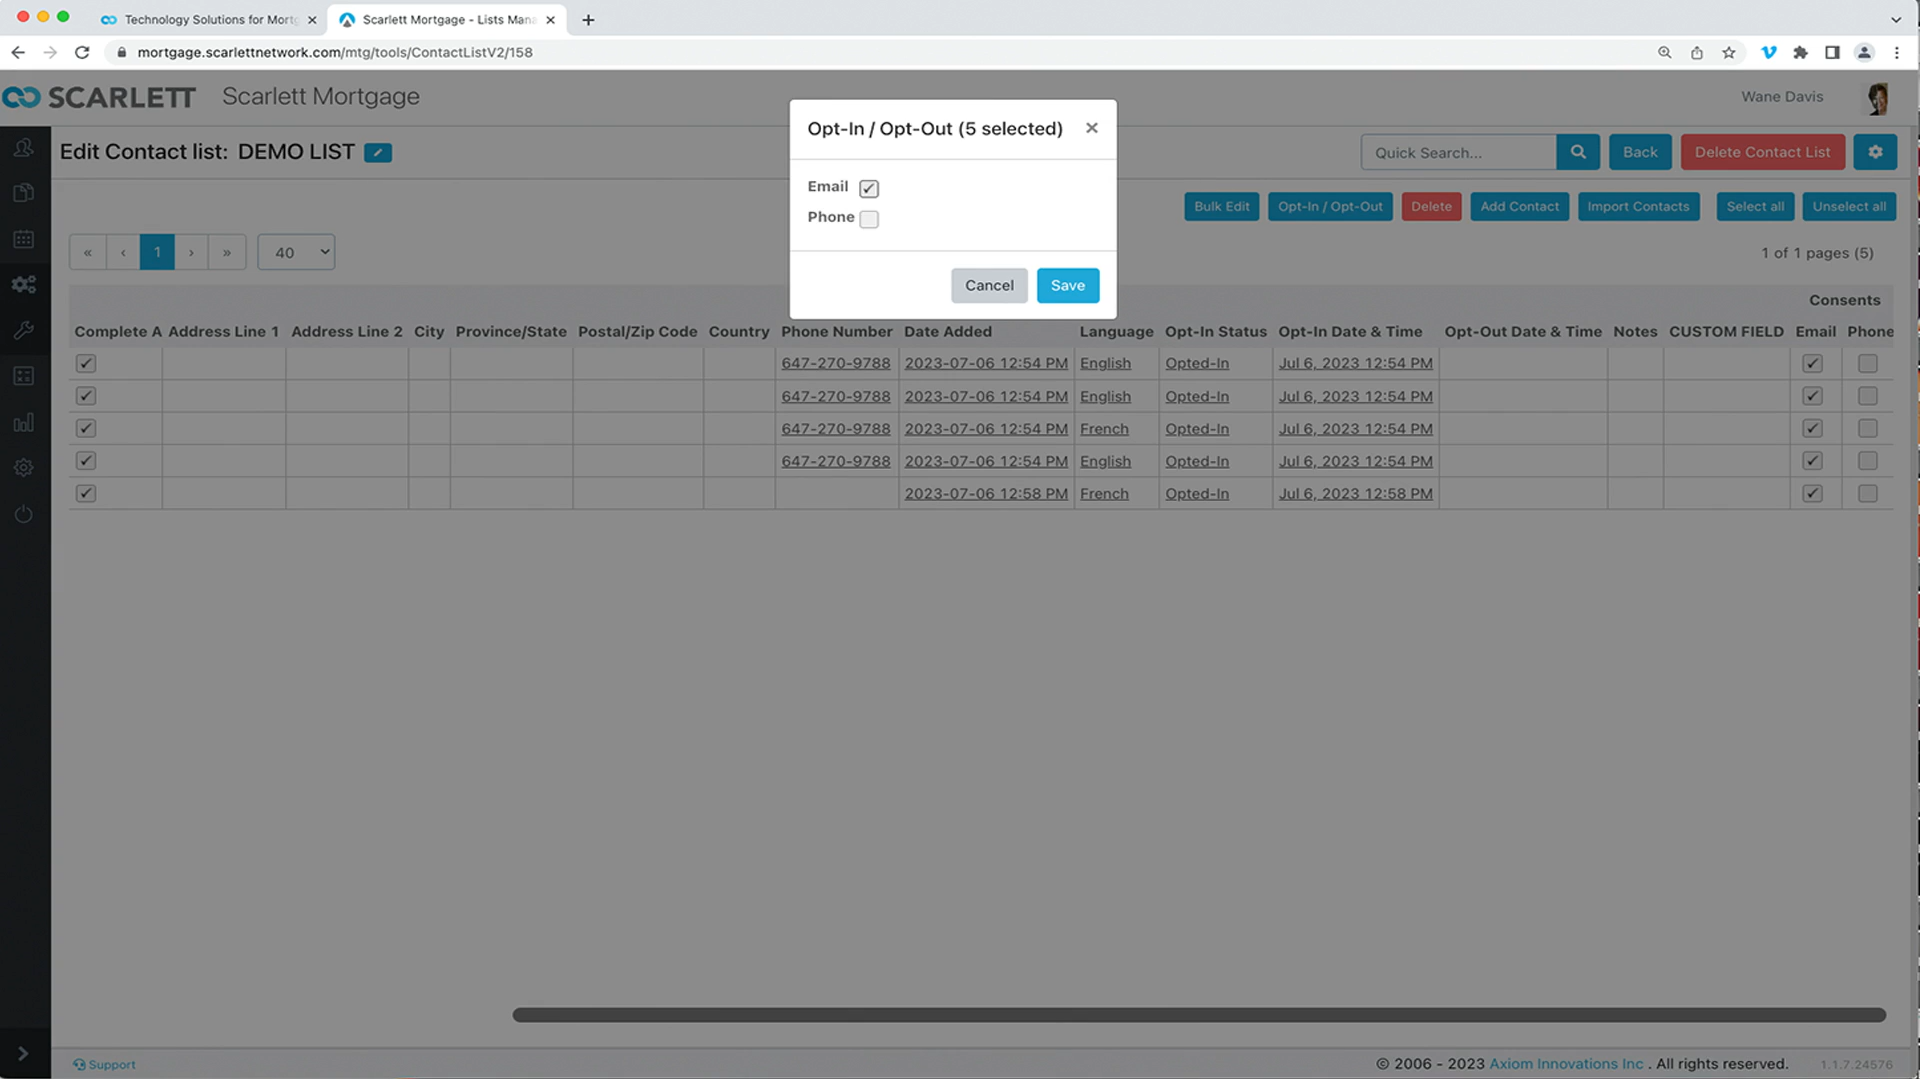
17) You can do the same for opt-in or opt out by selecting the blue opt-in button
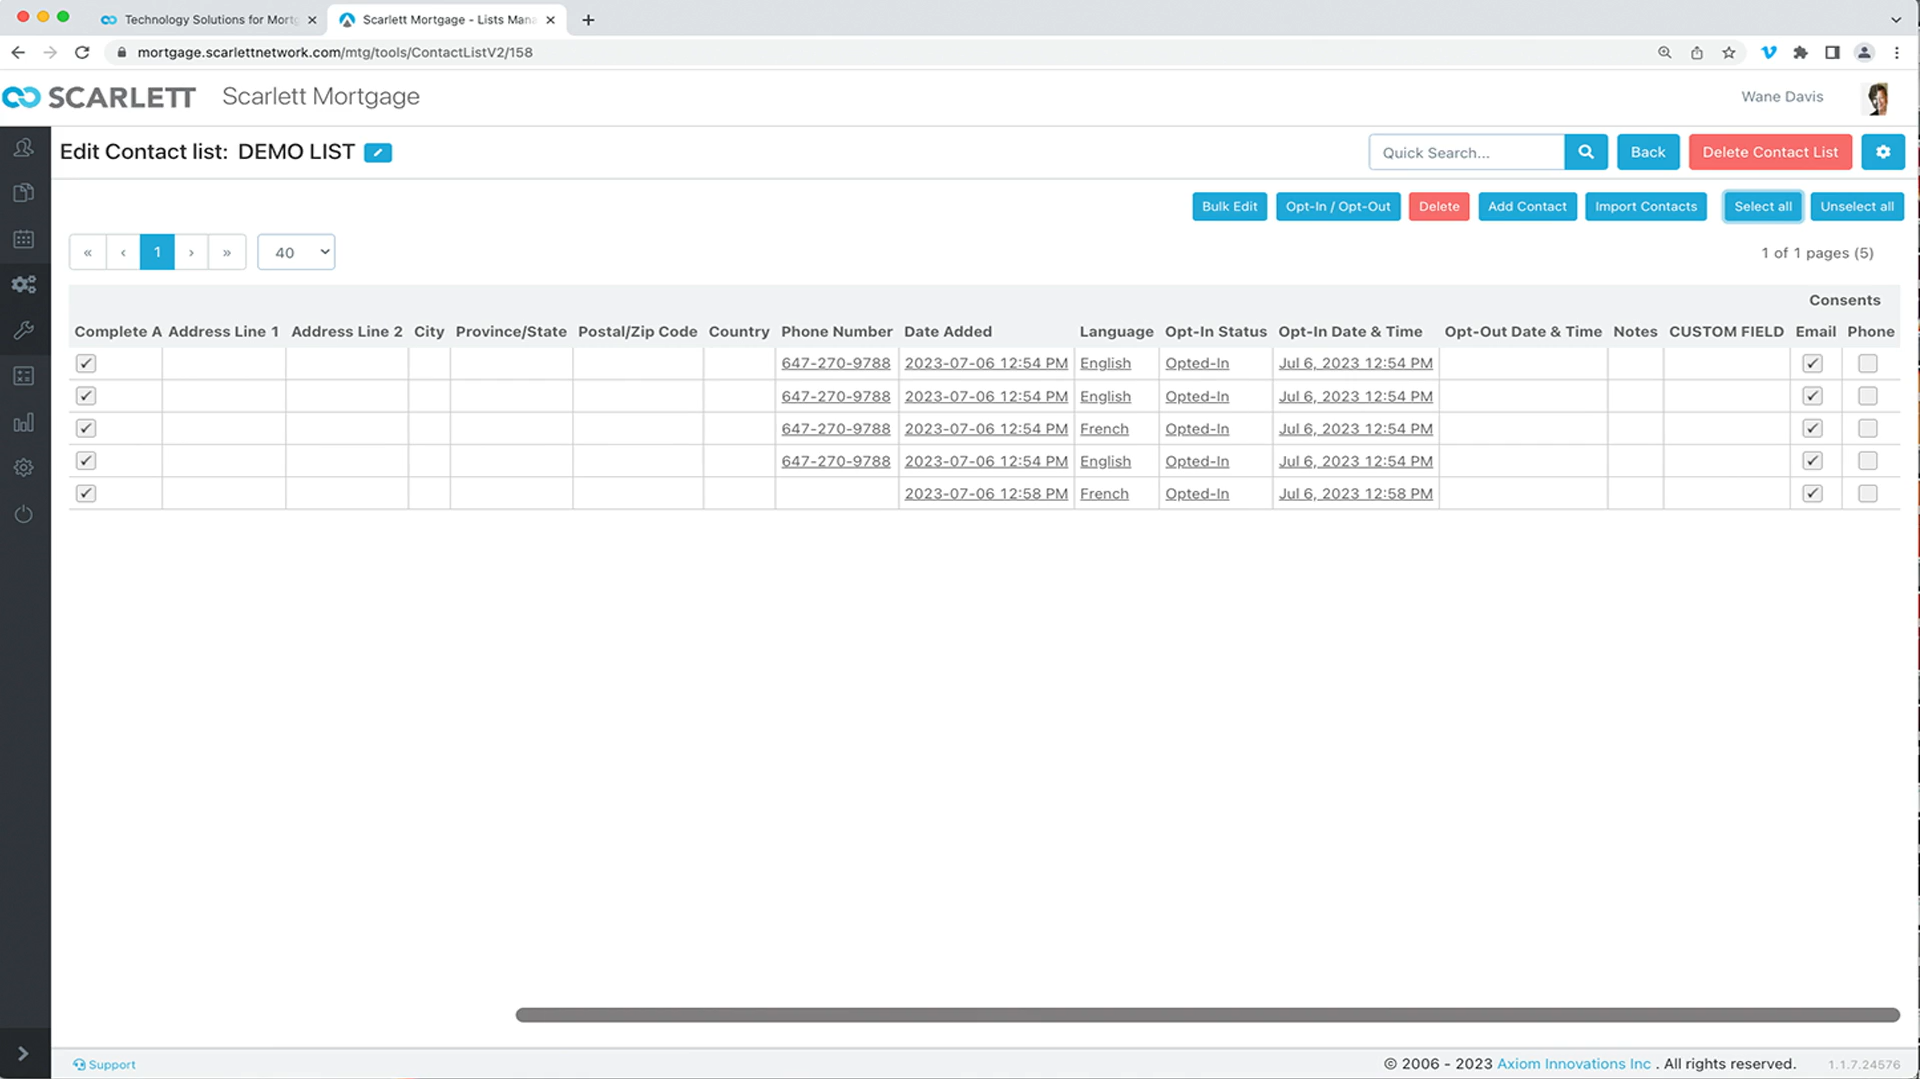
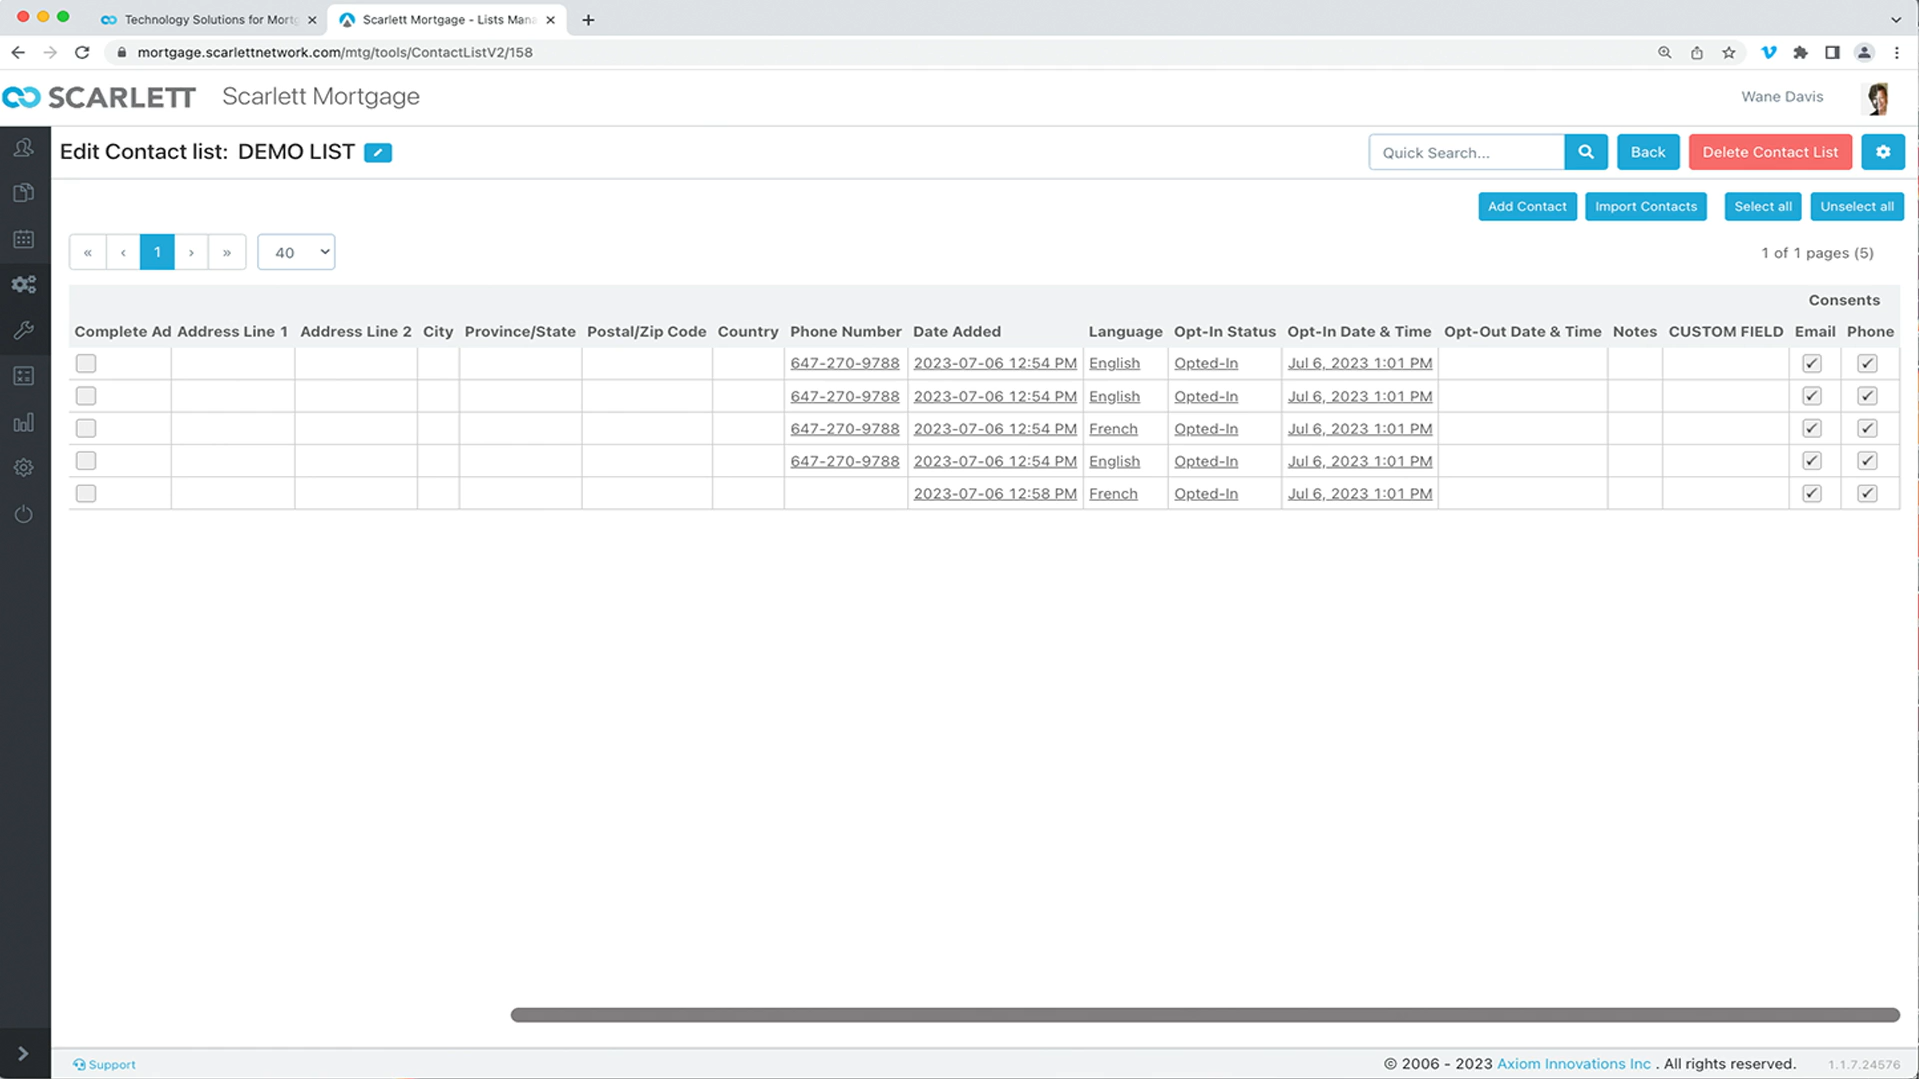
18) Here you can see the revisions exactly reflect the changes we made in the bulk allocation
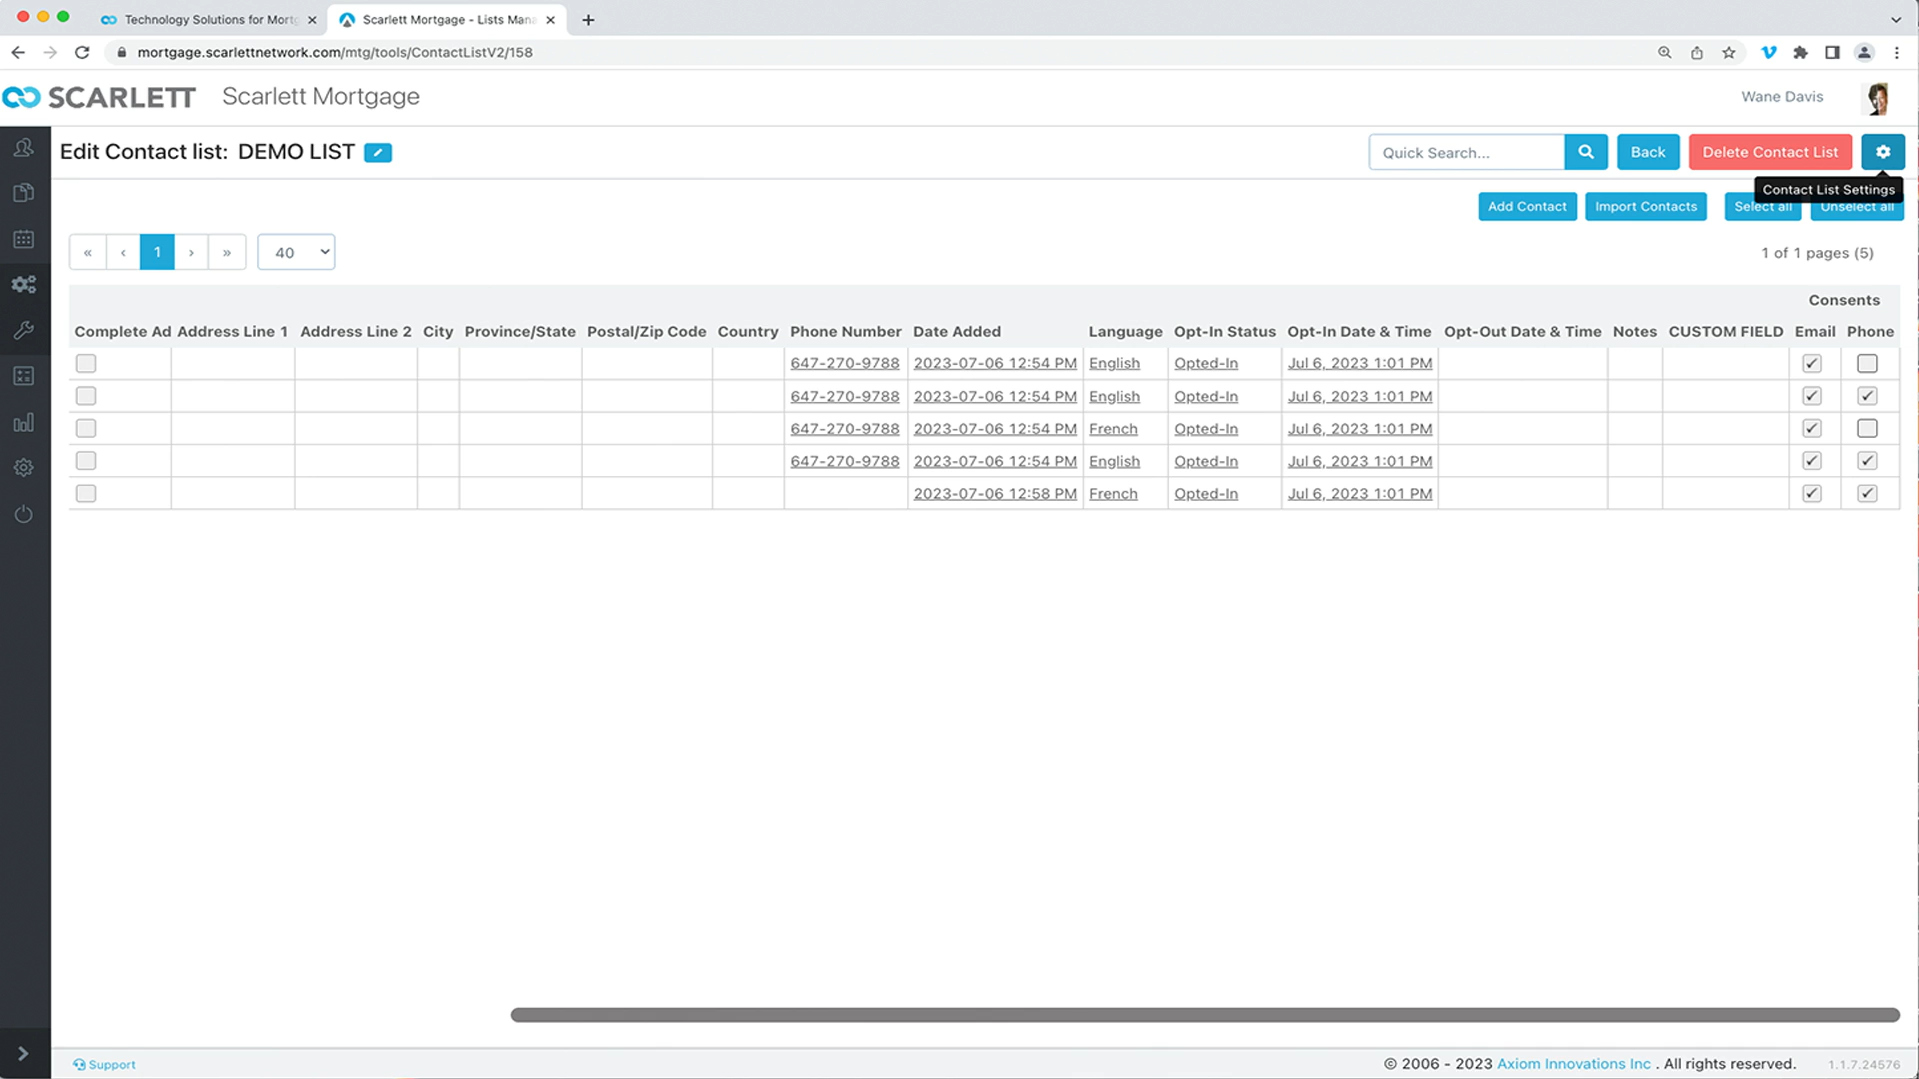
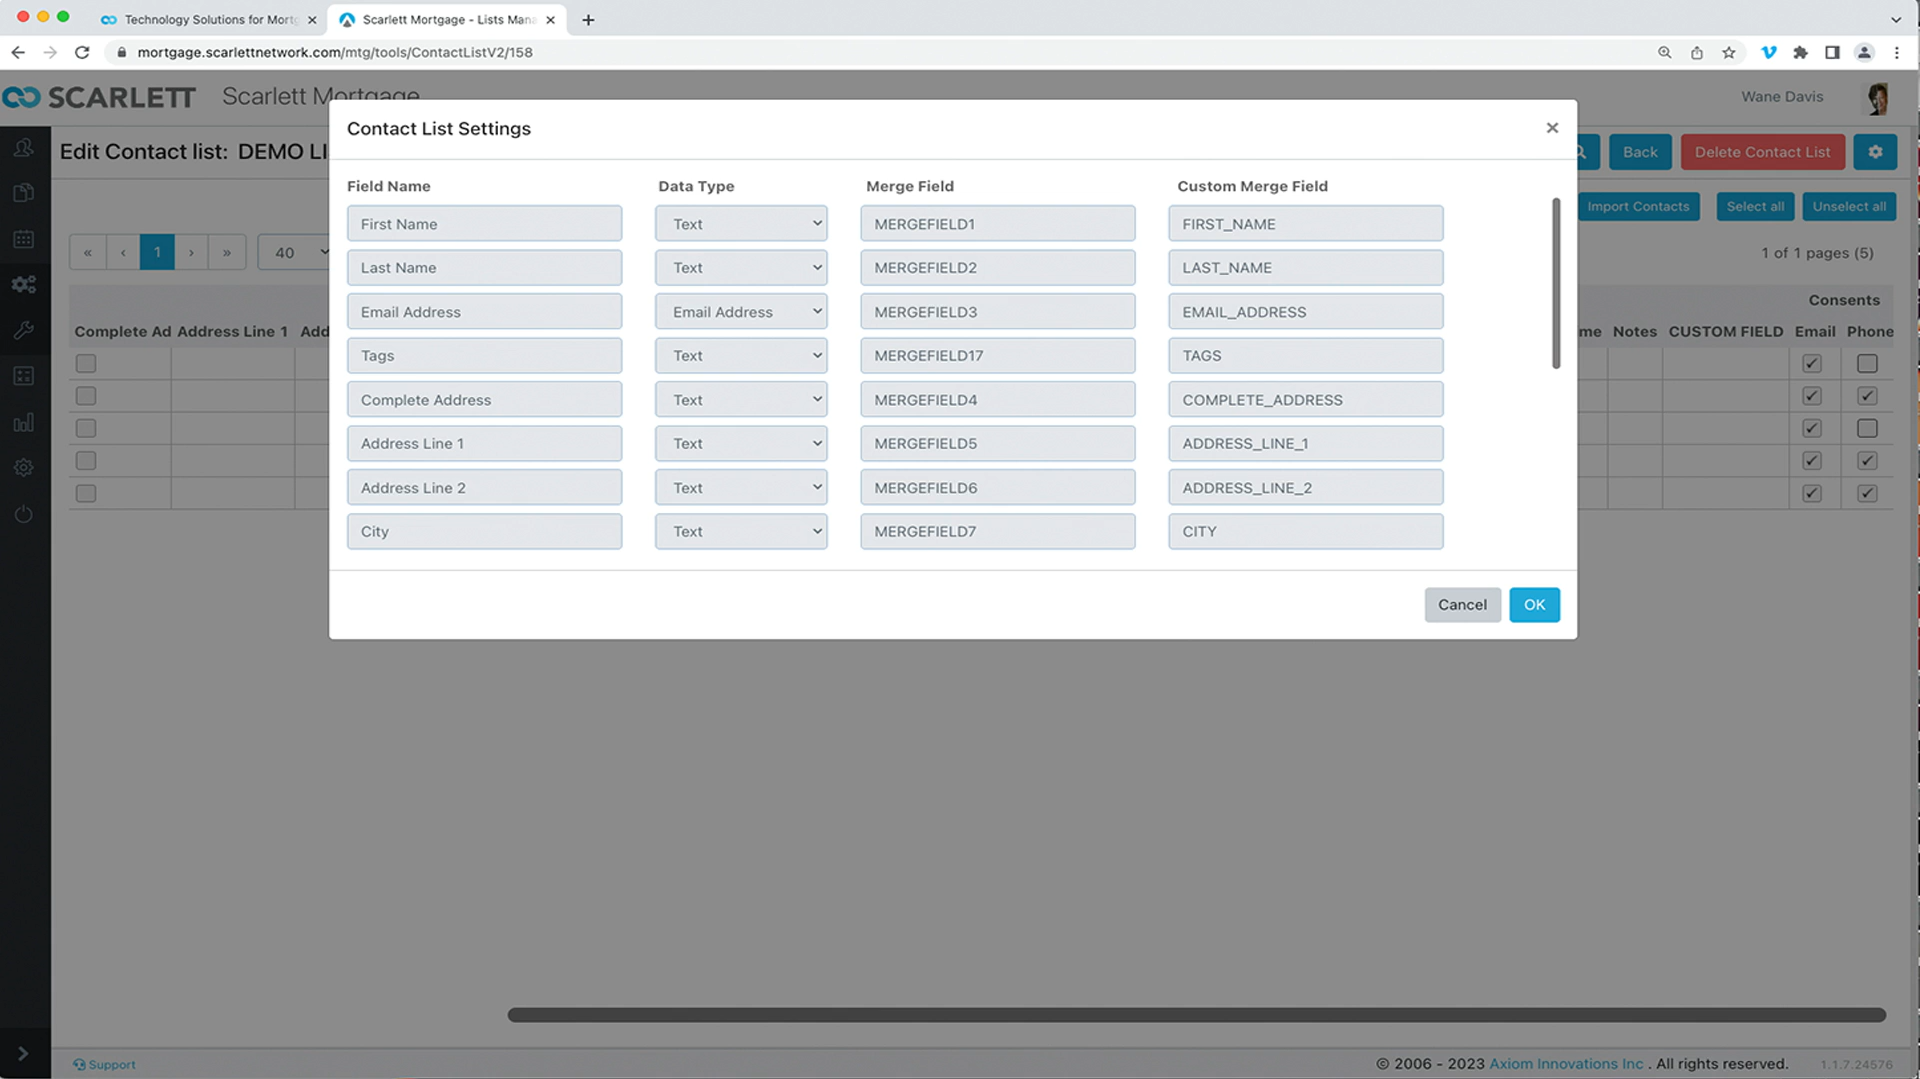
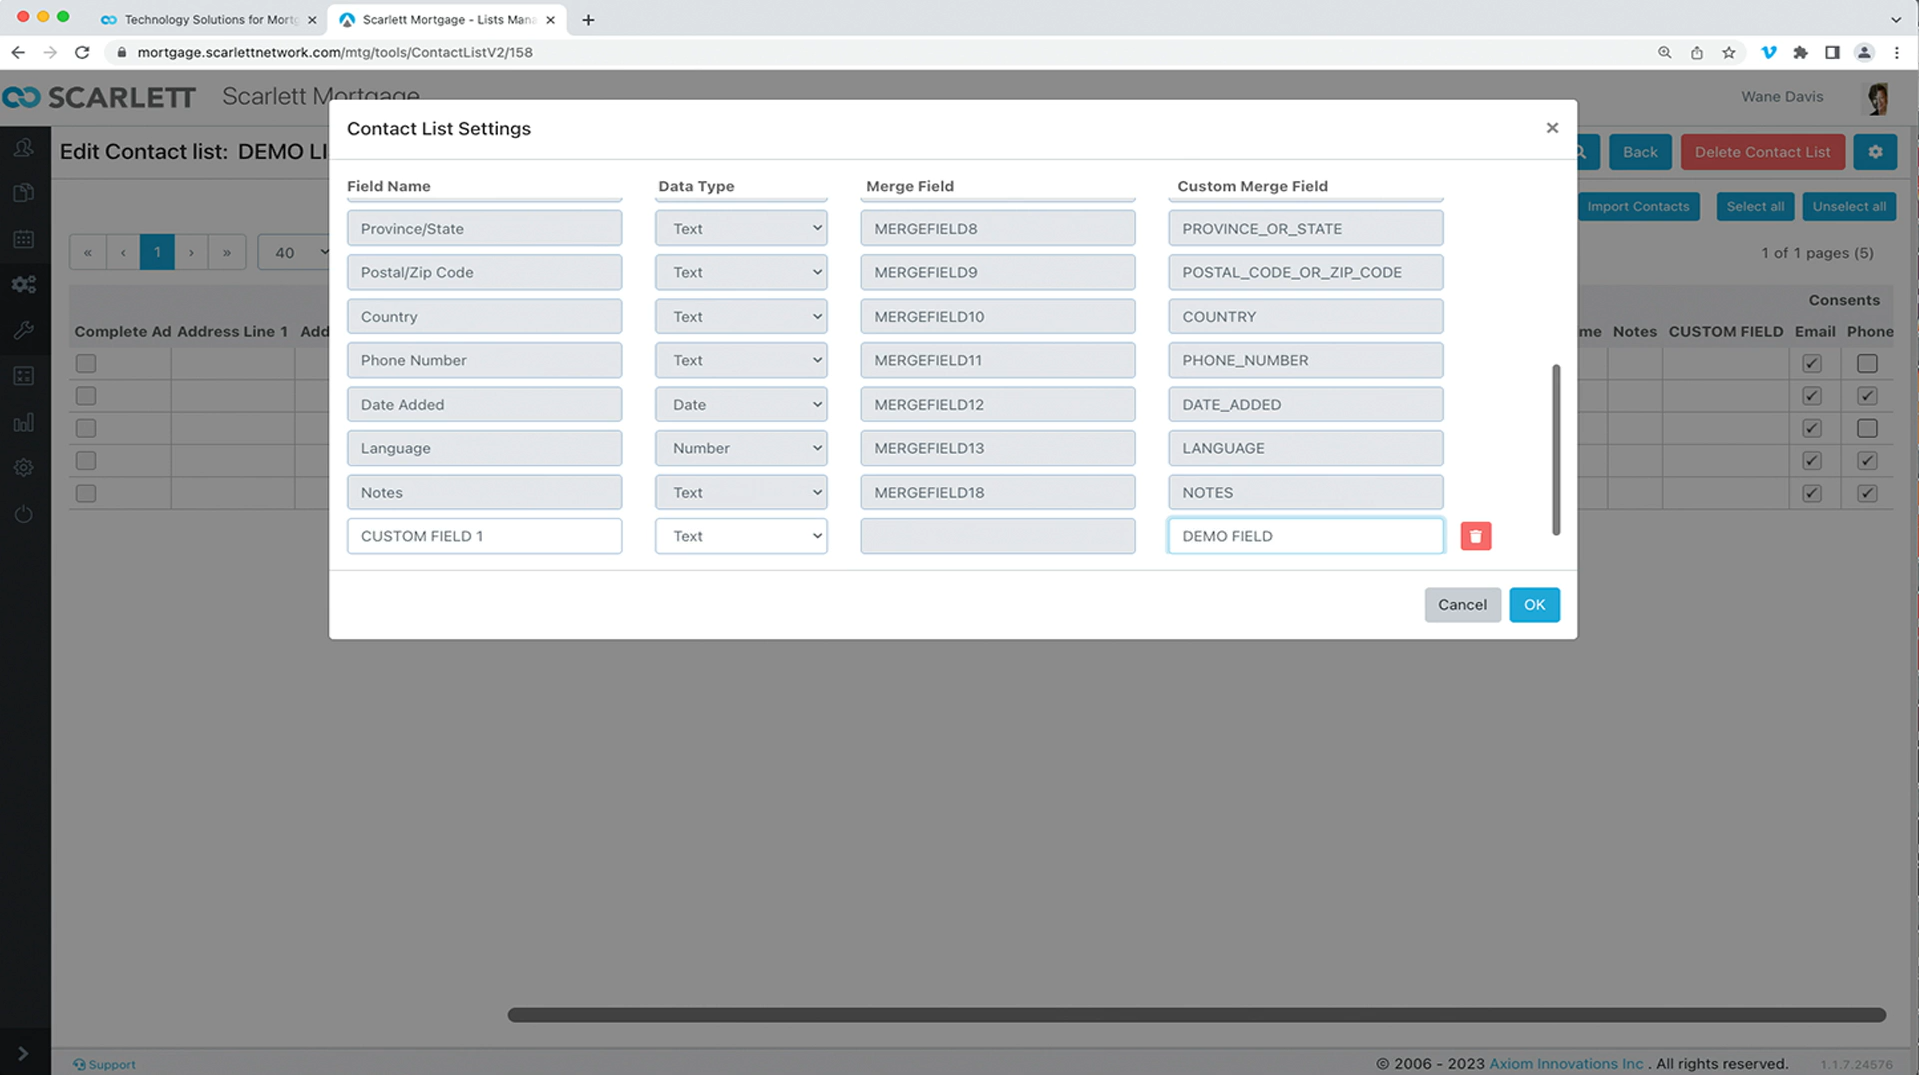
19) Now let's take a look at contact list settings by clicking on the settings icon
20) This will show you a list of fields
21) Let's add a custom field one, which replaces the system generated merge field name
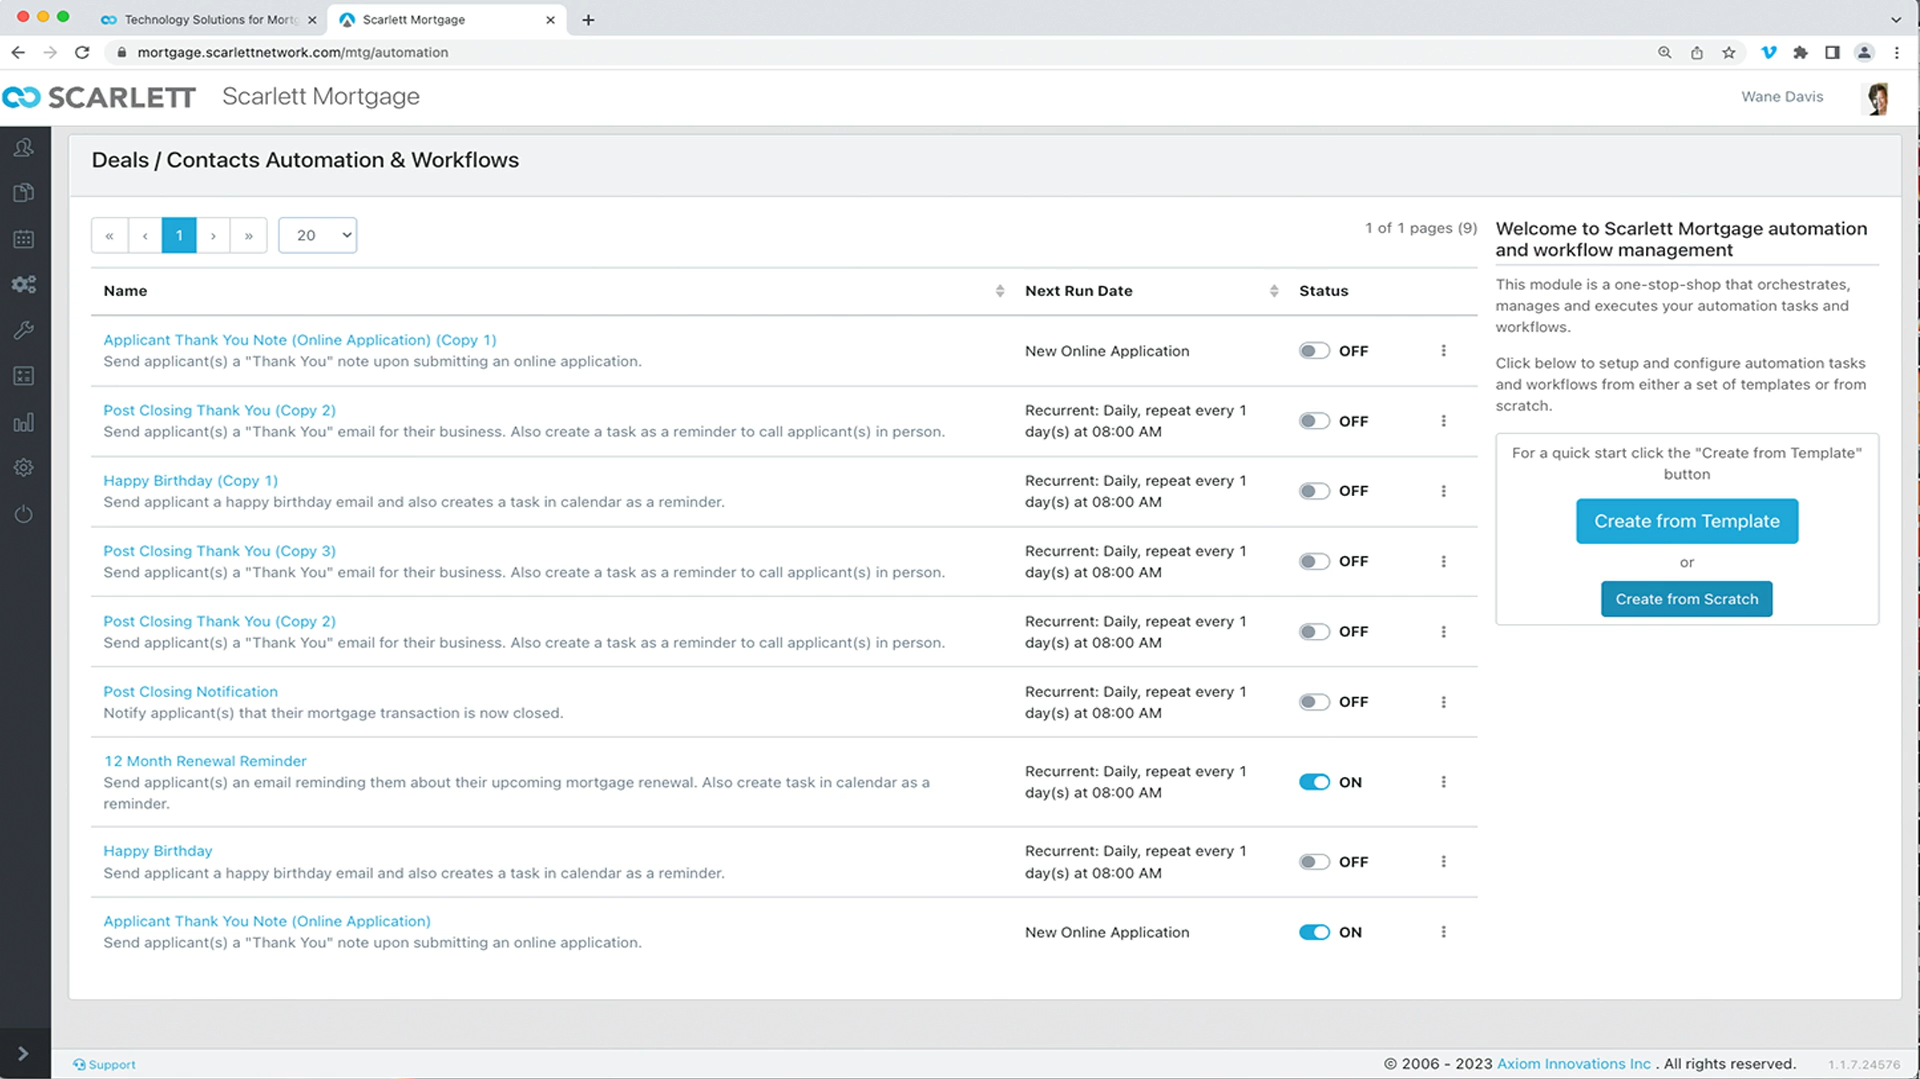
22) Now let's create a new automation piece from scratch by selecting the blue "Create from Scratch" button
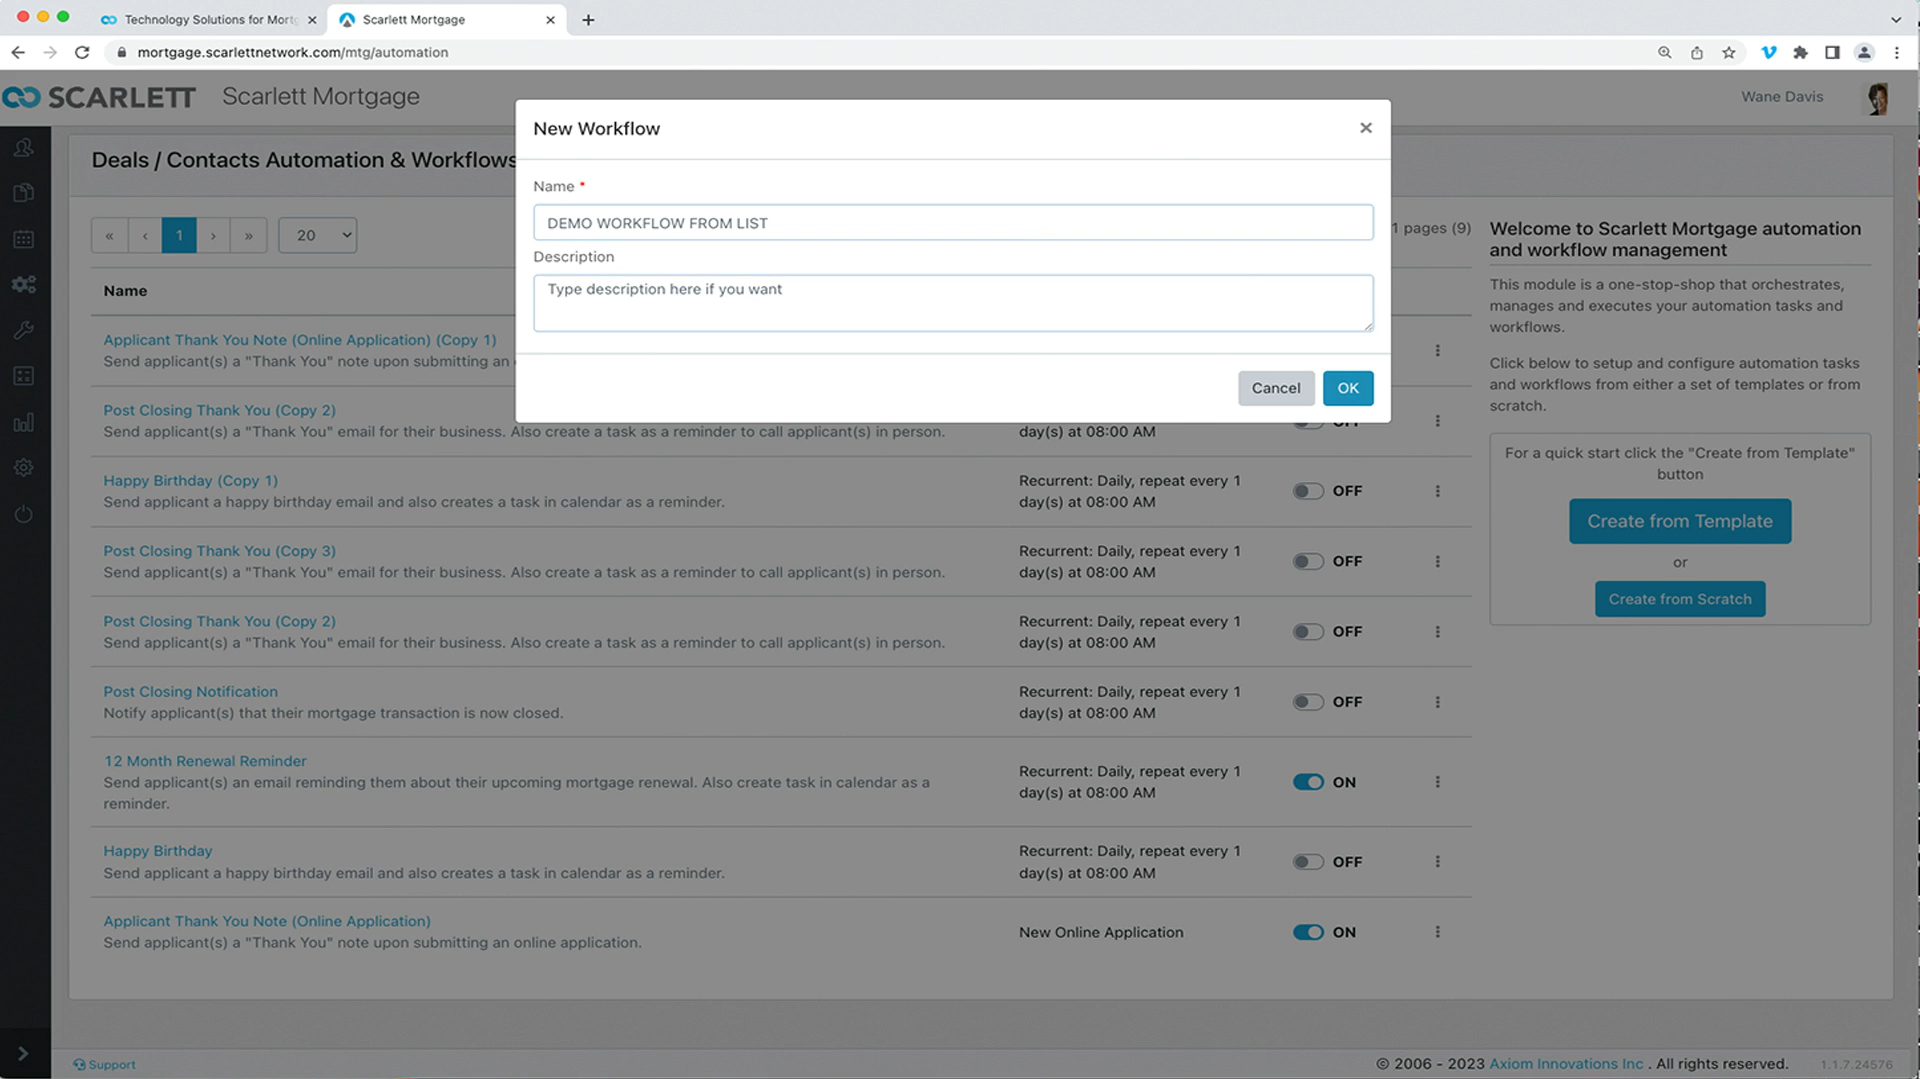
Let's name it demo workflow from the list, and click on "OK"
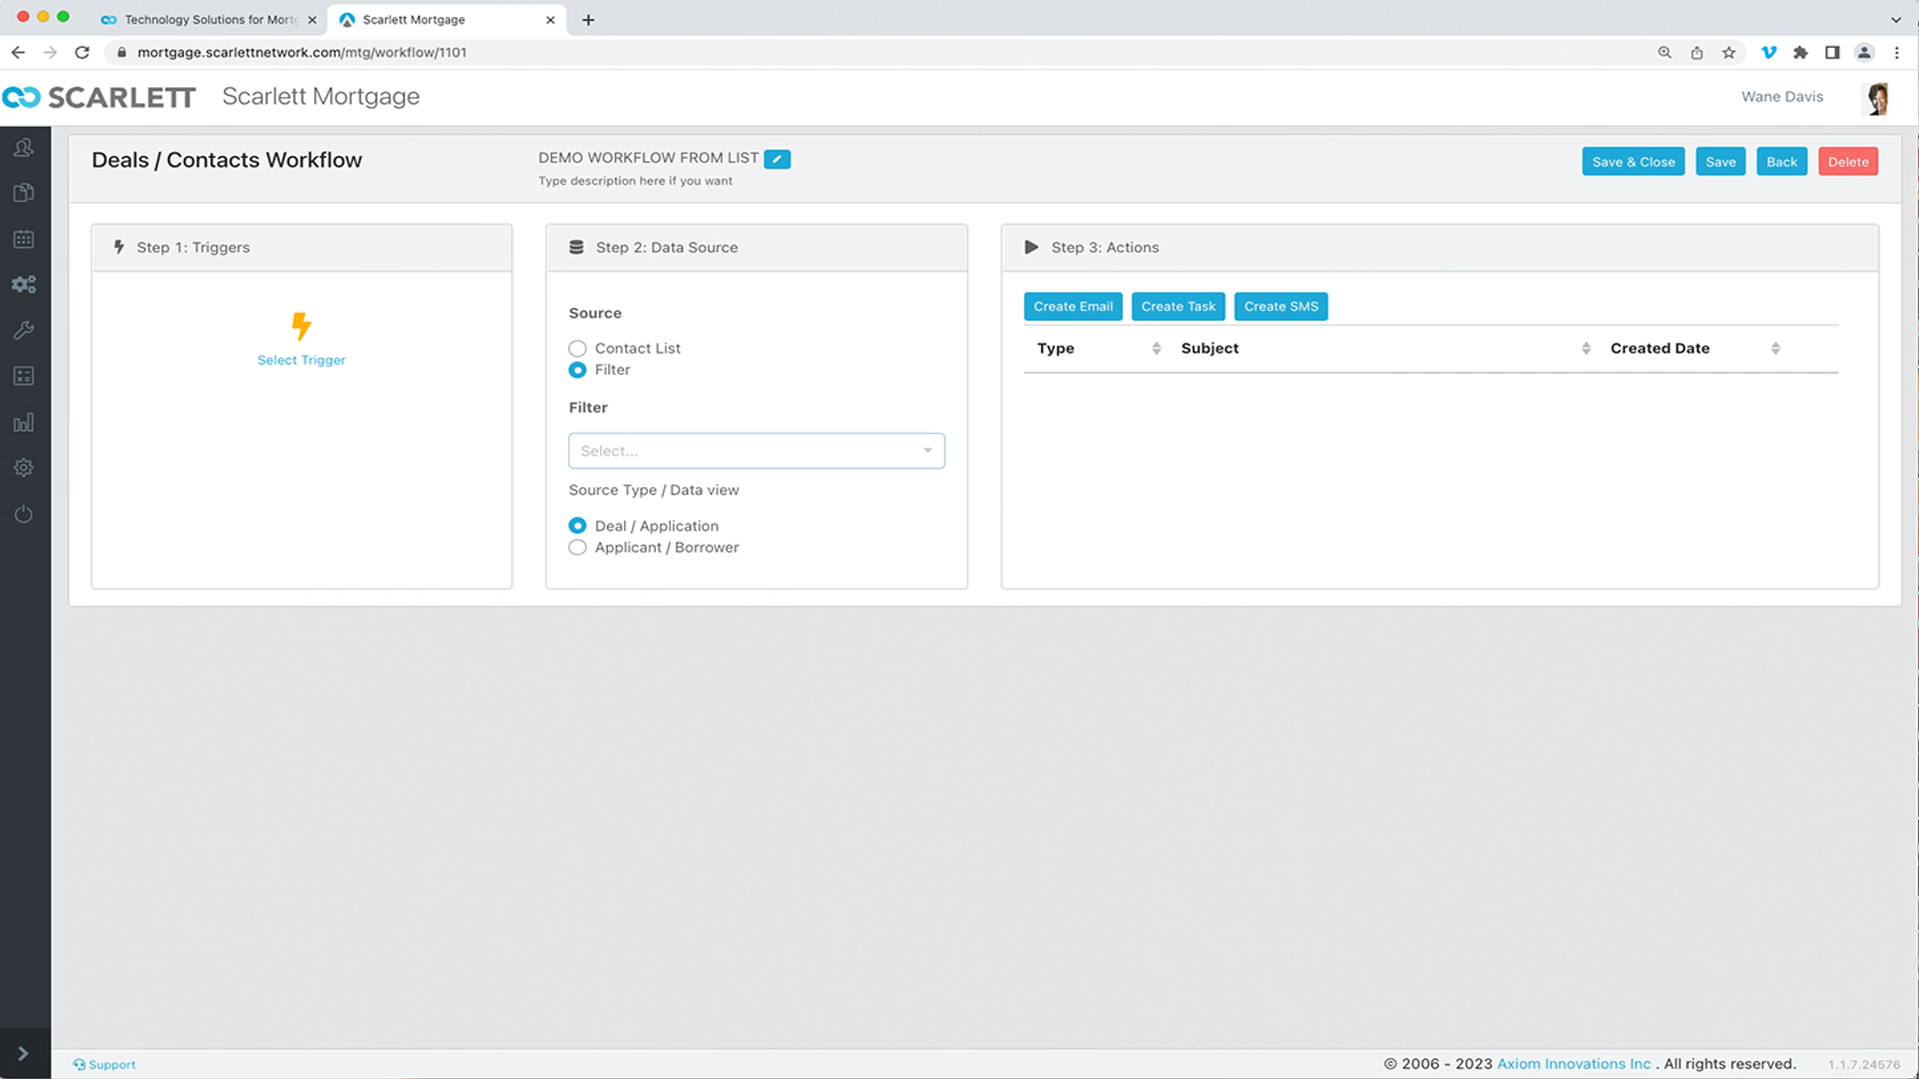
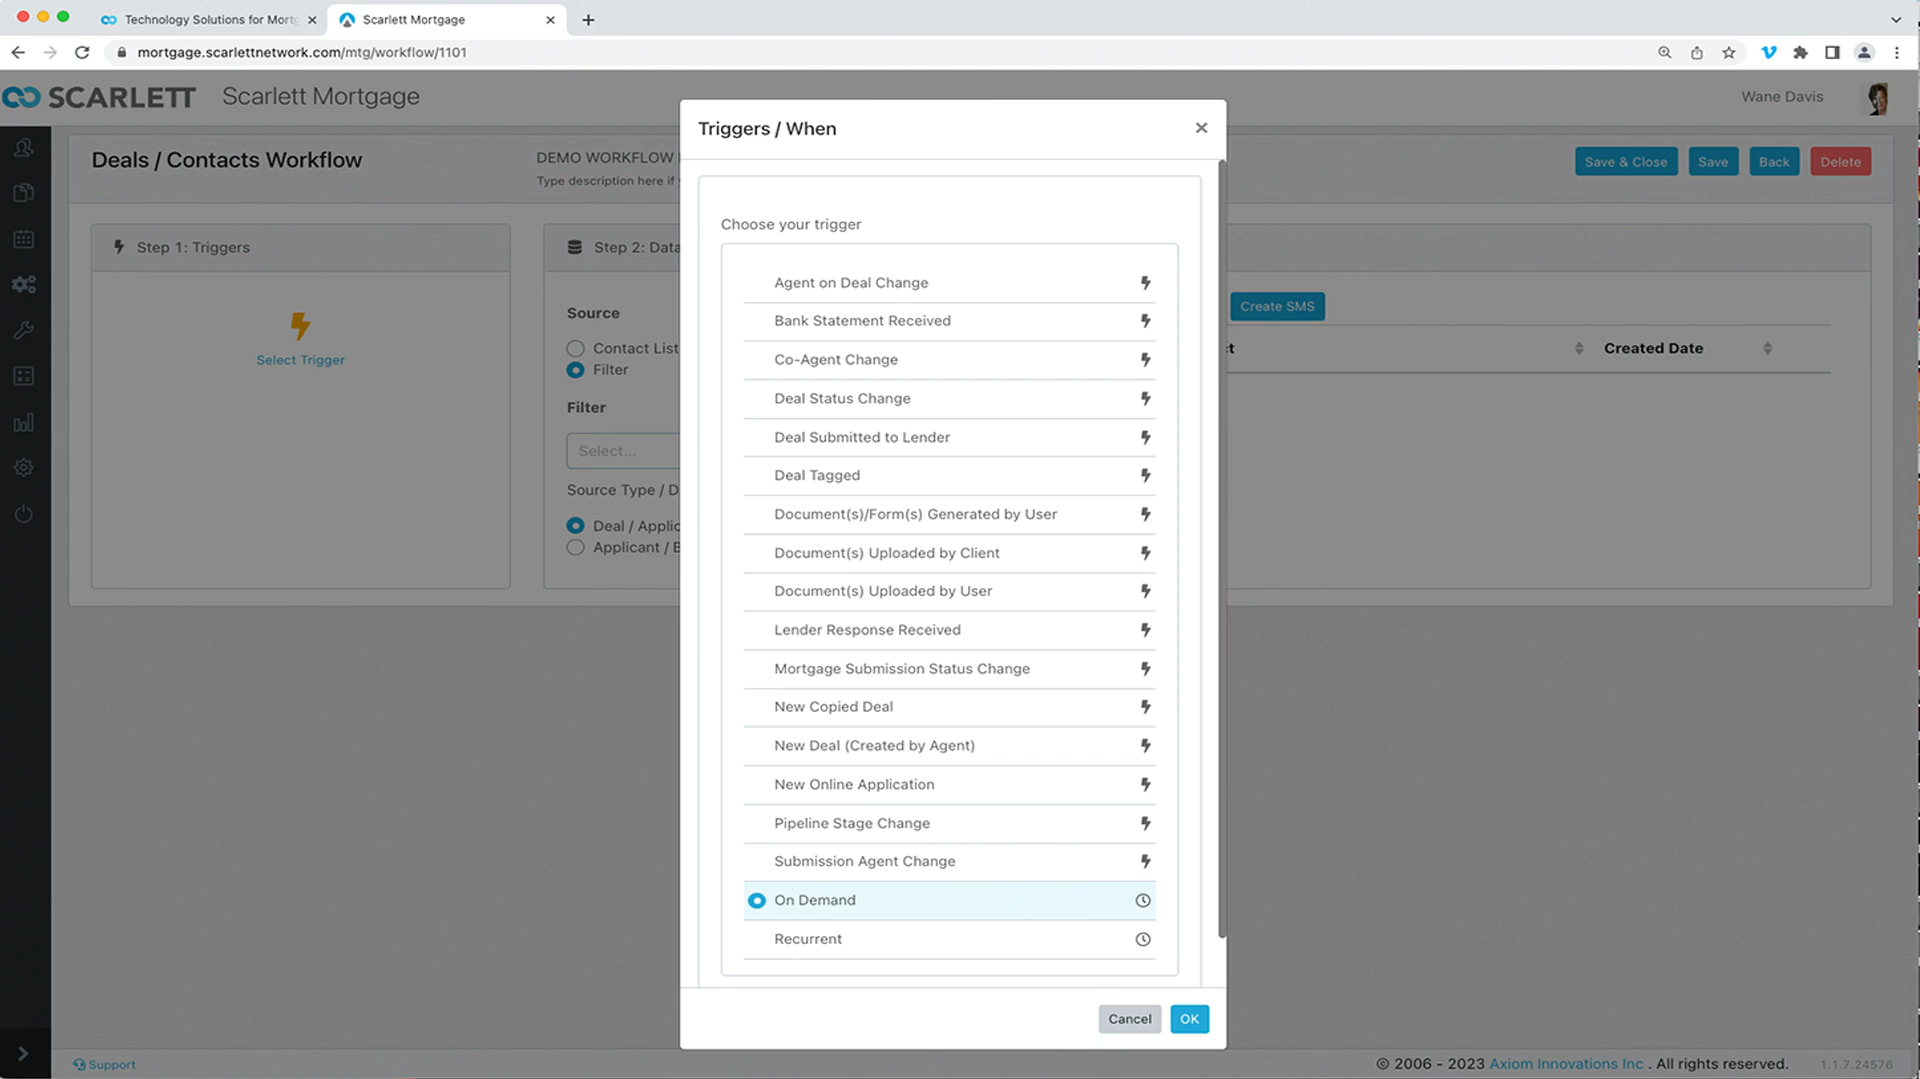
23) In this scenario, most of the triggers in the workflow will not apply except for on demand, so let's choose that
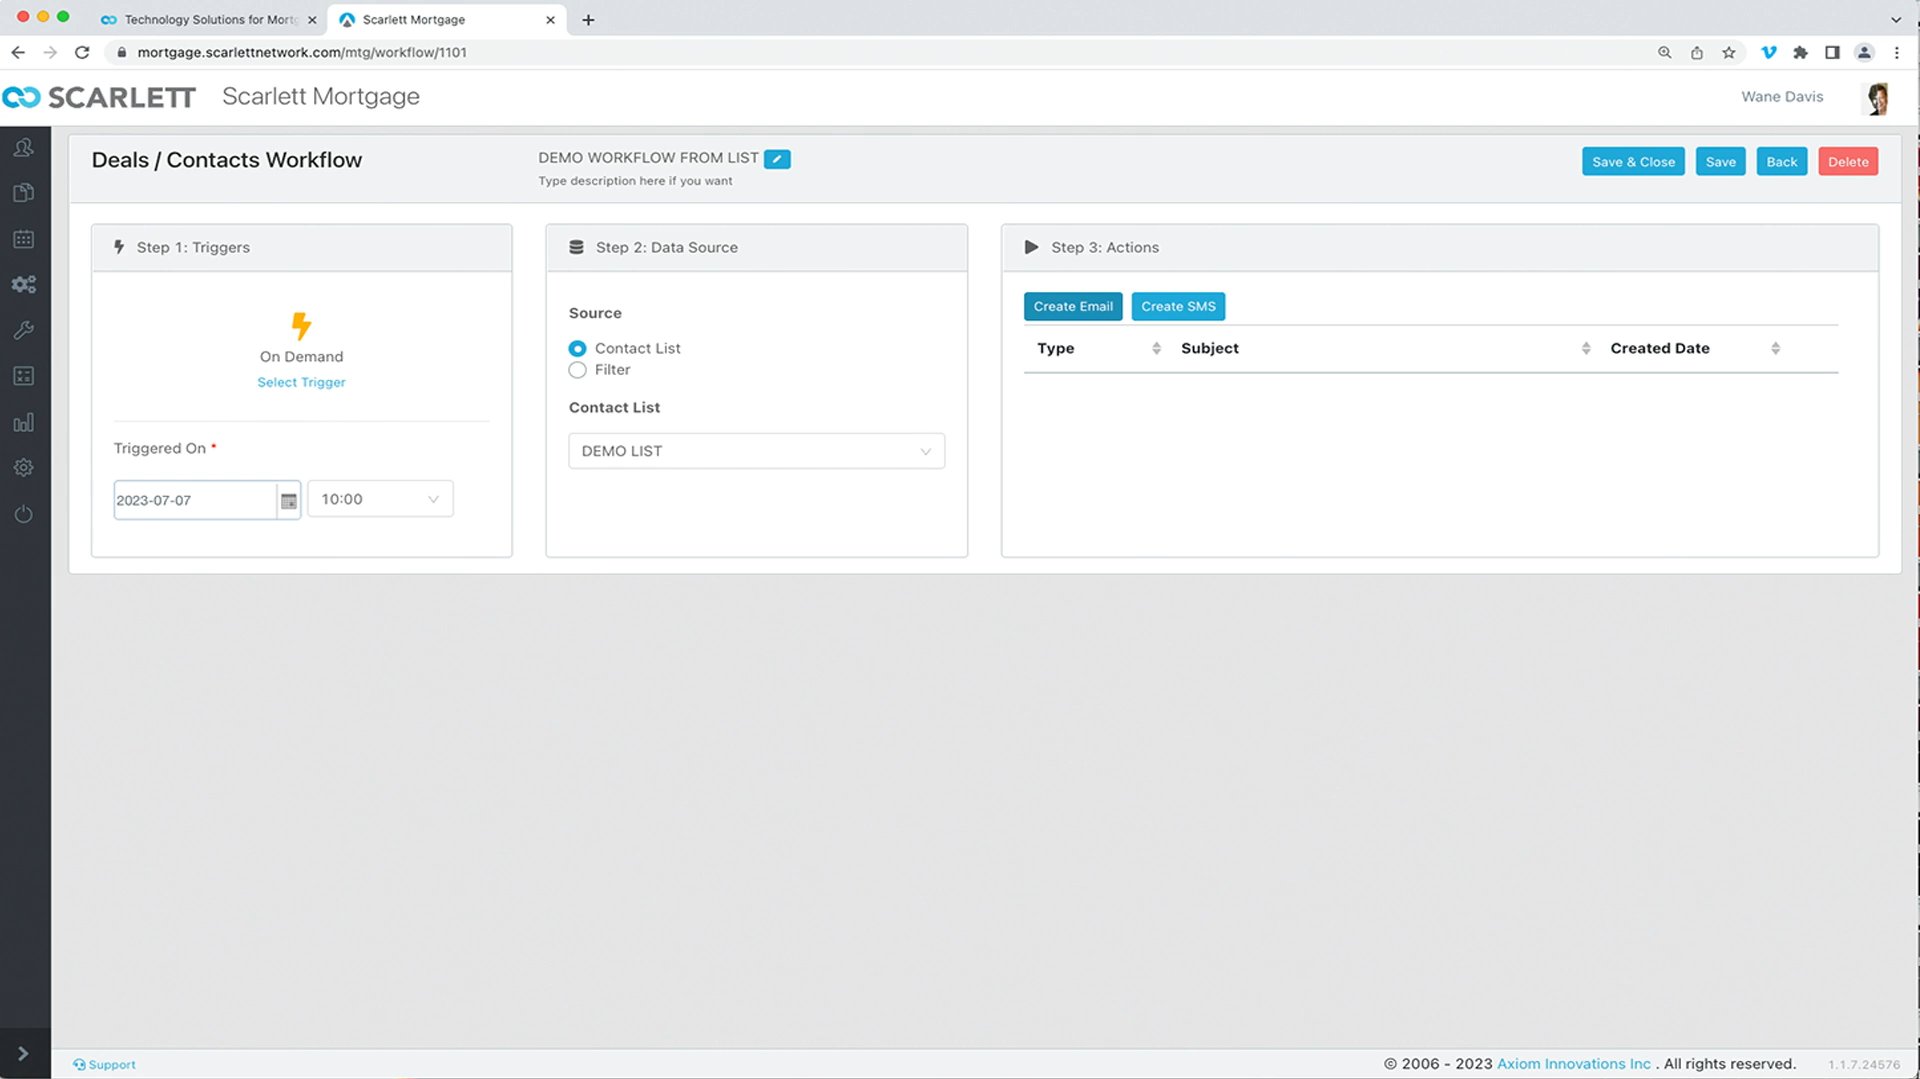
24) Let's set the trigger for 10:00 AM and we want to send it tomorrow (July 7, 2023). We will select "DEMO LIST" from the Data Source. Then click on "Create Email".
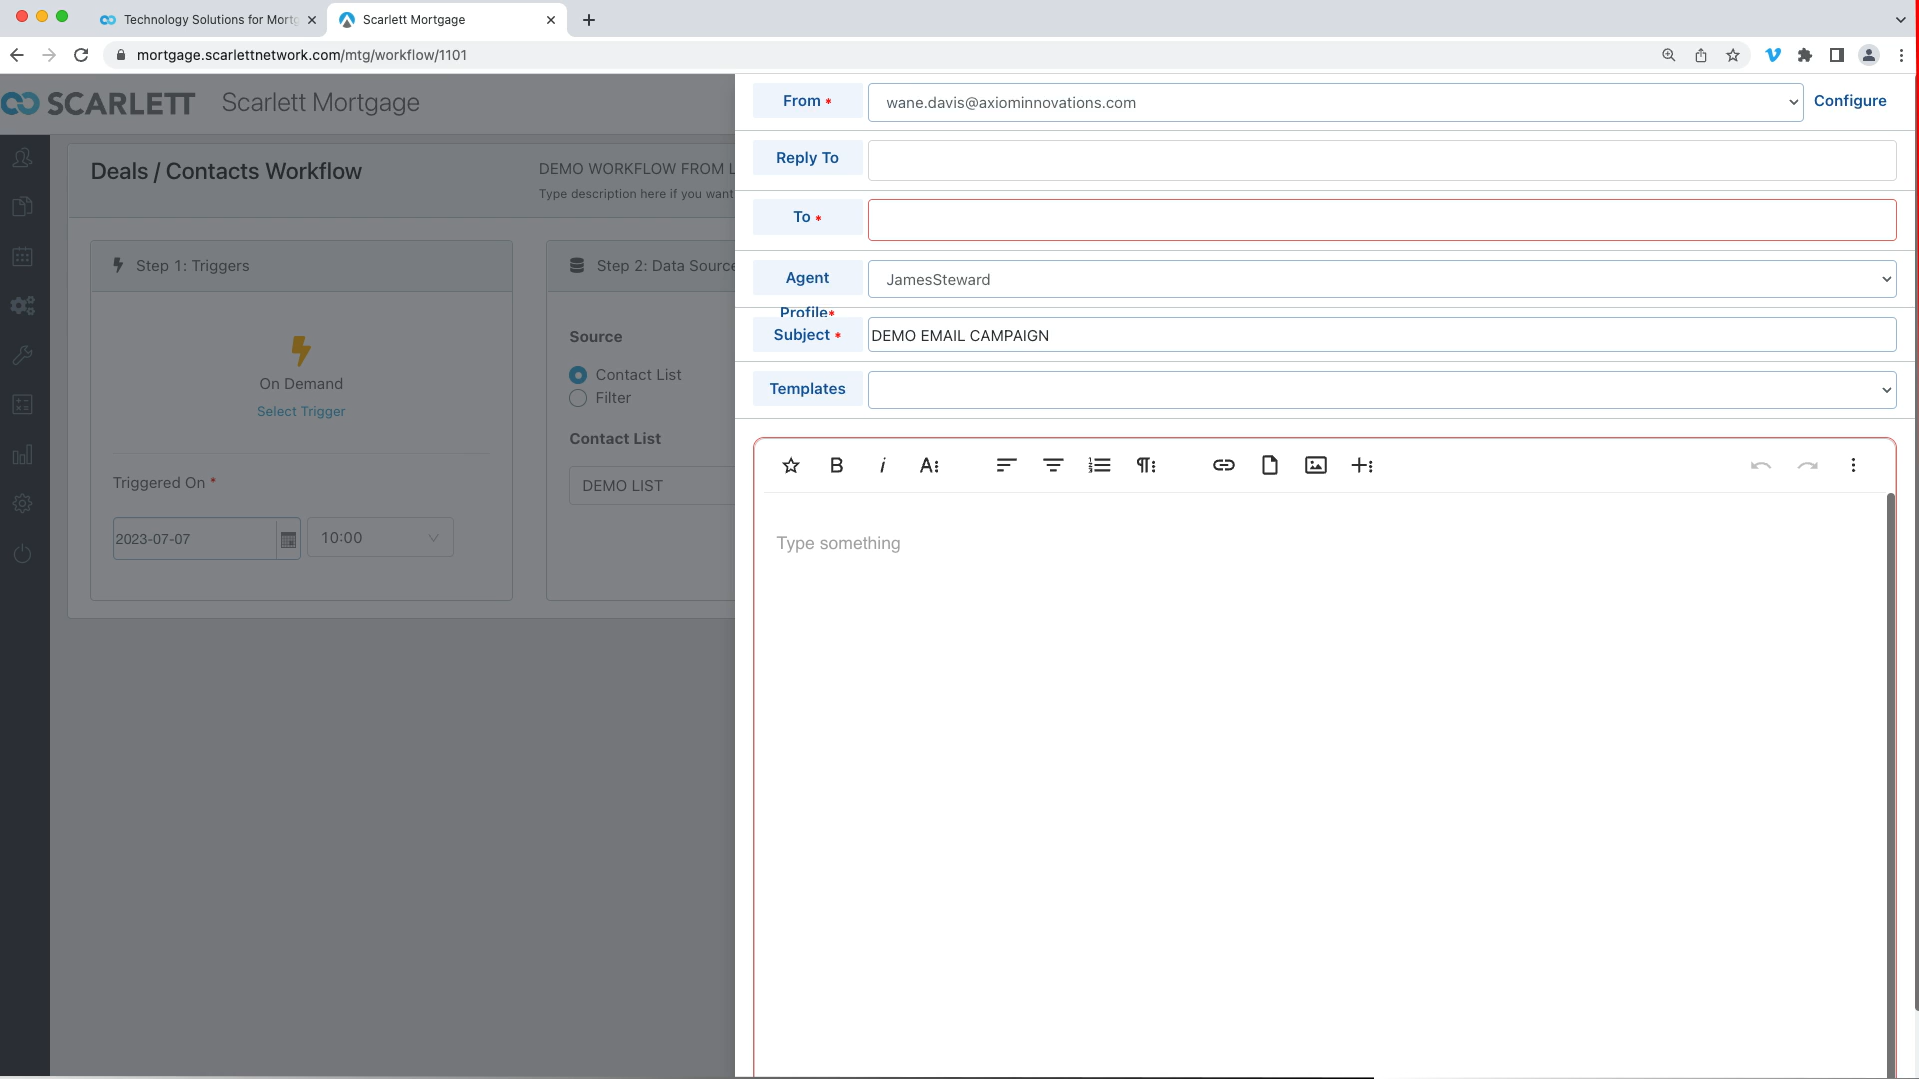
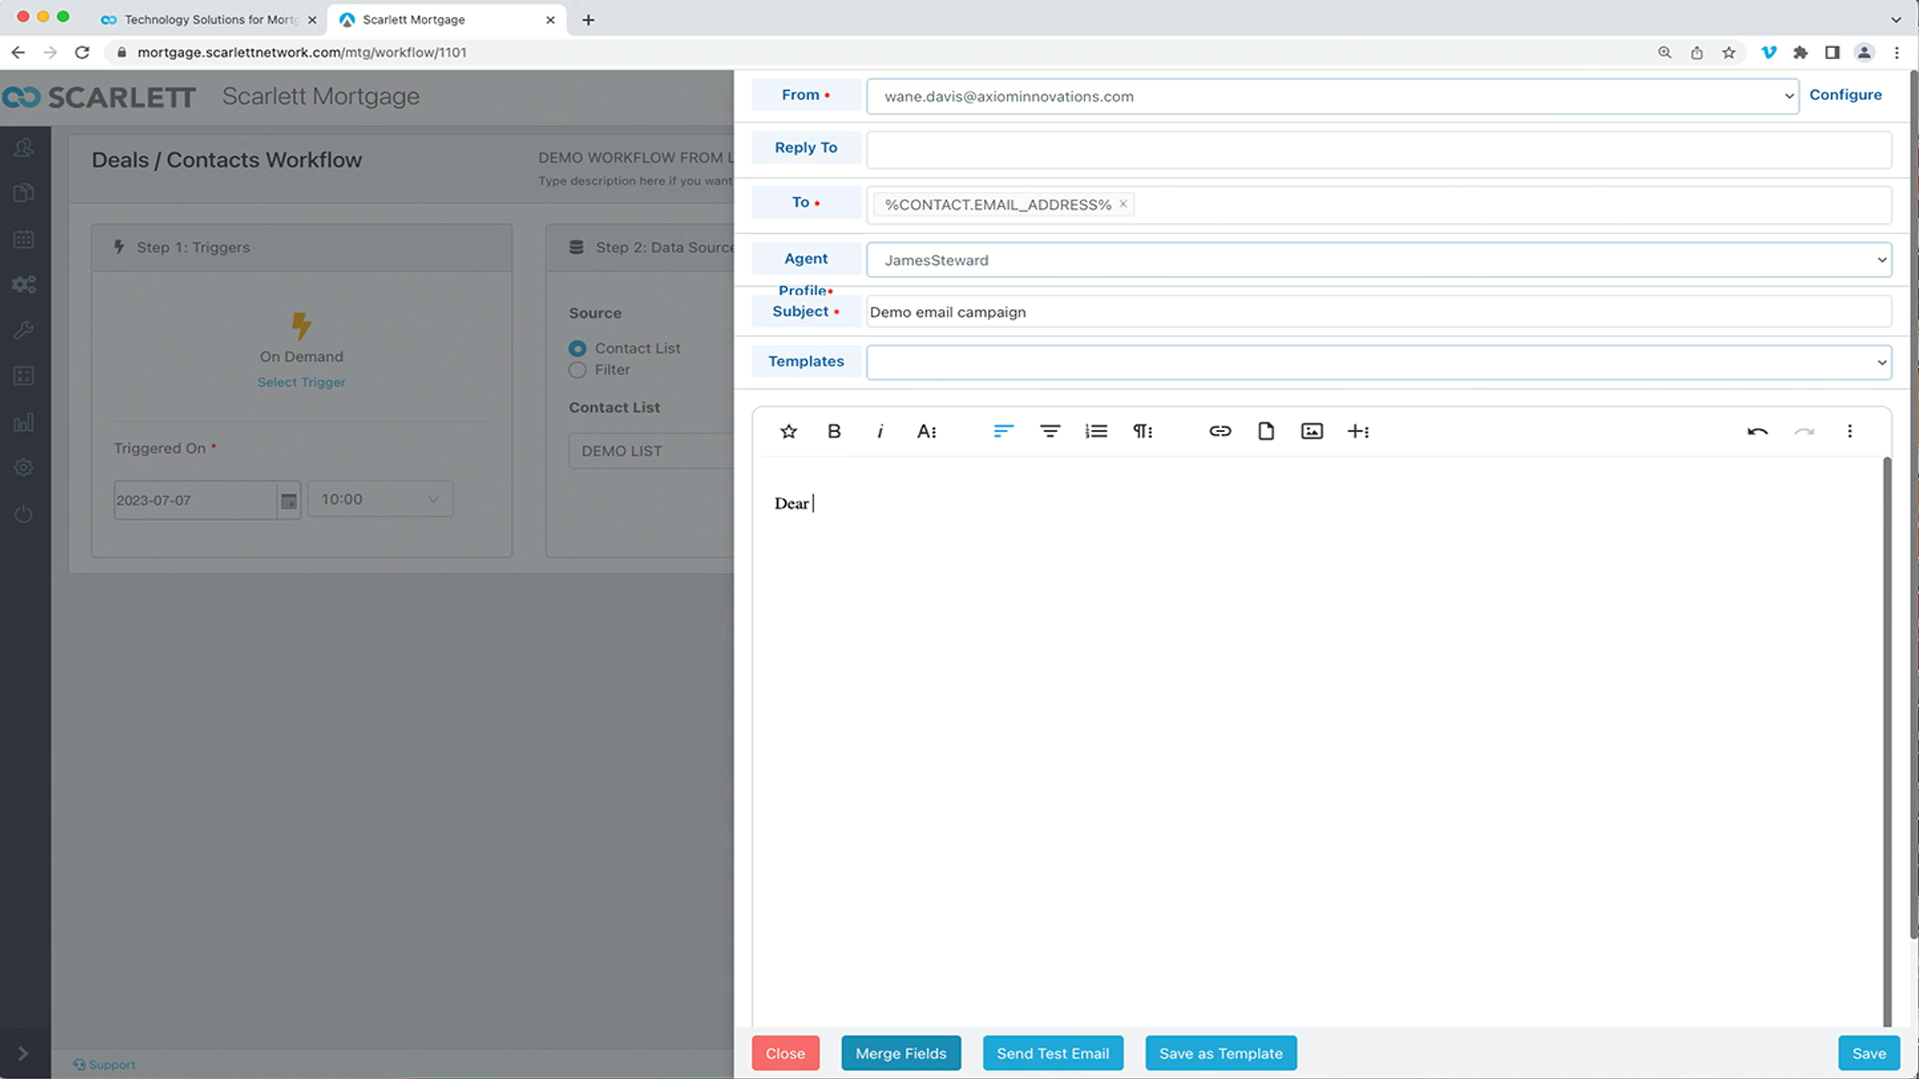
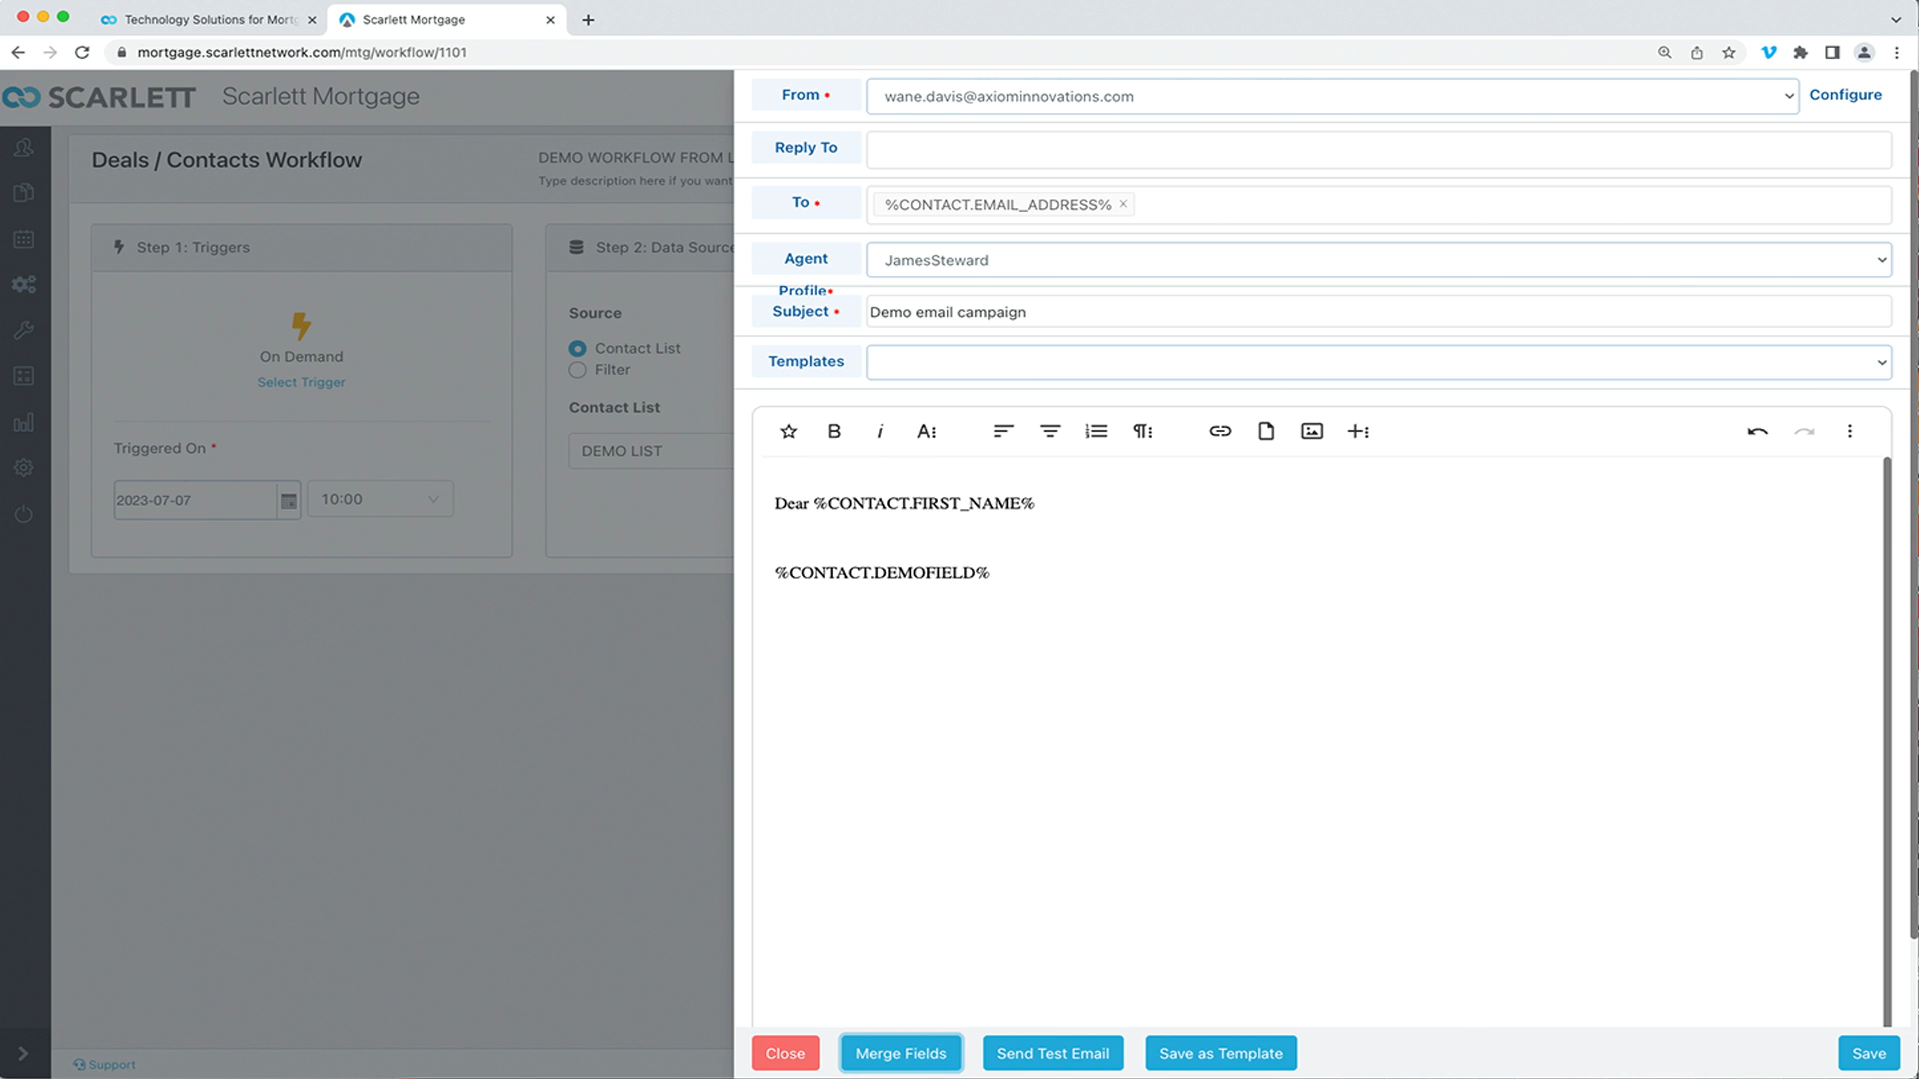
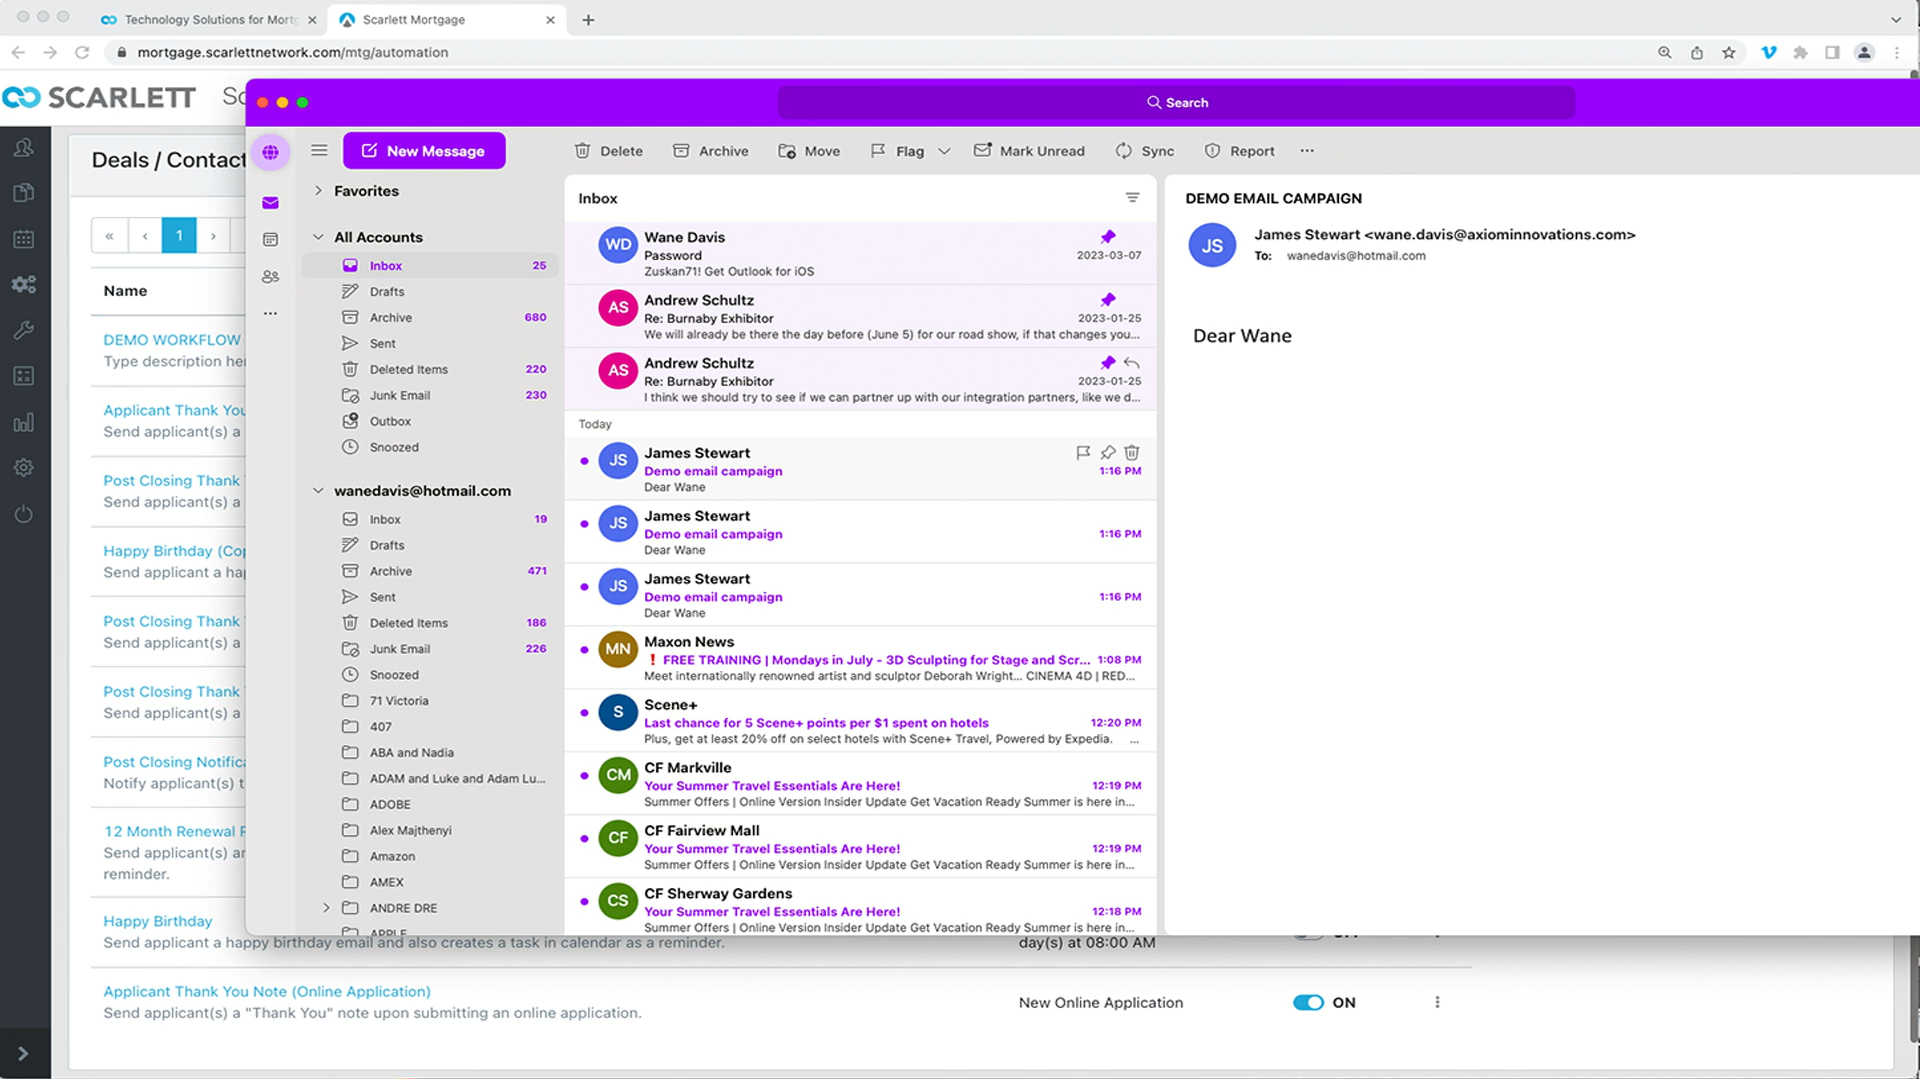
25) Within the e-mail select the correct agent from the Agent dropdown and make the subject, "DEMO EMAIL CAMPAIGN"
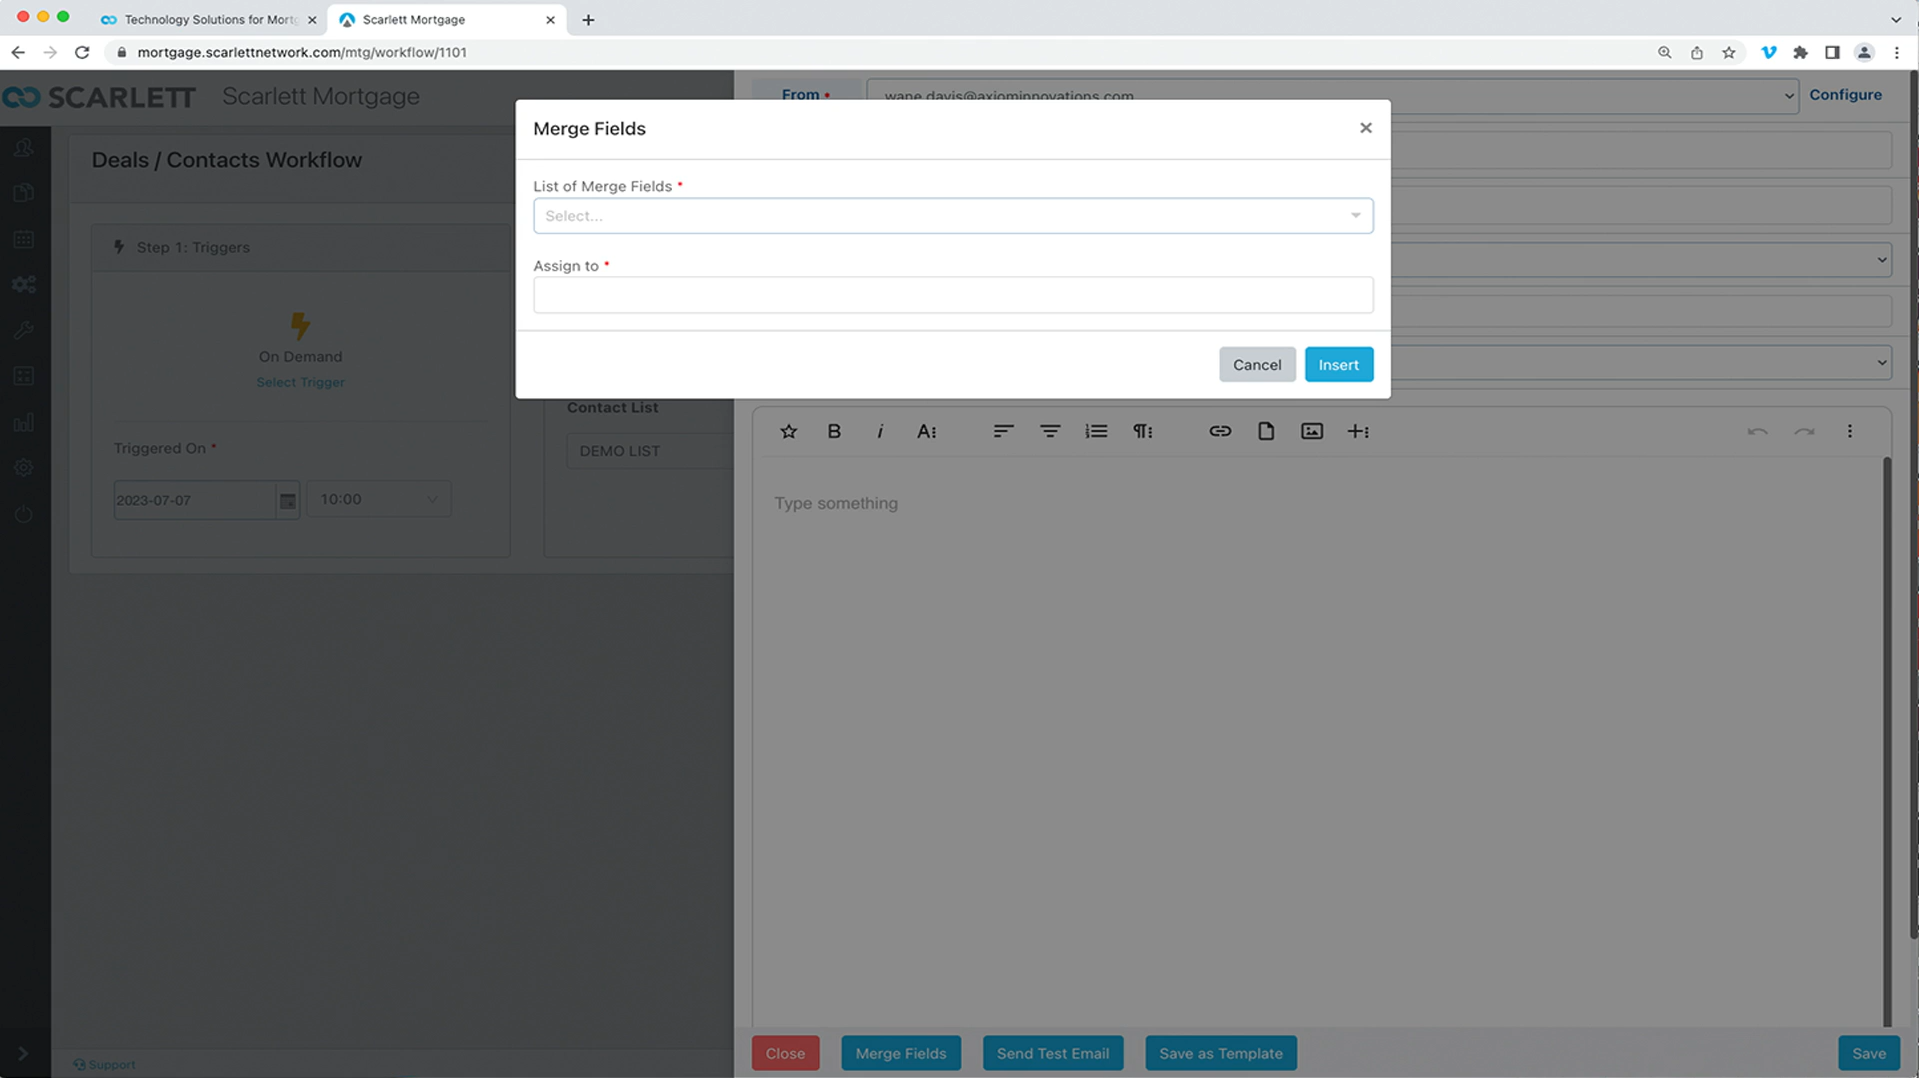
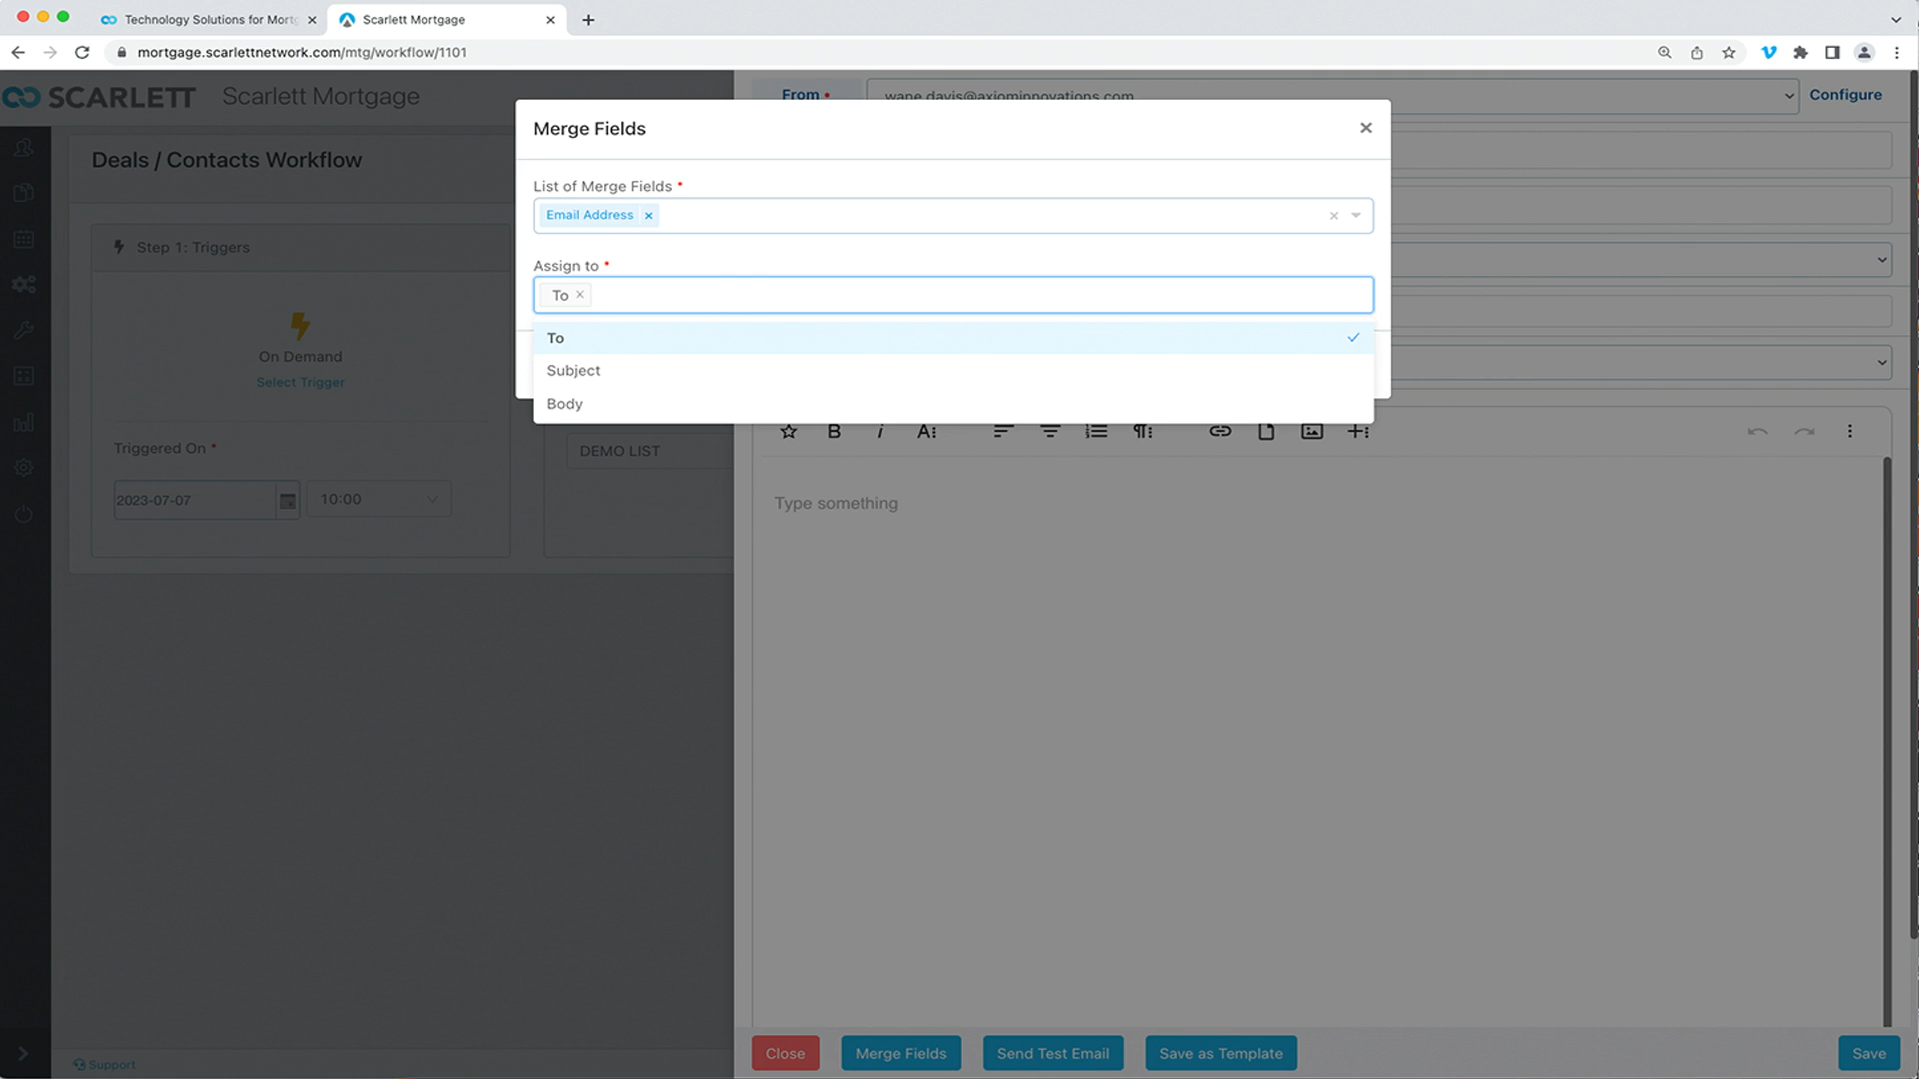
26) Scroll to the bottom and click on "Merge Fields" and the pop-up Merge Fields window
27) Let's select email address in "List of Merge Fields" and choose "To" for "Assign to"
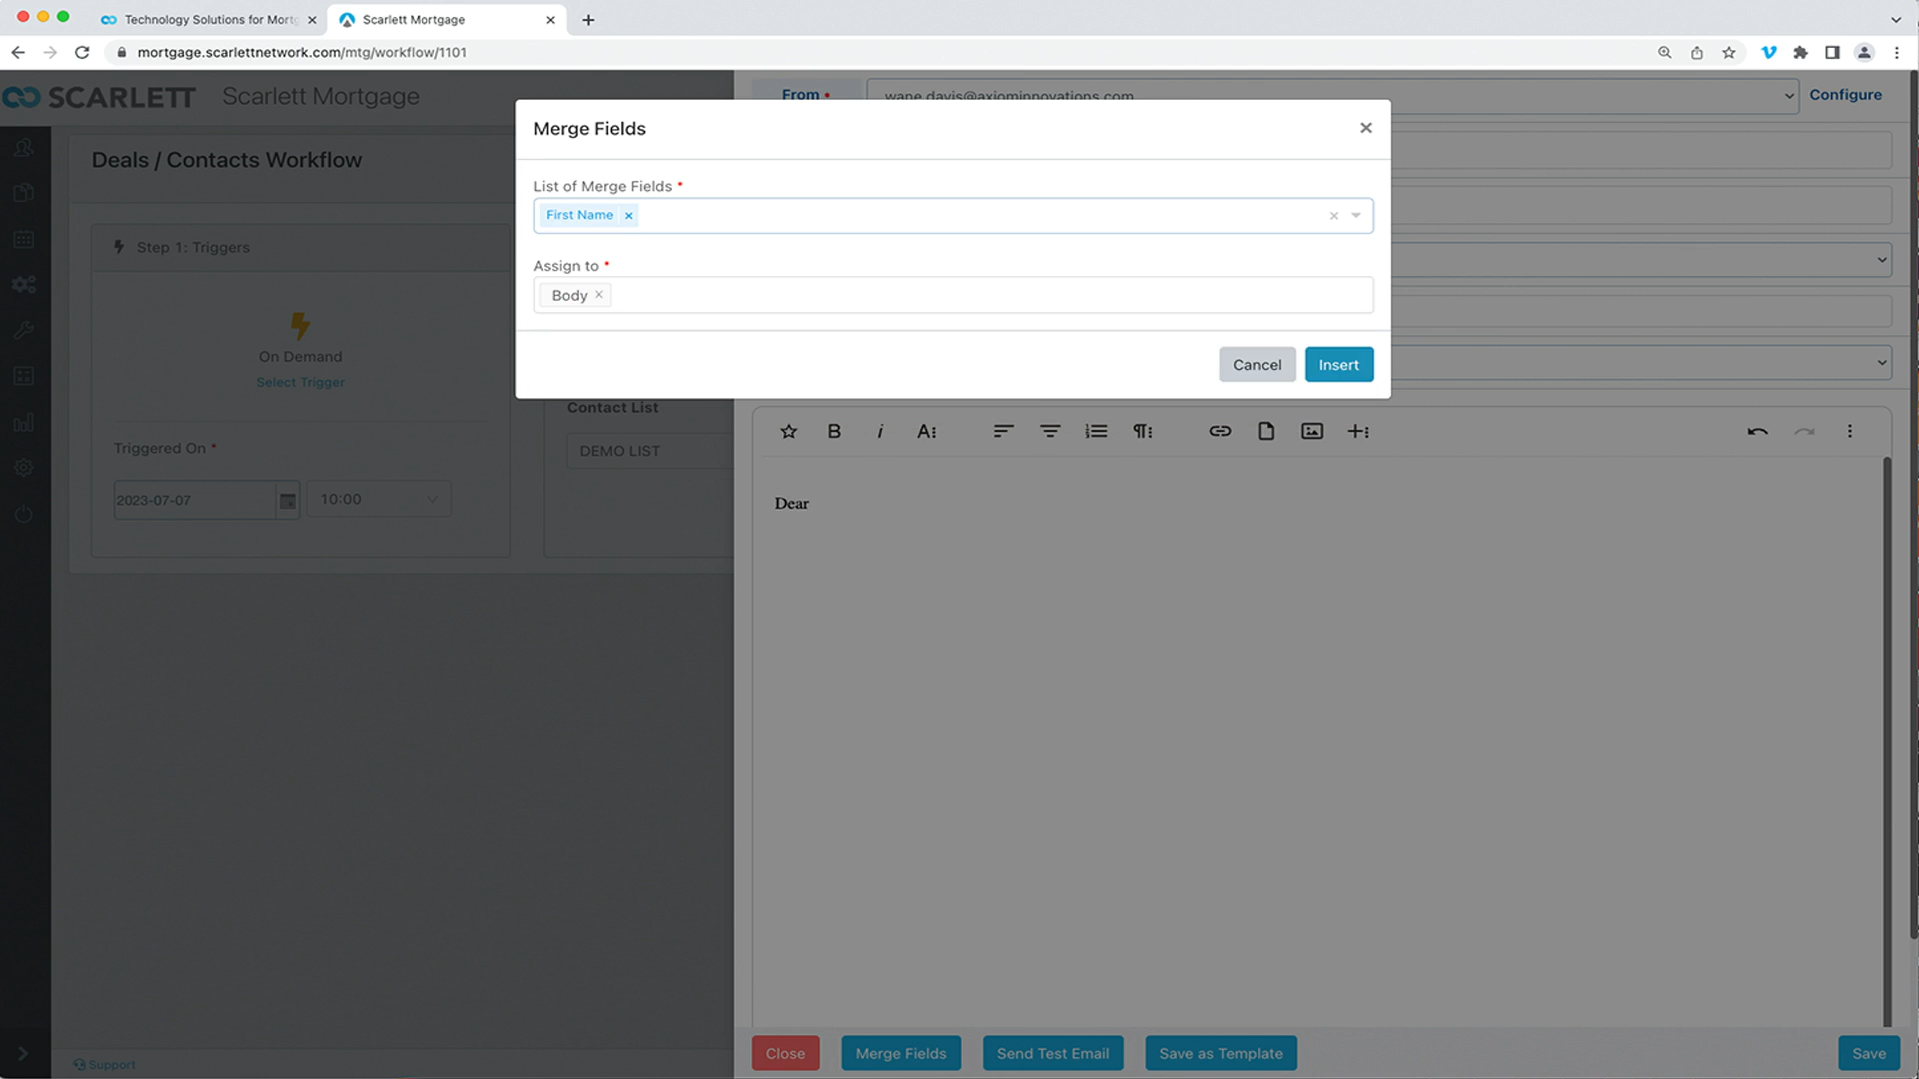
28) Let's put "Dear" at the start of the body of the email. The click on merge fields. Select "First Name" and assign to "Body"
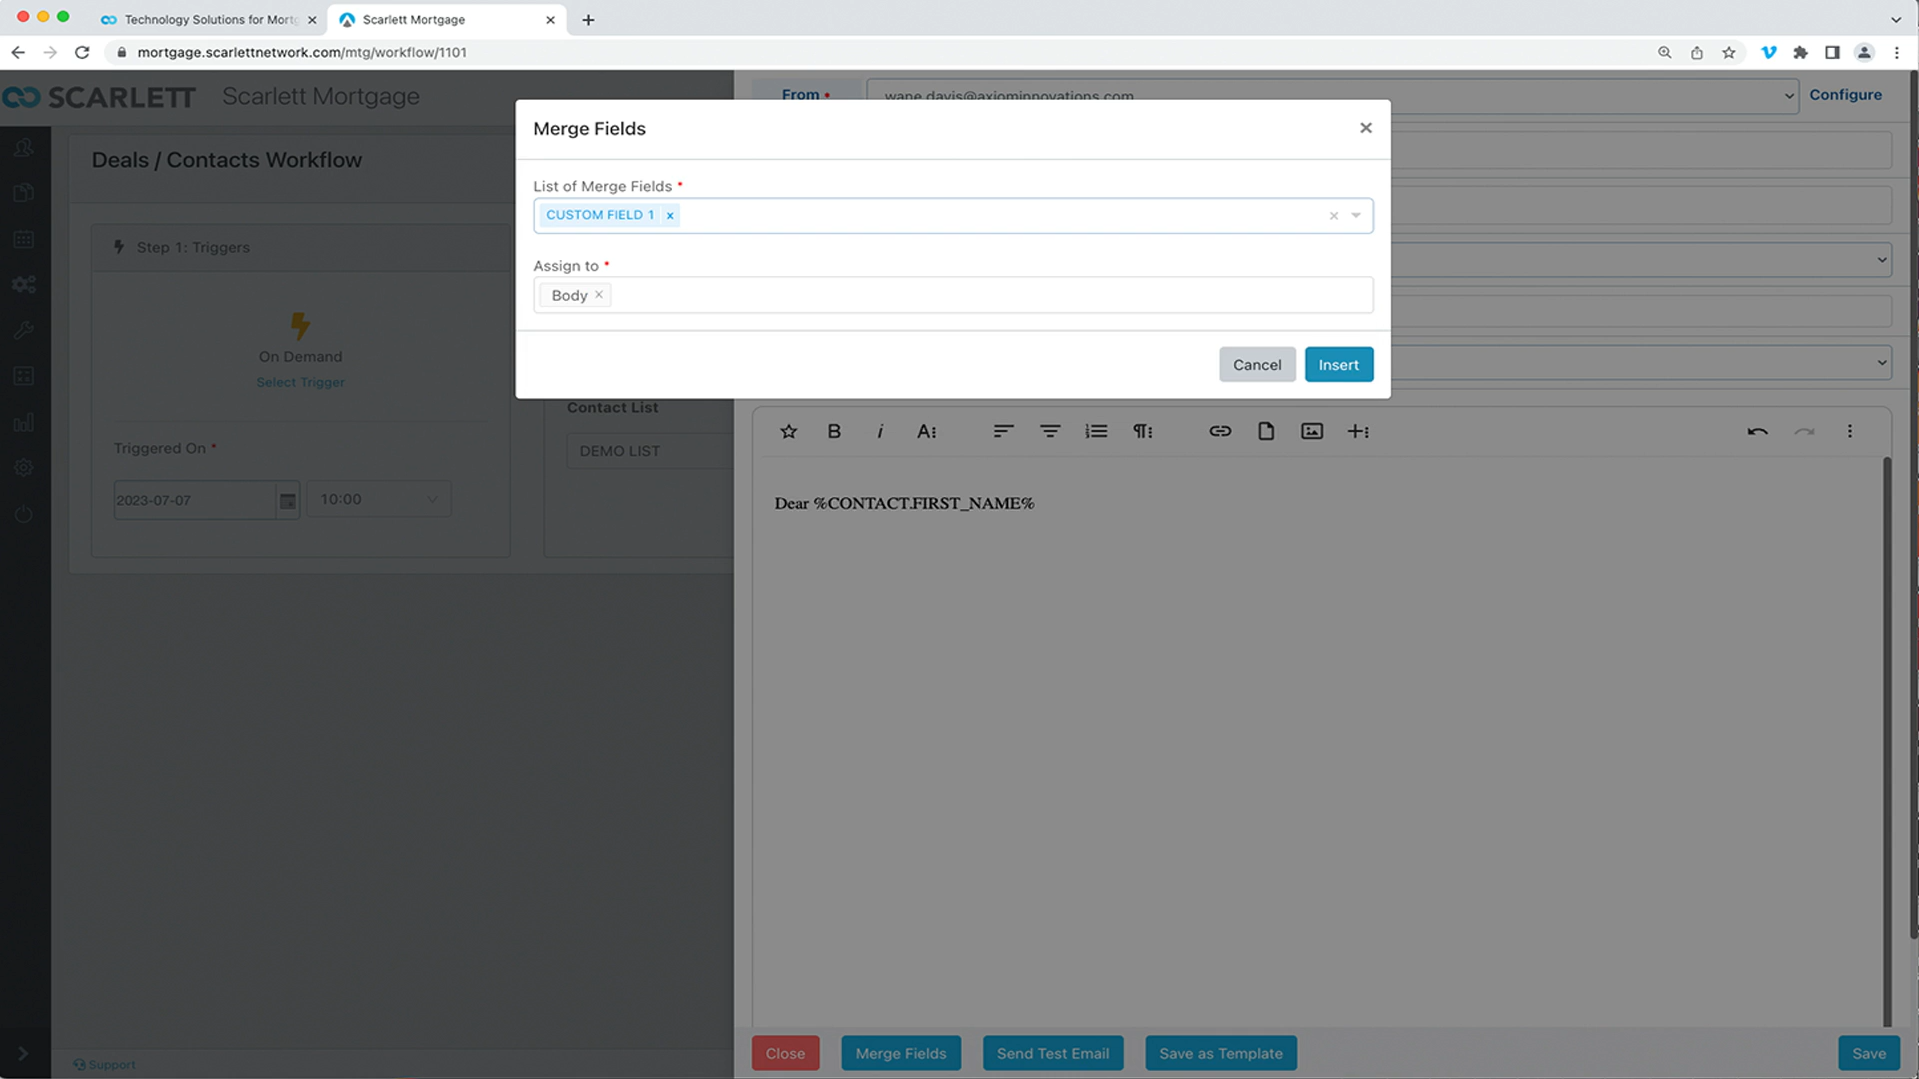
29) Now let's revisit the custom field we previously imported with our list. You will want to refer to that field somewhere in the body of our e-mail. To do this select merge field and select custom field from the dropdown menu.
30) Now click on "Save"
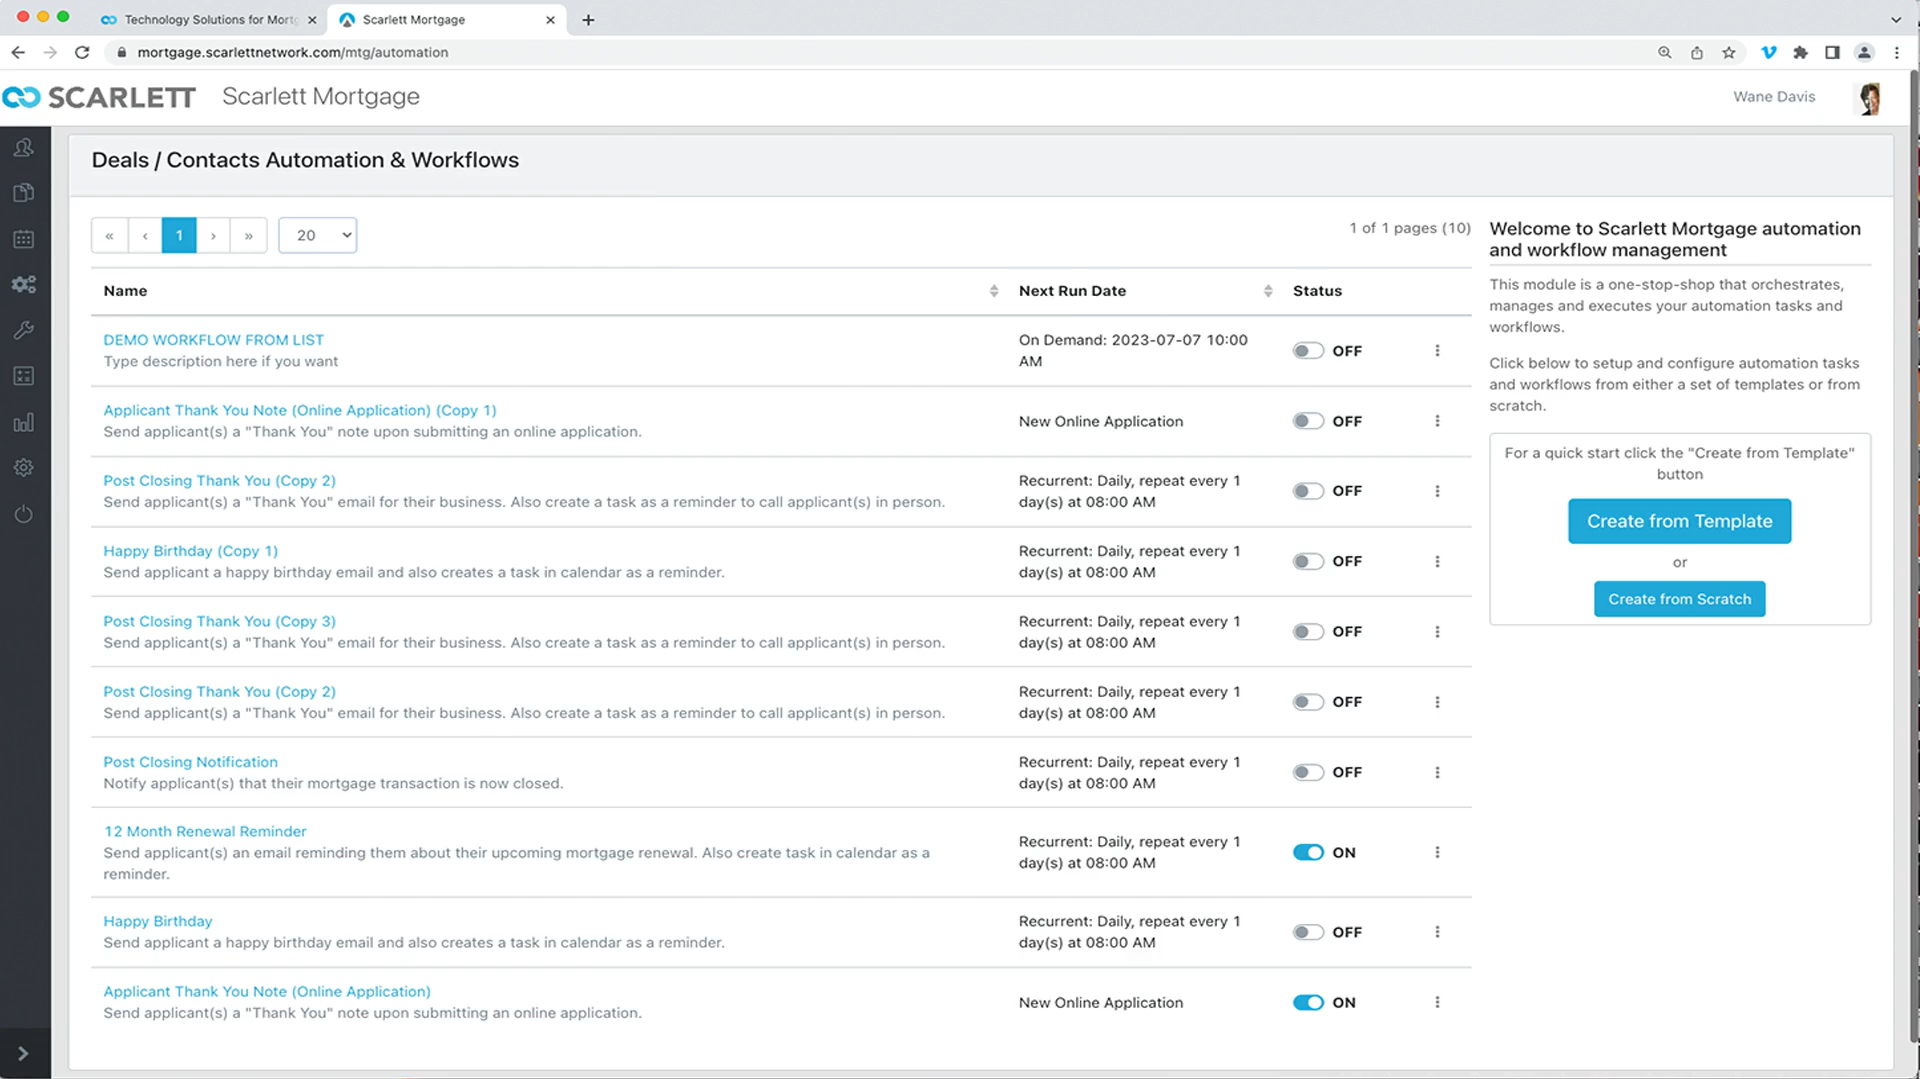
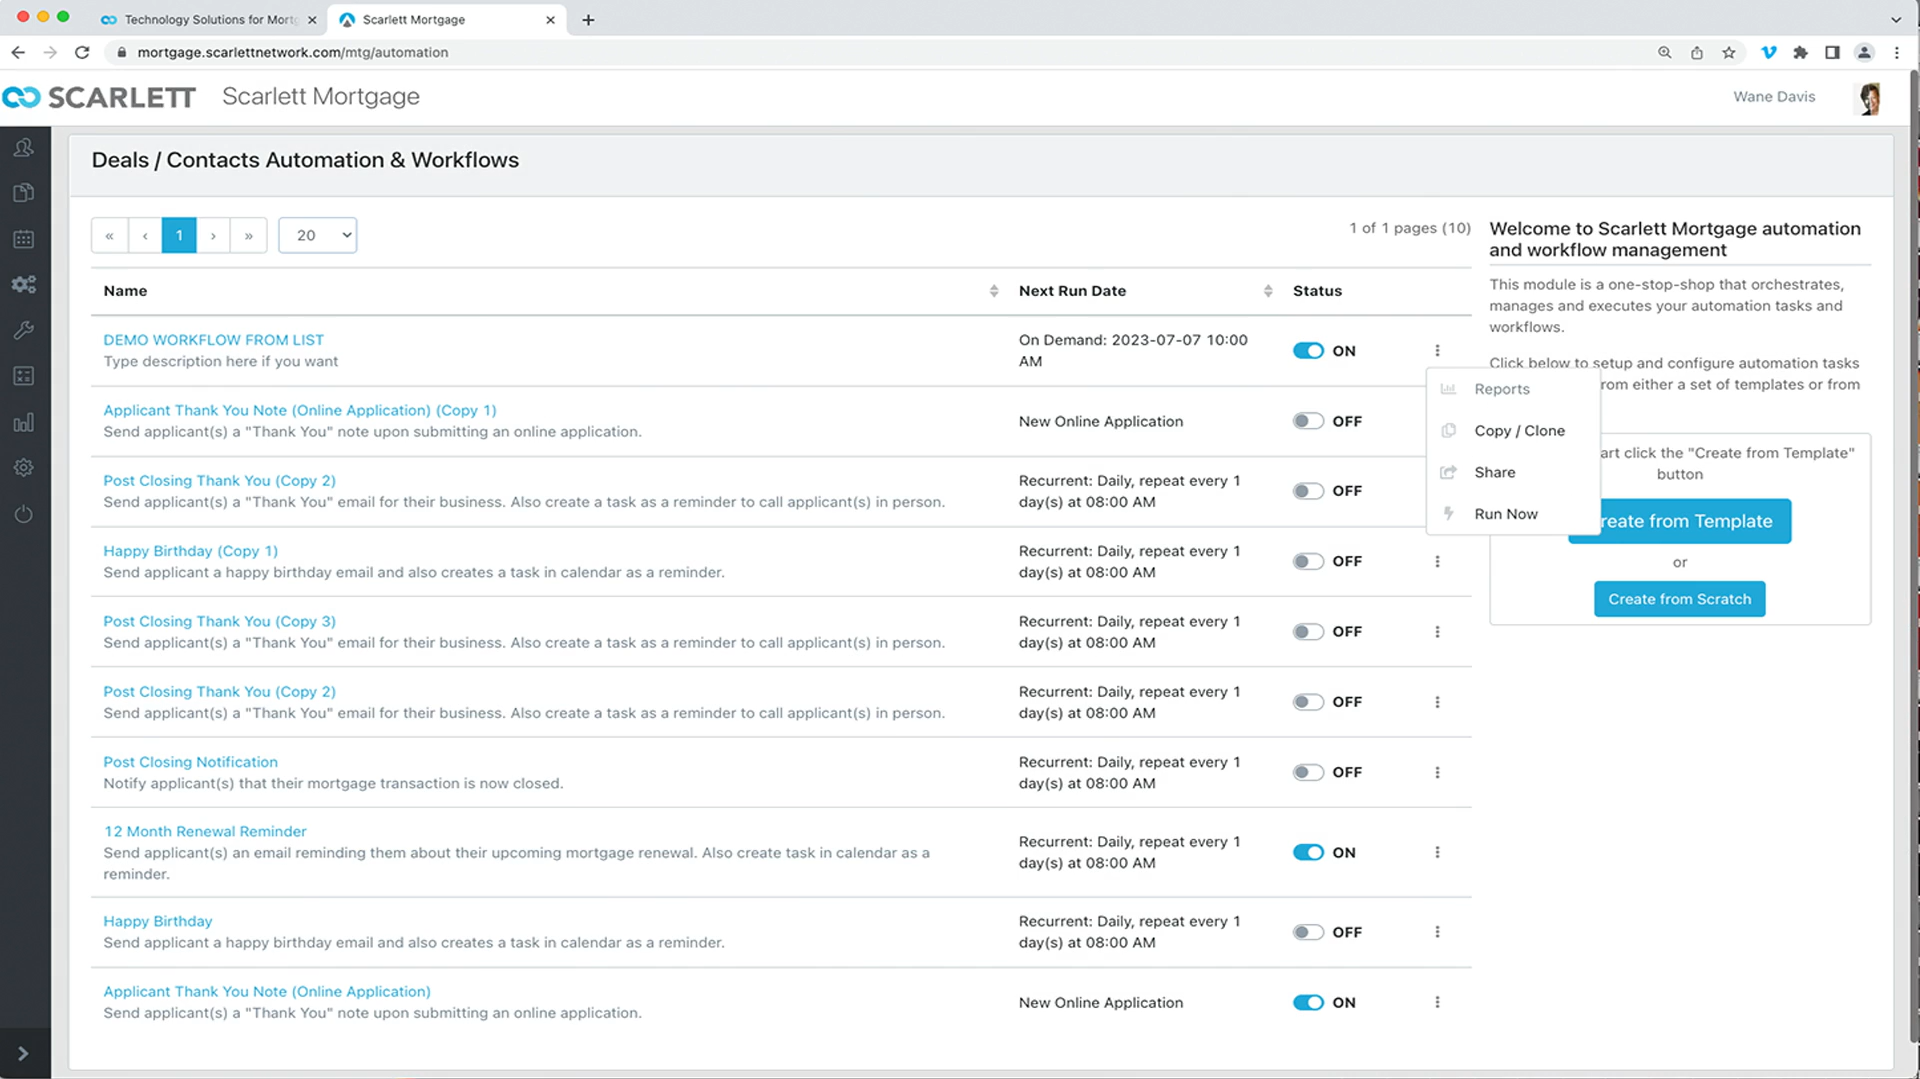
31) Let's go back to automations. As you can see, demo workflow is set to off.
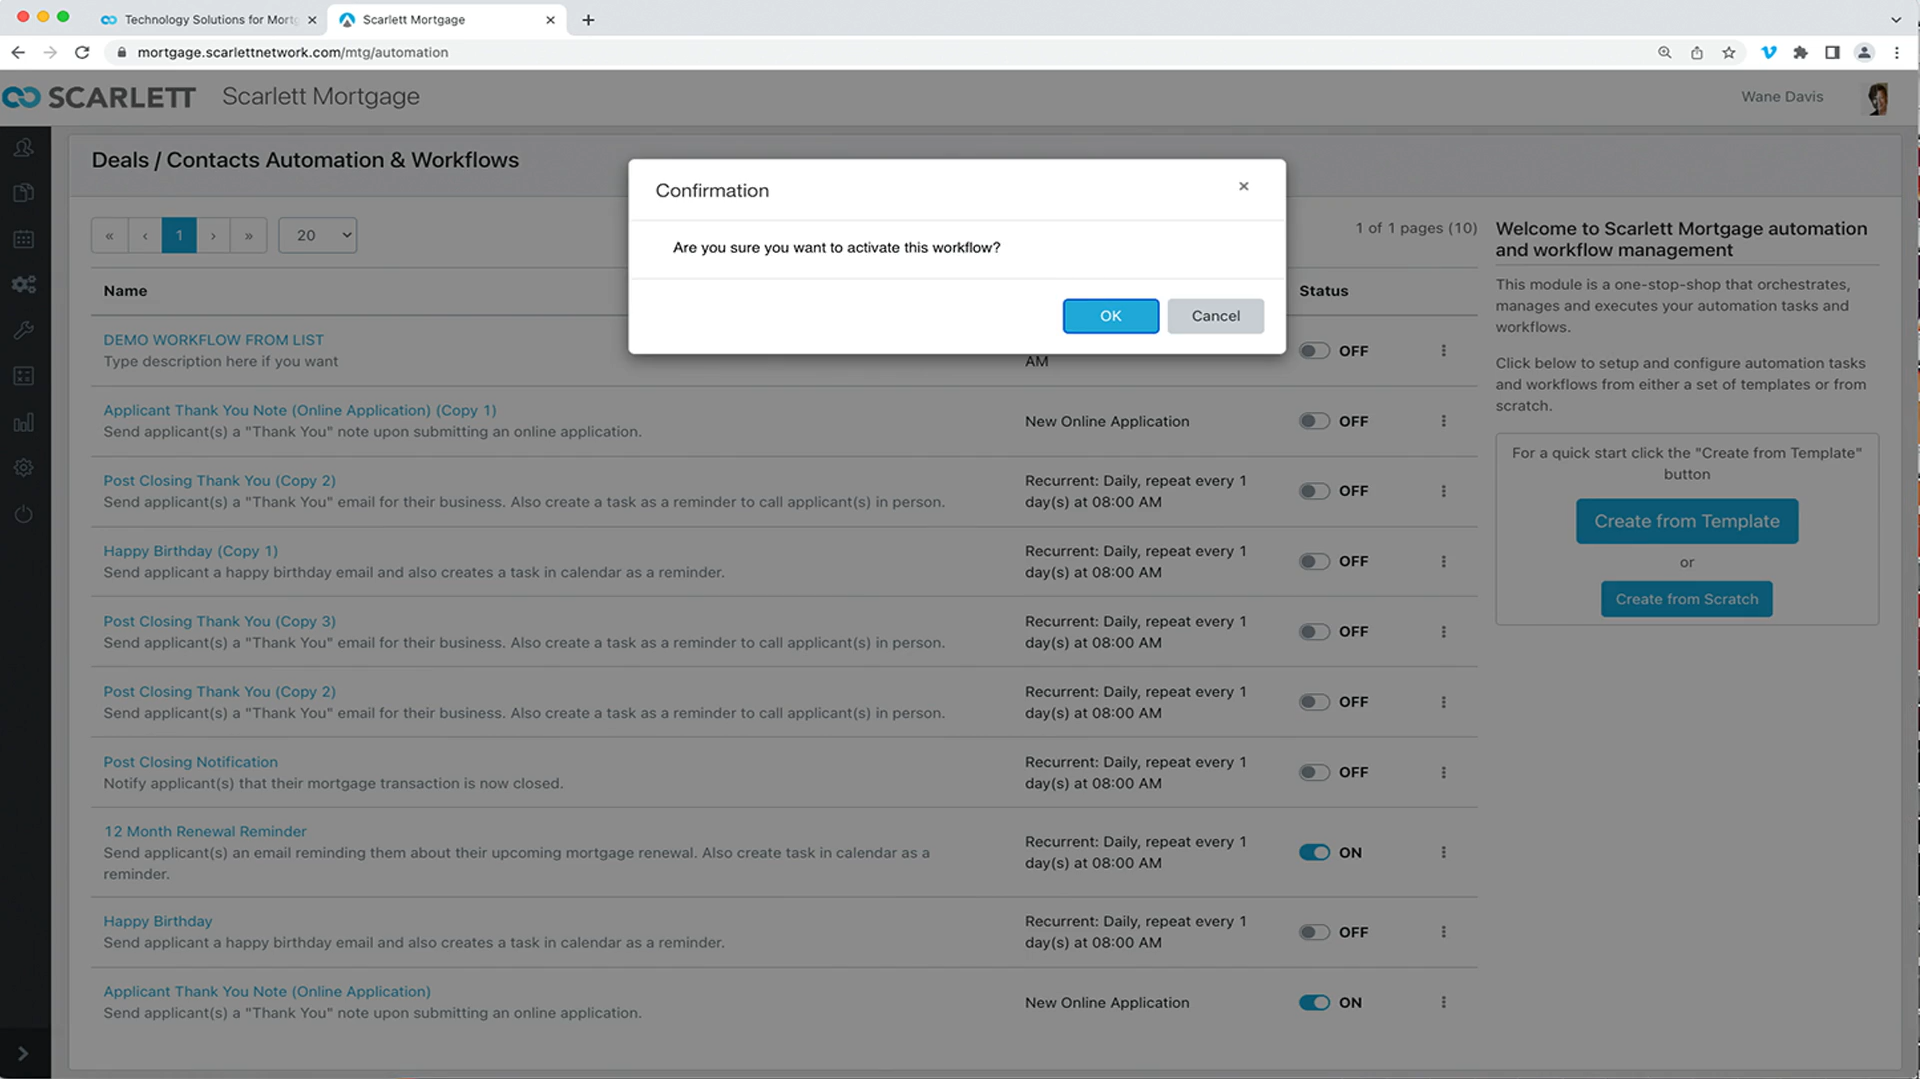
32) Let's toggle it on.
When toggled on, you have the option to blast it, share a copy, and clone it as well. Let's press run now.
33) Here you can see the emails we blasted
34) Furthermore, you can go to list management to review accumulated information specific to the list

