Leads & Opportunities Overview
The CRM functionality of Scarlett Mortgage allows you to manage your leads and opportunities bring in new business in the same place that you run your business. This guide covers creating and updating leads within your CRM.
Related Training
Custom Fields (coming soon) | Static & Dynamic Pipelines (coming soon) |
Video Walkthrough
Step-by-Step Guide
Create a New Lead
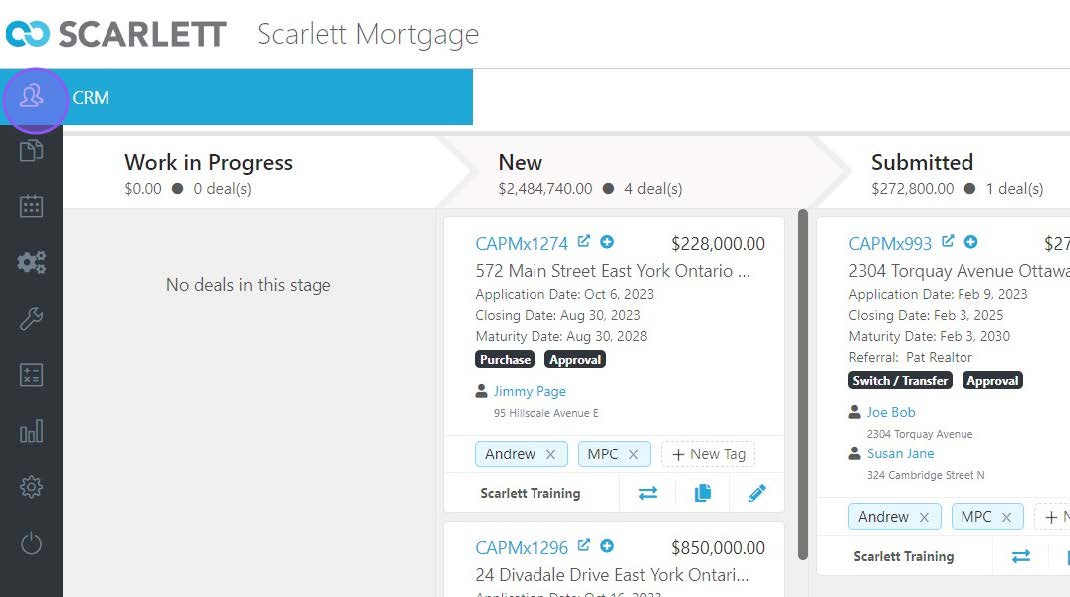
1) Go to the top of the left side menu bar and click on Leads & Opportunities / CRM.
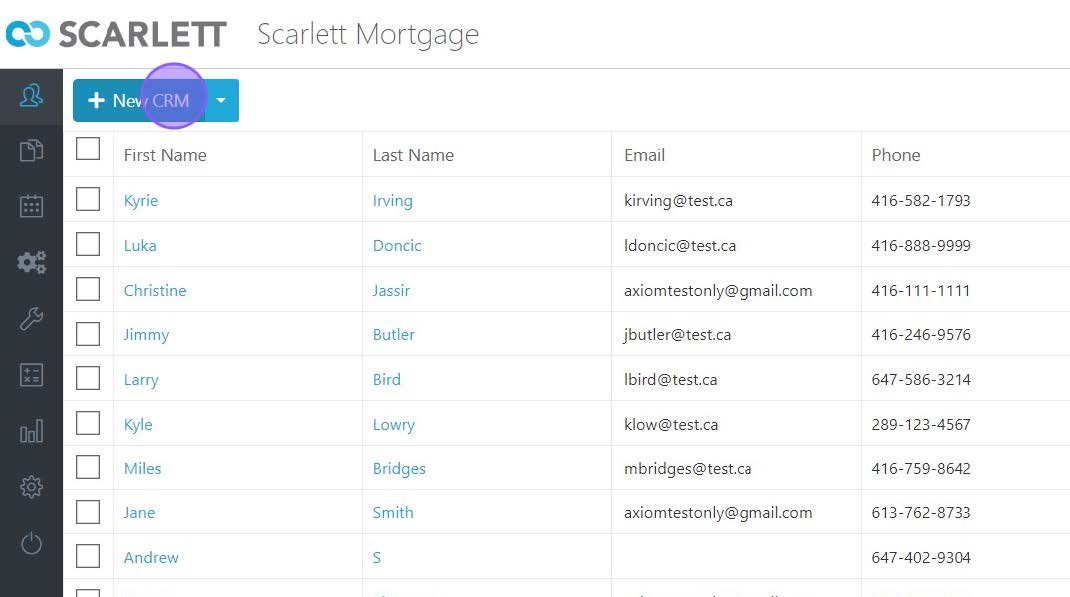
2) Create a new lead by clicking the new lead button.
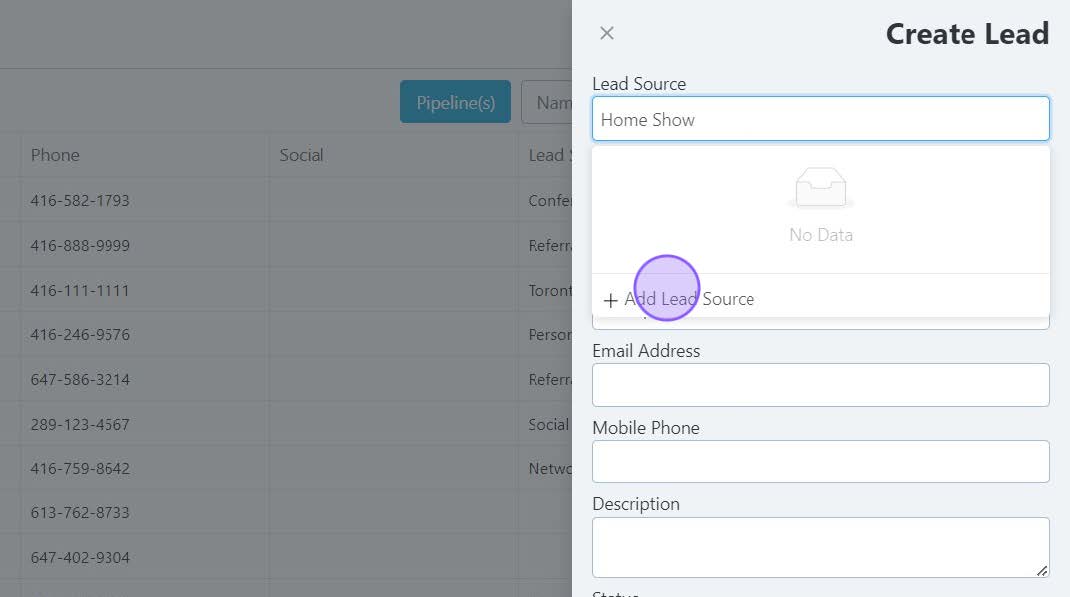
3) Creating a lead is a simple as completing the fields on the right. Since this is the first lead, add the lead source. This source will be then available in the dropdown for future use. Click "Lead Source" and then "Add Lead Source".
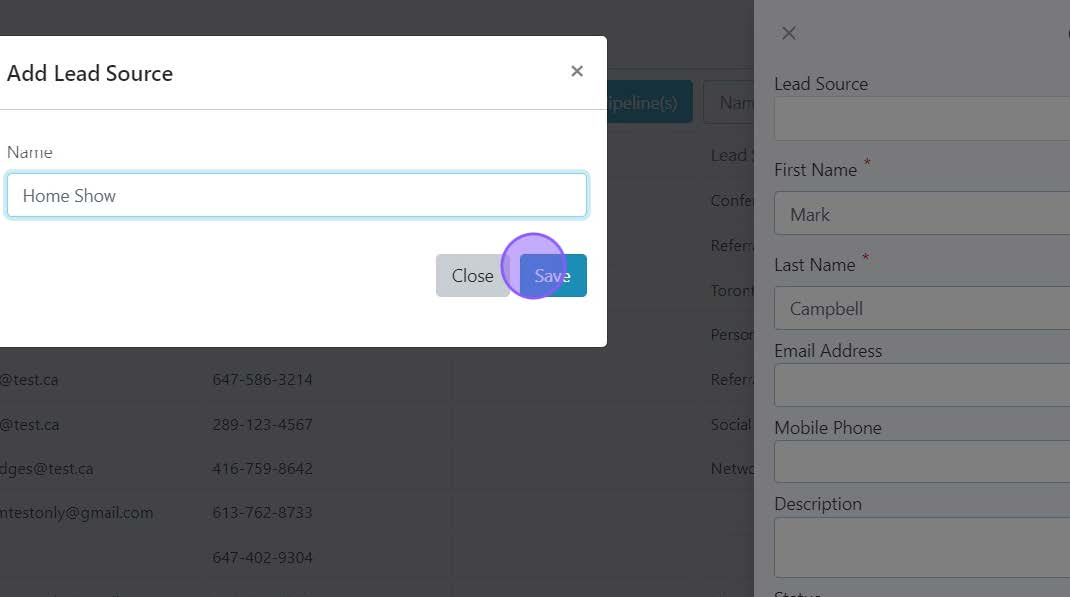
4) Enter the Lead Source Name and then click Save.
5) The remaining fields are self-explanatory. Enter the First Name, Last Name, and Phone or Email.
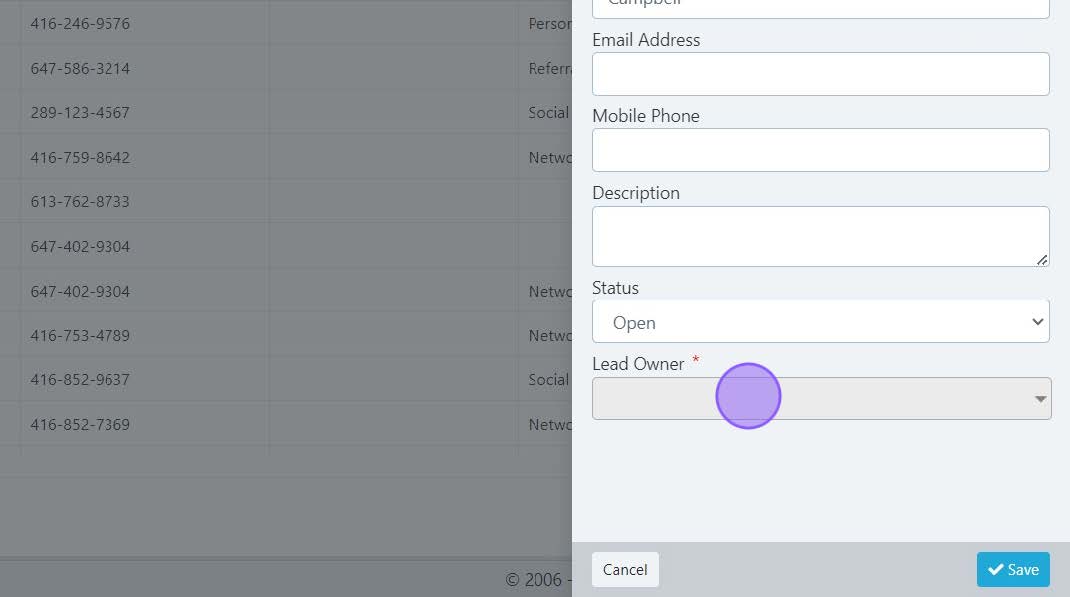
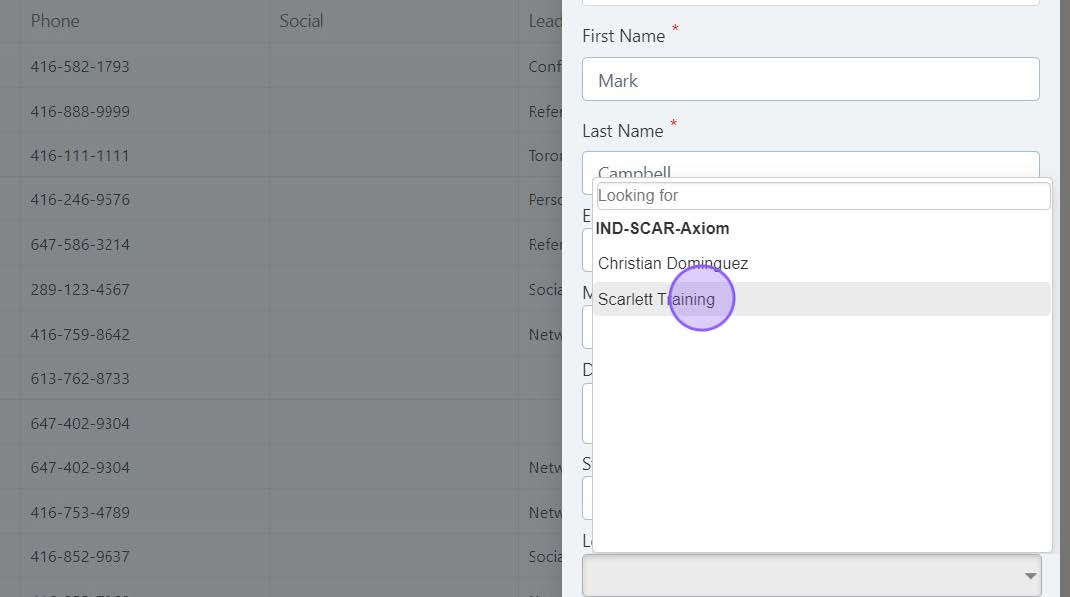
6) The Lead Owner allows you to choose whose lead it is.
If you work on a team, you may see names in this drop down other than your own. This is based on your permissions in Scarlett Mortgage.
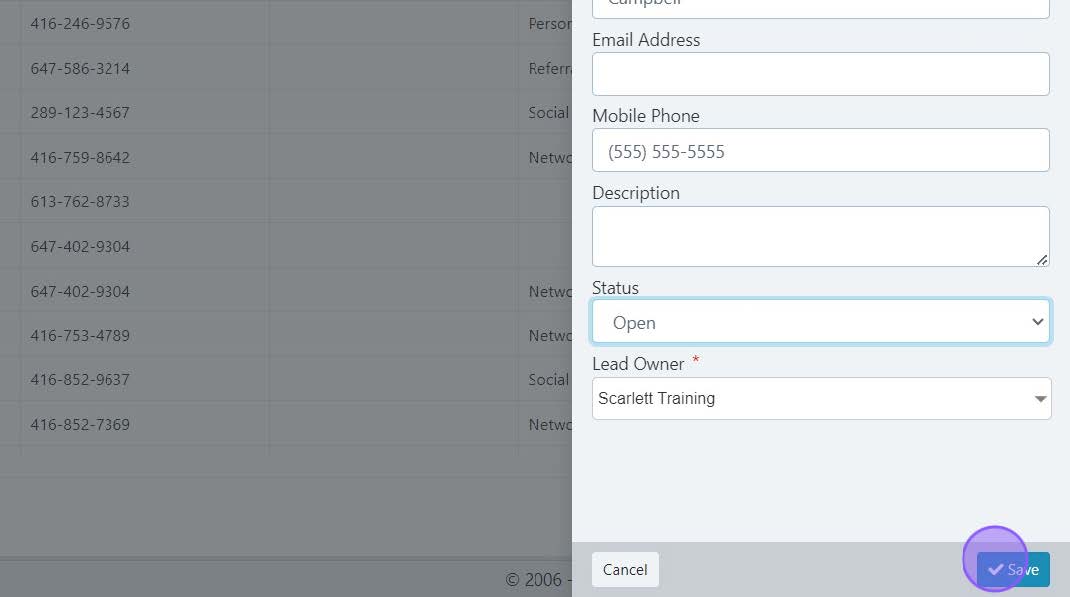
7) Once the lead owner is selected and the preliminary information is filled in the lead fields, click "Save".
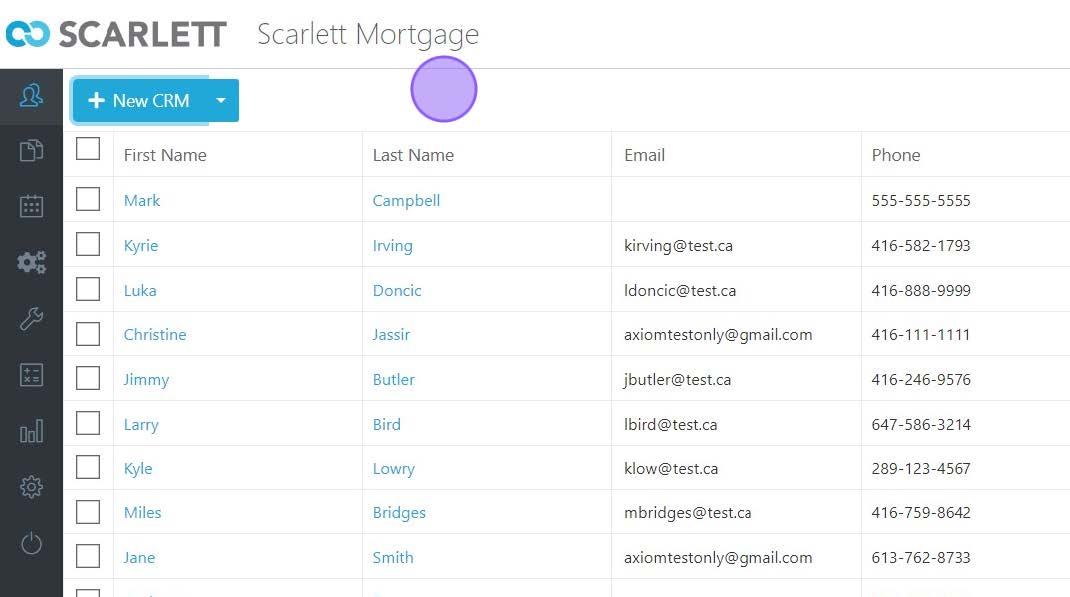
The lead now appears in the list of leads.
If you open the lead the first page of the lead card will show you Recent Updates. Since this lead was just created, the only entry is the Lead Creation.
As updates to the lead card are made, the most recent updates will appear in this section.
Updating Leads
There are several sections of the lead card. Here we will go through them and how to use them. When you open a lead card there are fields on the left side where we can add additional details. If you have created custom fields, they will appear here.
Adding a Lead Group
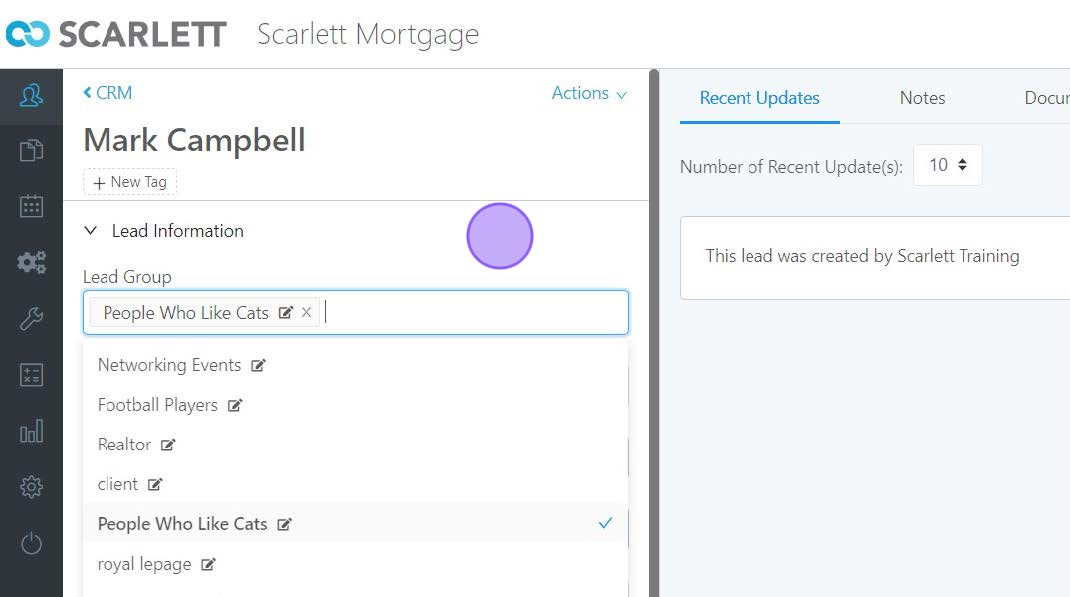
A lead group will allow you to group leads by customize categories. You can add this lead to a group that already exists, as shown here.
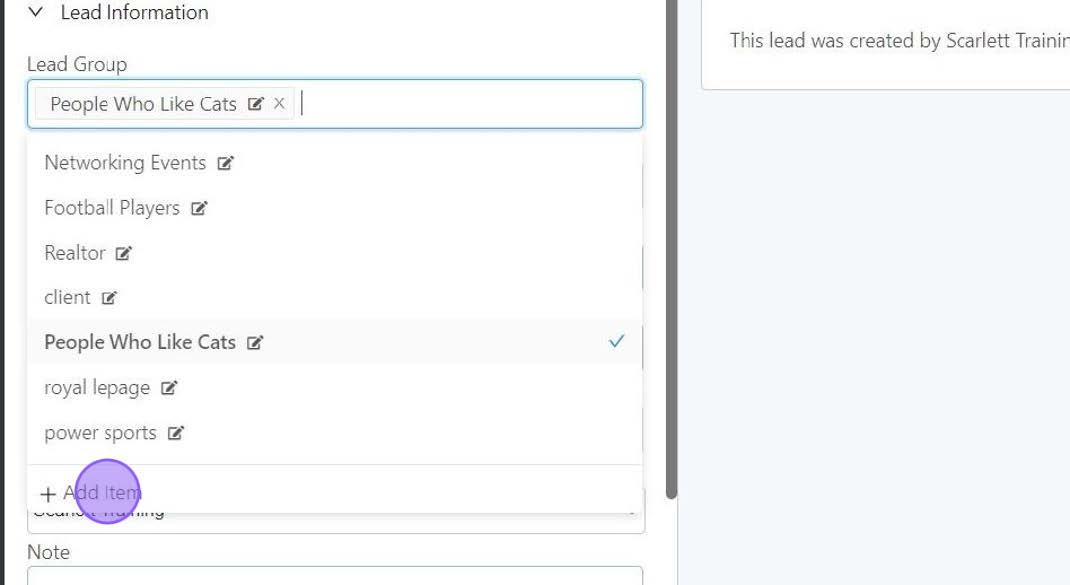
You can also create a new group by clicking to "Add Item" option.
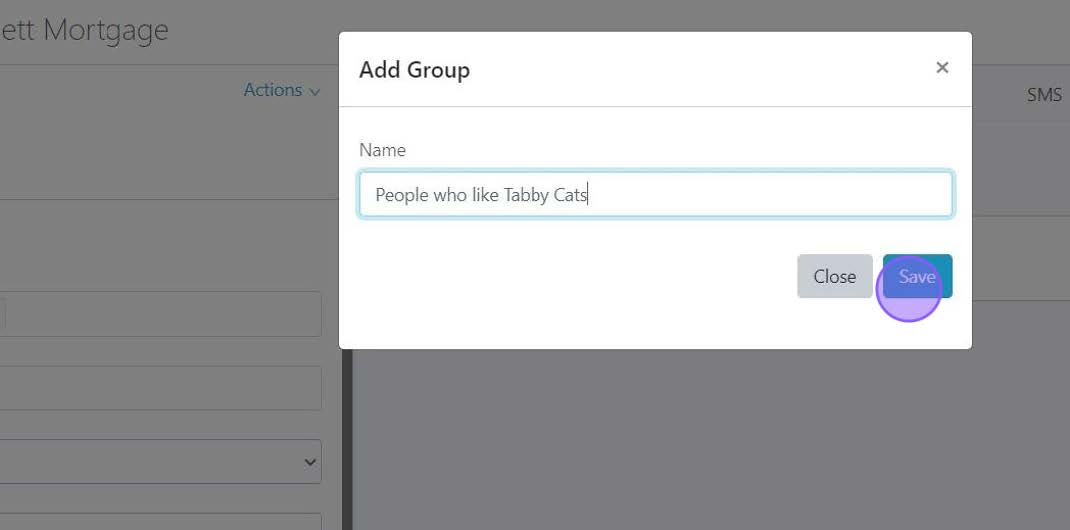
Here you can label this group anything you like.
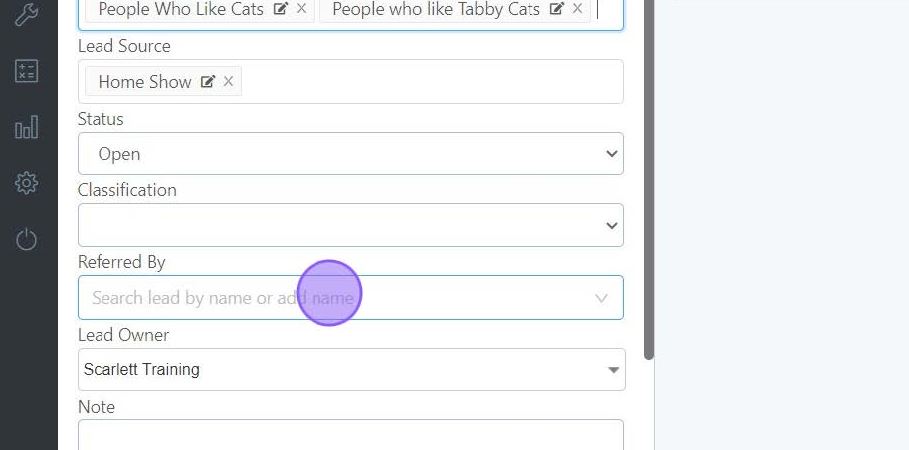
Adding a Referral Source
Keeping track of who referred you new leads can allow you visibility to your most fruitful relationships and where to invest more time and energy. You can track this within the lead card.
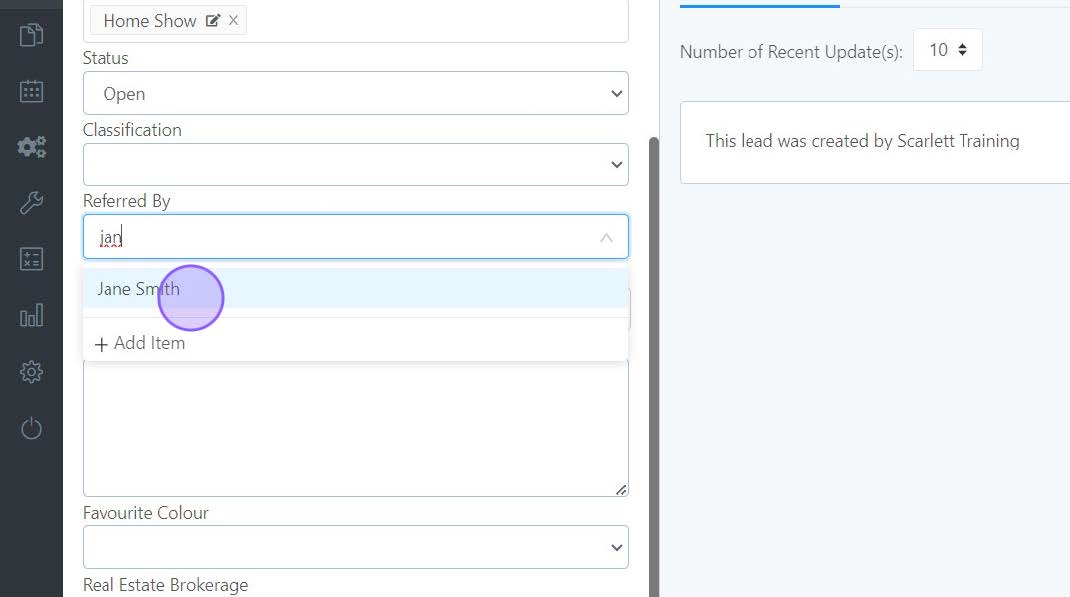
Enter a minimum of three letters of the name you wish to search for. If the Referral Source exists in your CRM you will be able to search and select the existing record.
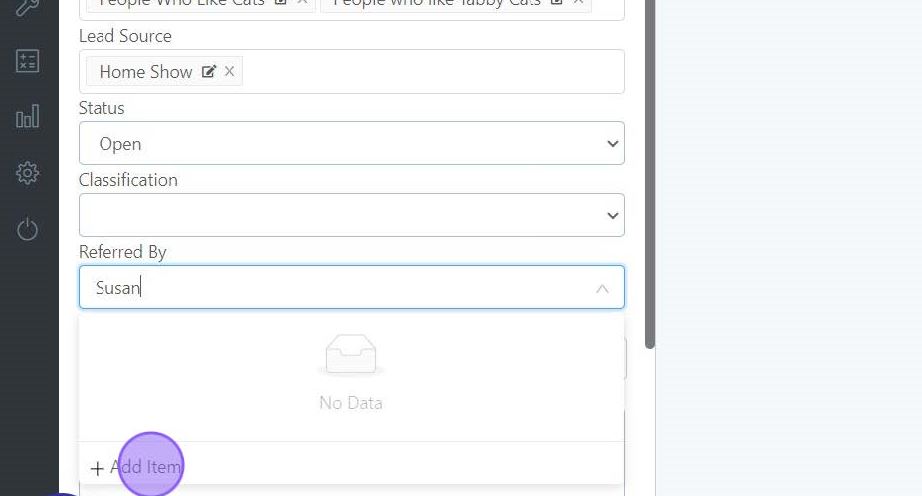
If this is a new Referral Source not yet in your CRM, click "Add Item"
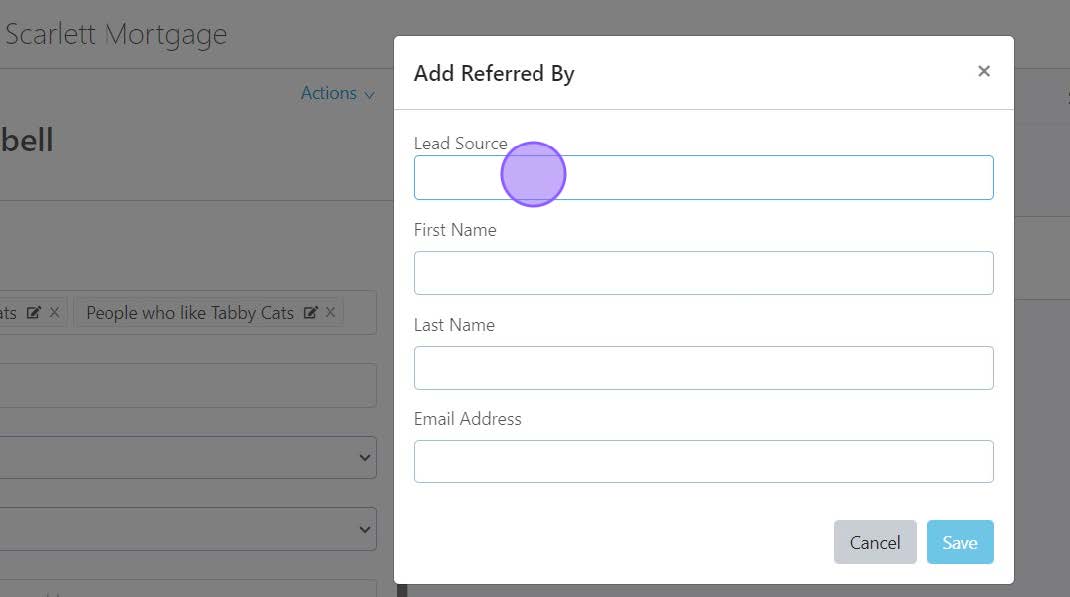
Enter the information for the Referral Source and click "Save".
Note that all Referral Sources are created as lead cards in your CRM. This is to allow you to create filters and automations to interact with your Referral Sources from your CRM.
Update the Primary Lead Contact
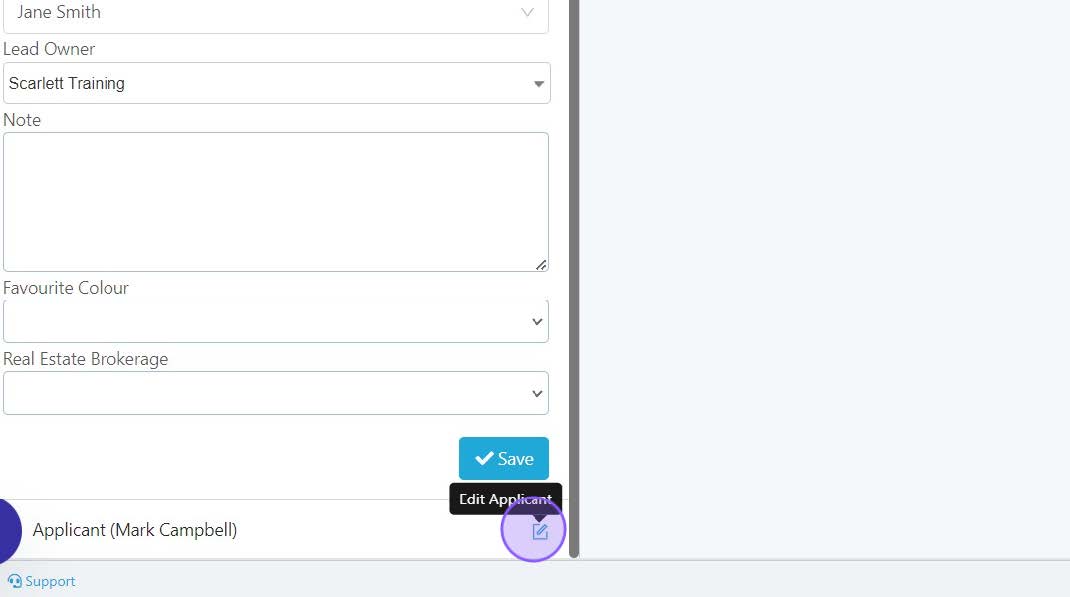
At the bottom of the section beside primary applicant you can edit the information by clicking on the edit button to the right.
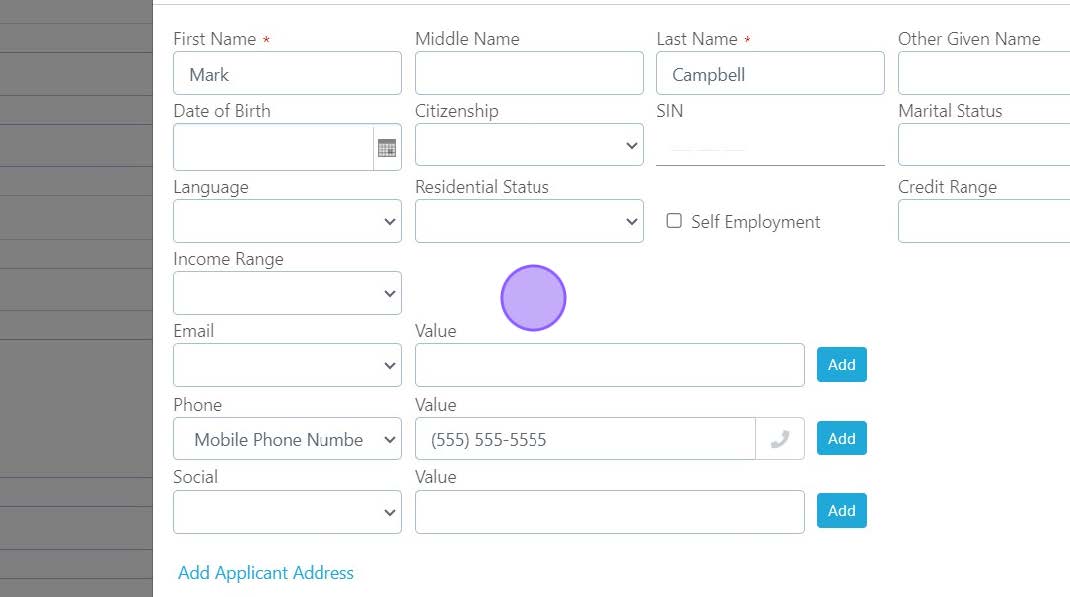
This opens the edit screen which displays the personal information for this lead. Add any additional information you have, and click "Save".
Adding a Secondary Lead Contact
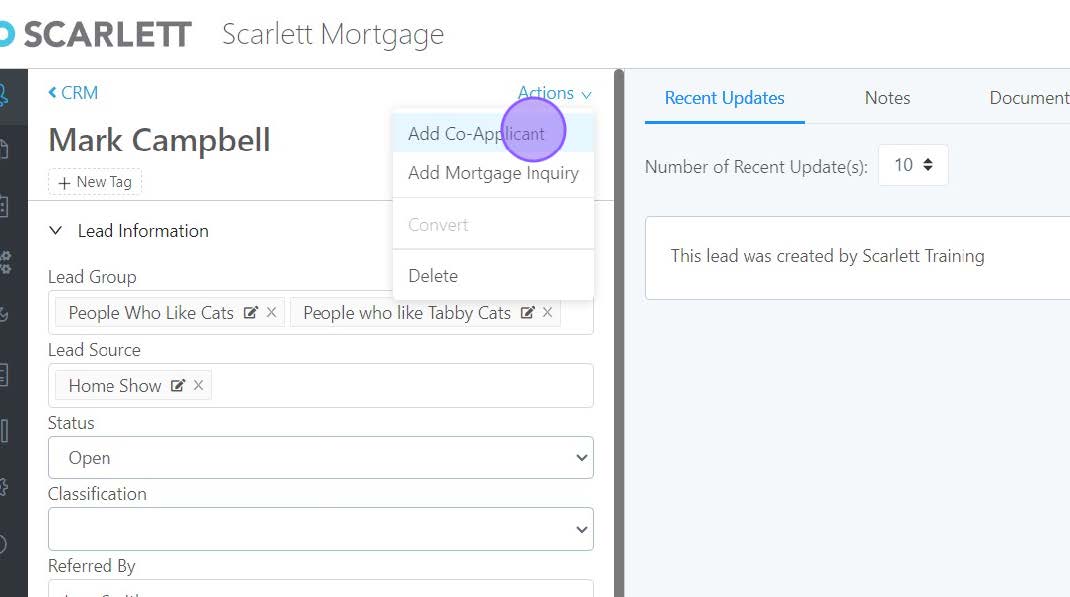
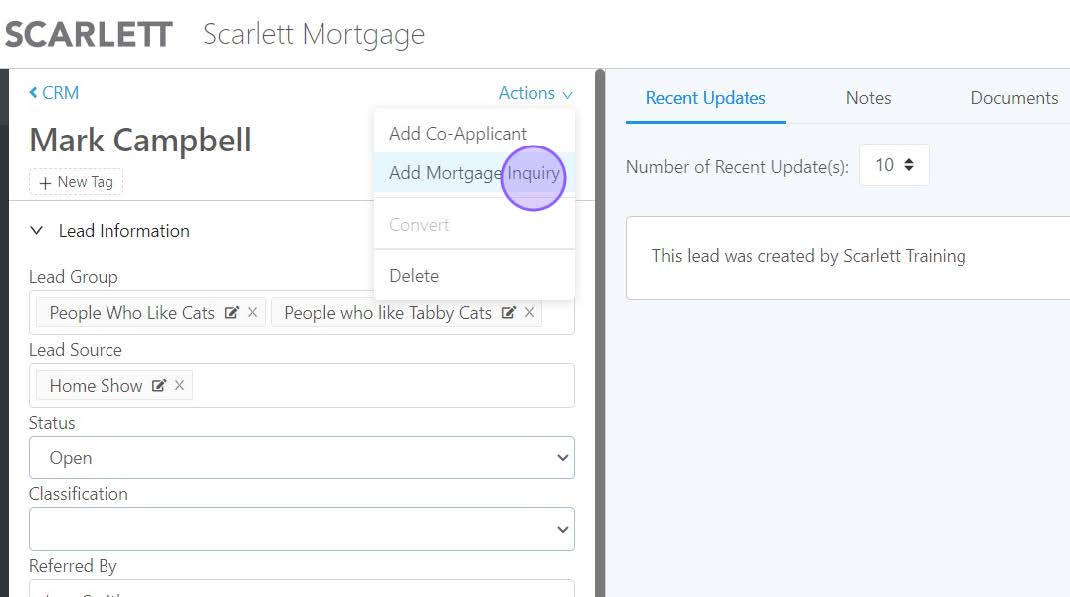
To add a secondary lead contact or co-applicant, use the Actions drop-down at the top of the lead card, and click "Add Co-Applicant".
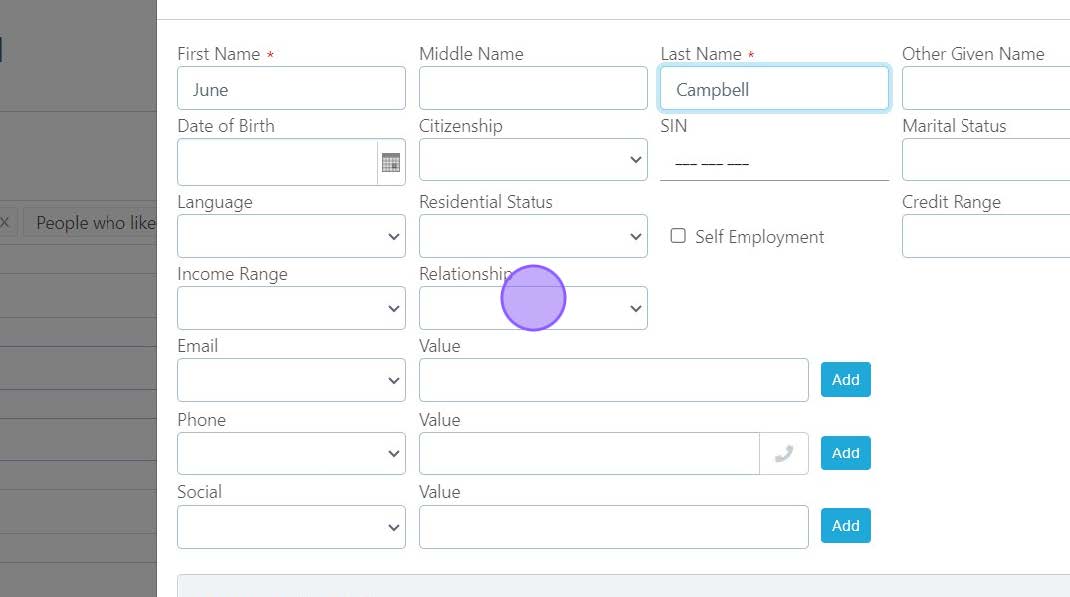
Add the information for the second contact, and click "Save".
Add a Mortgage Inquiry
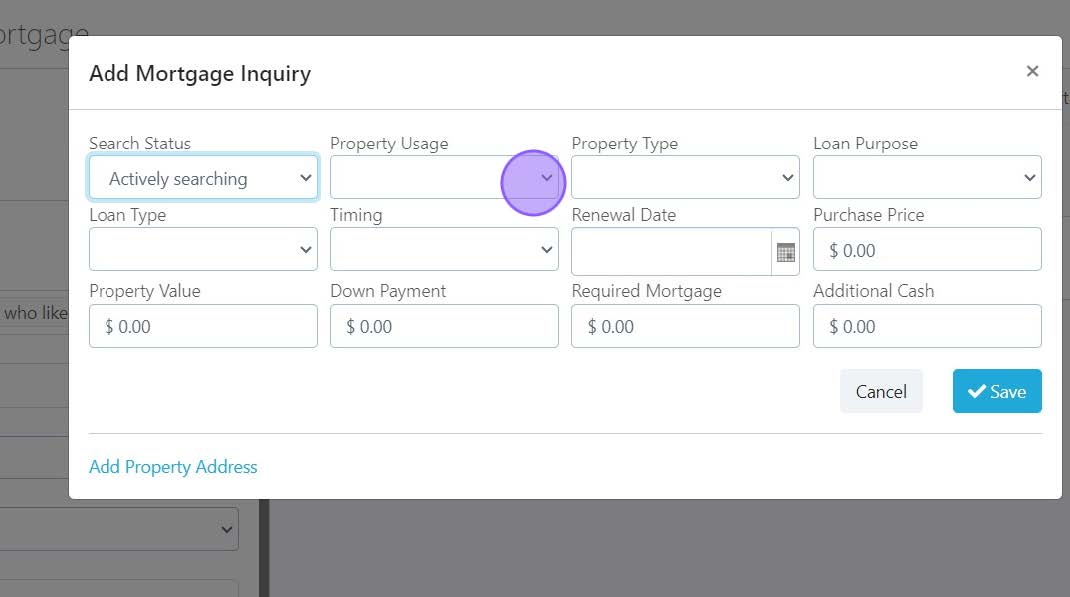
To add details on the lead's mortgage goals, use the Actions drop-down at the top of the lead card to select "Add Mortgage Inquiry".
Enter any information known about the mortgage and click "Save".
Making Notes About a Lead
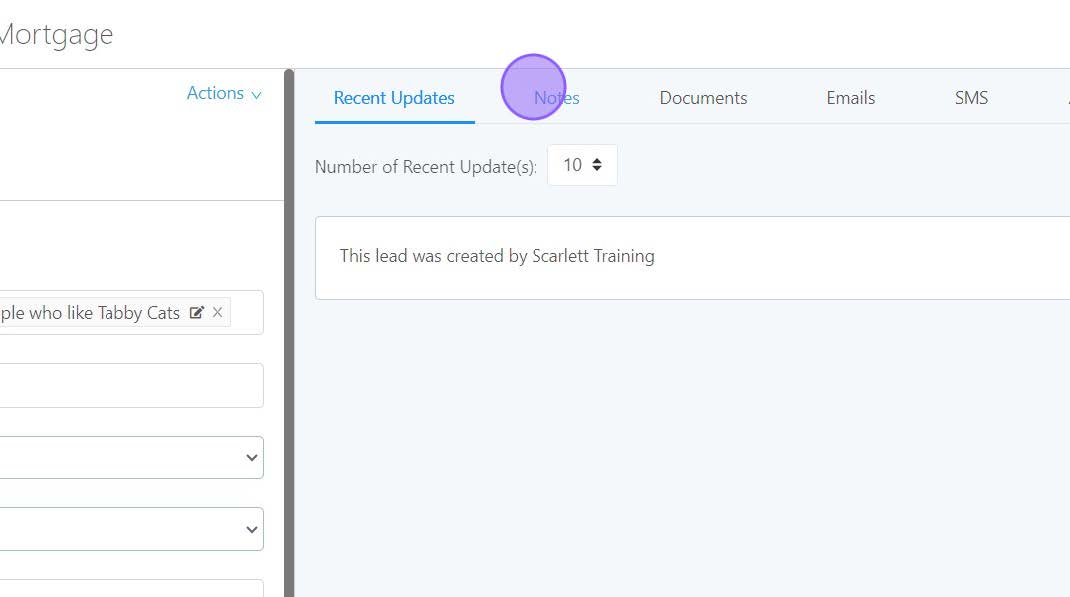
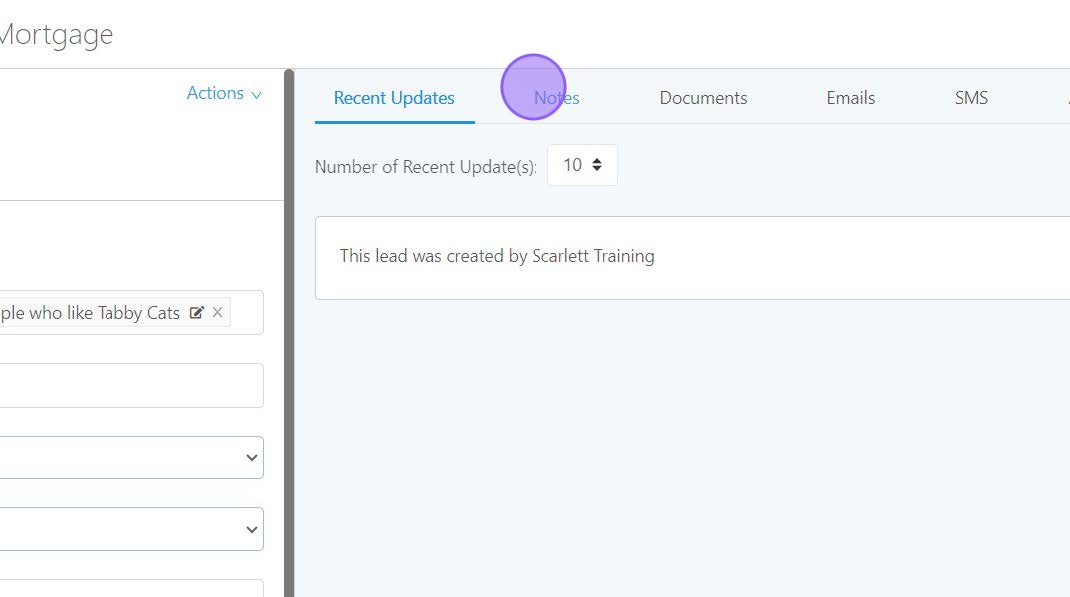
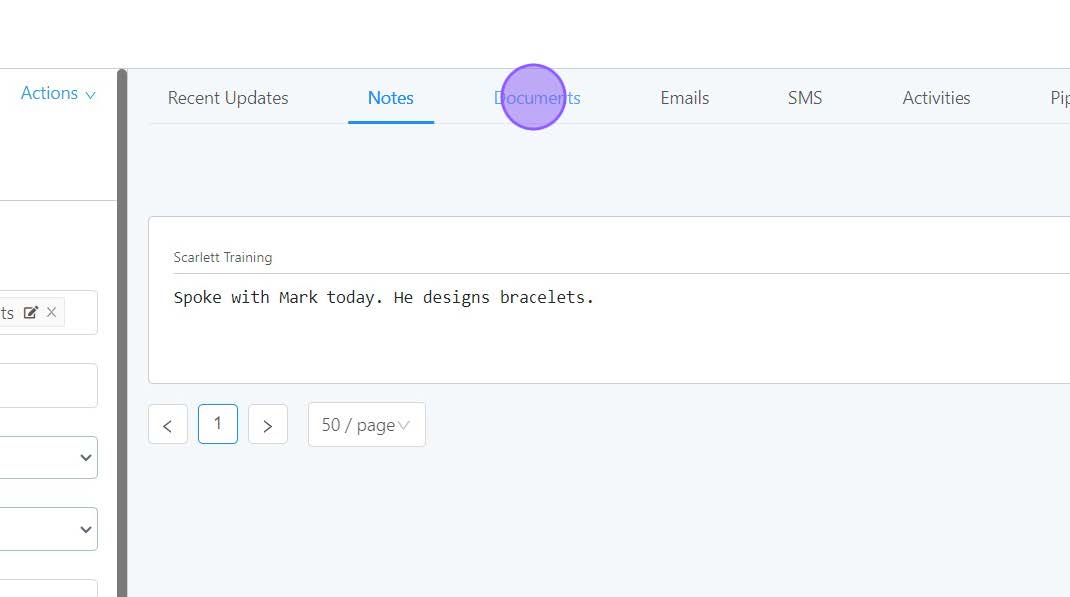
From within the lead card, click on "Notes".
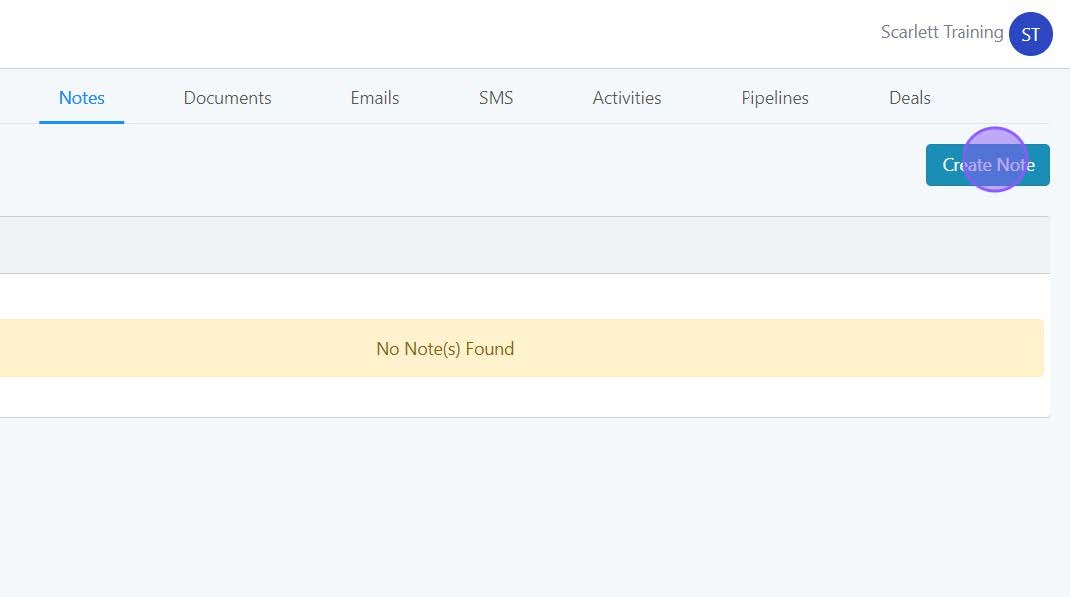
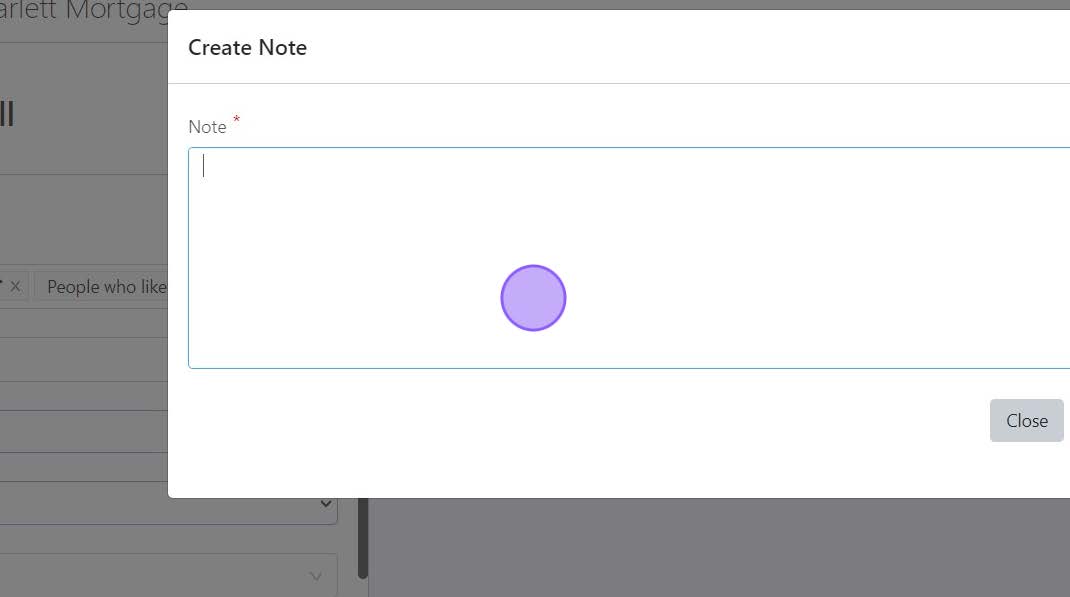
On the top right corner, click "Create Note".
Enter your note and click "Save".
Your note will now appear in the Notes section, and also on the Recent Updates tab for as long as it remains one of the more recent updates to the lead card.
Uploading Documents to a Lead
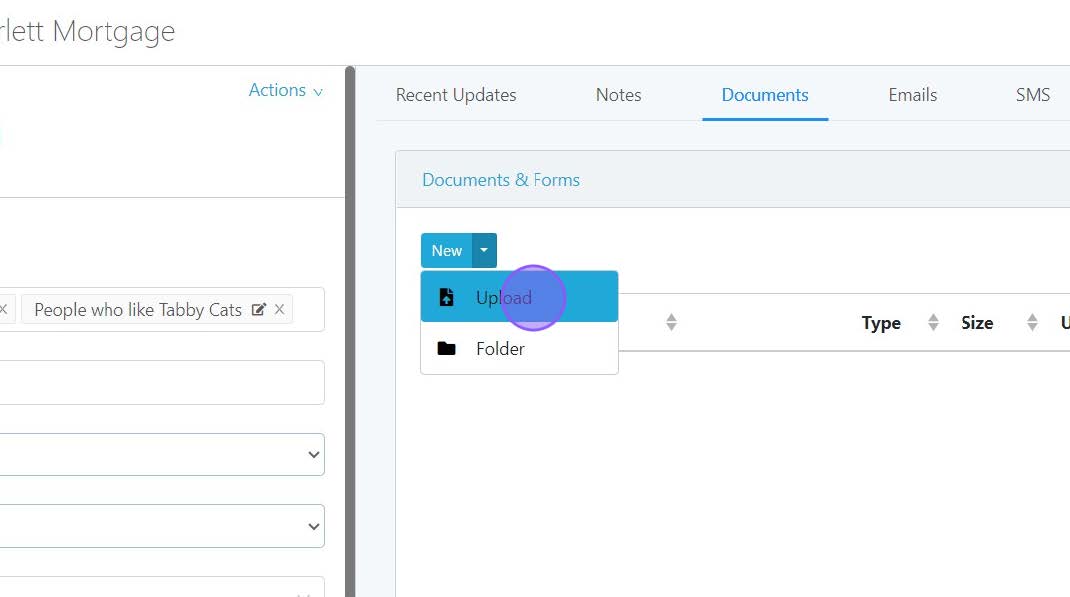
To upload a document to the Documents section, use the drop-down arrow next to New and click "Upload".
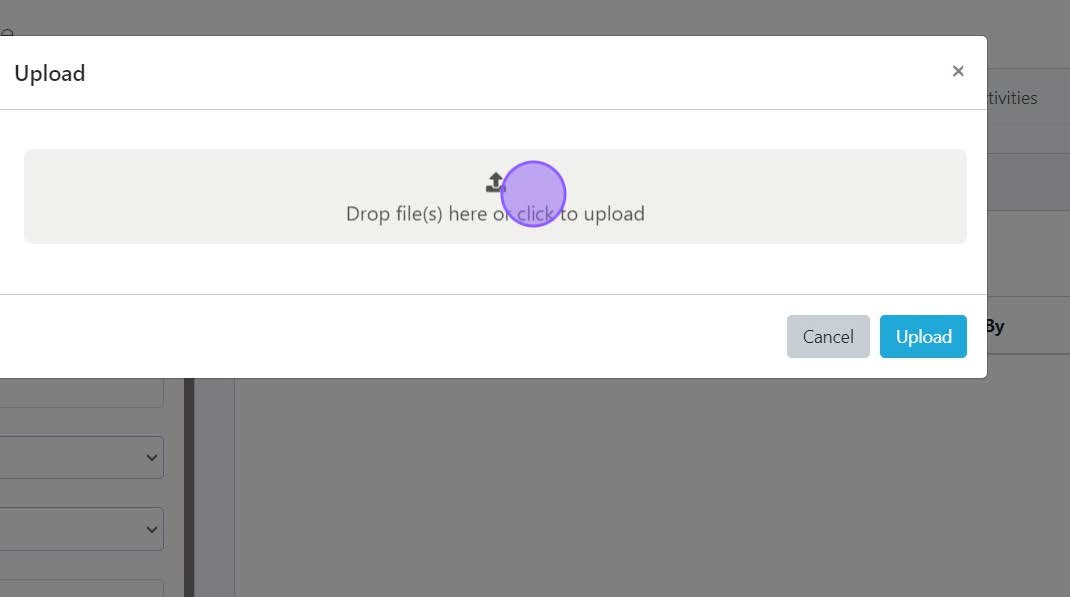
Select the document or drag & drop file(s) and click "Upload".
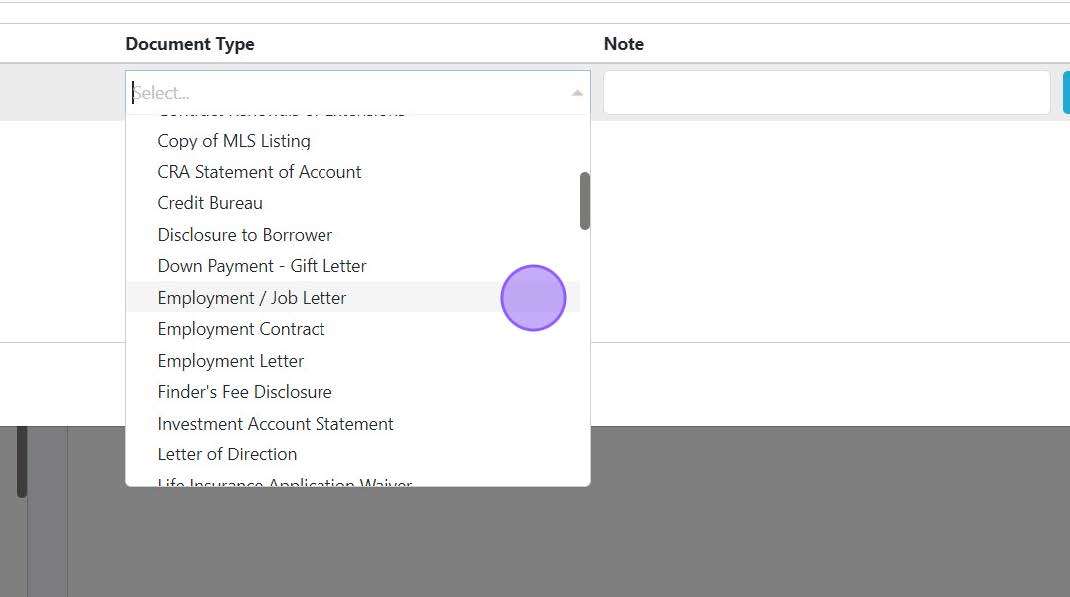
Select the Document Type and enter a Note, if needed. Then click "Save".
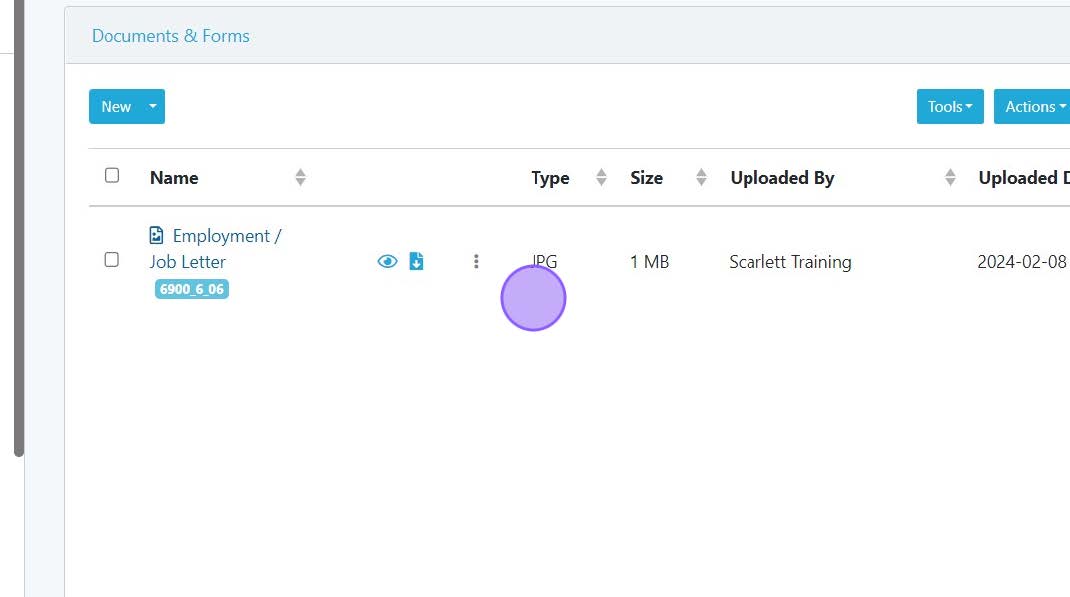
The document(s) will now appear in the Documents section in the lead card.
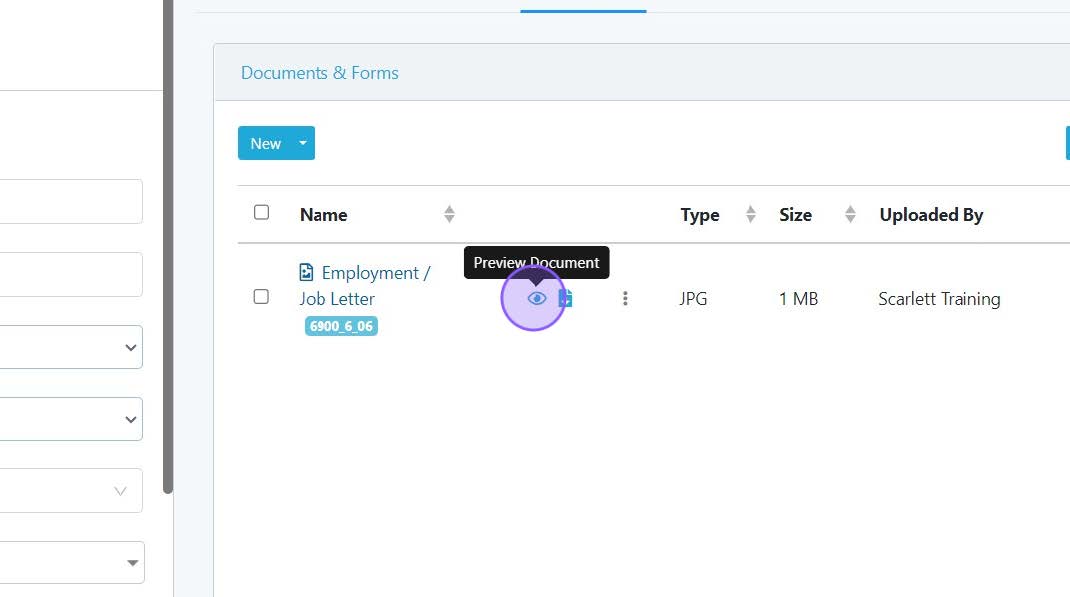
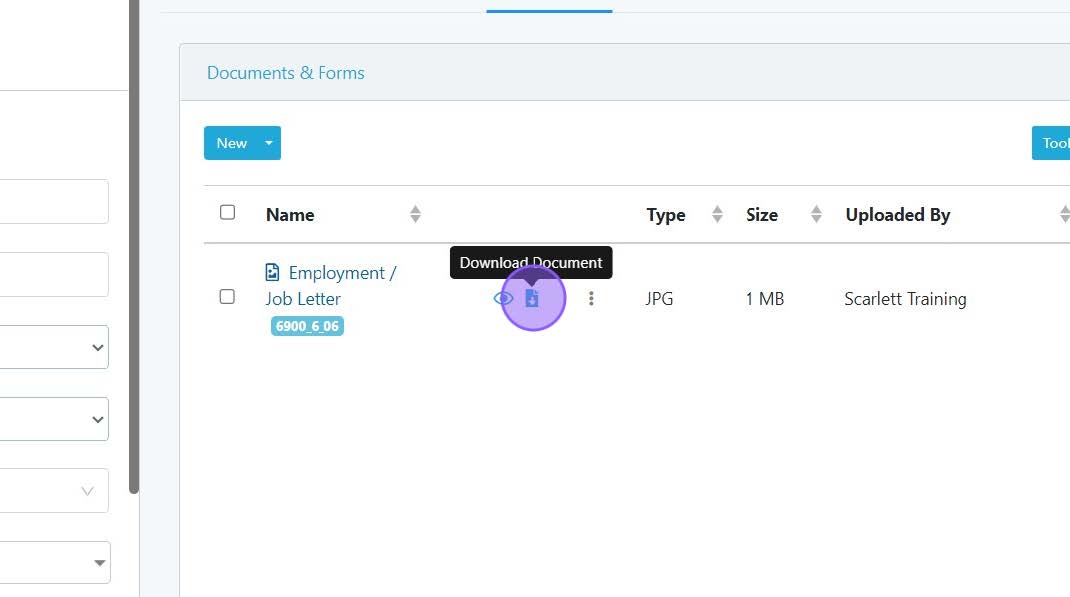
You can Preview or Download the document by clicking on the associated icon.
You can merge, move, or send the document(s) for e-signature within the Tools & Actions of the Document section. Please see the related training for information on these functions.
Add an Activity/Task to a Lead
You can also add activities, or tasks, to a lead. Let's schedule a follow up call to Mark.
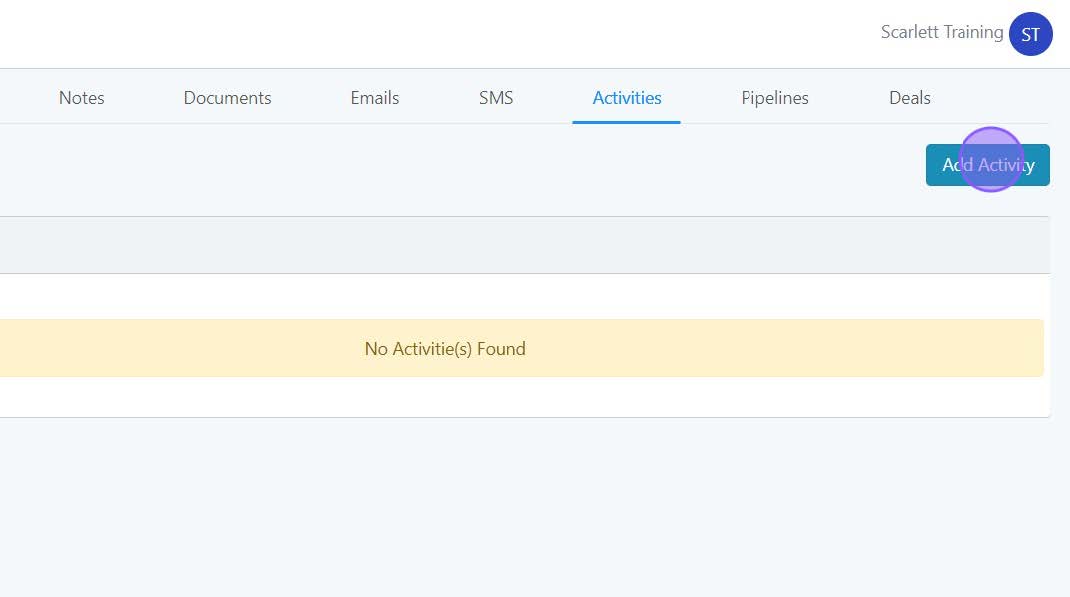
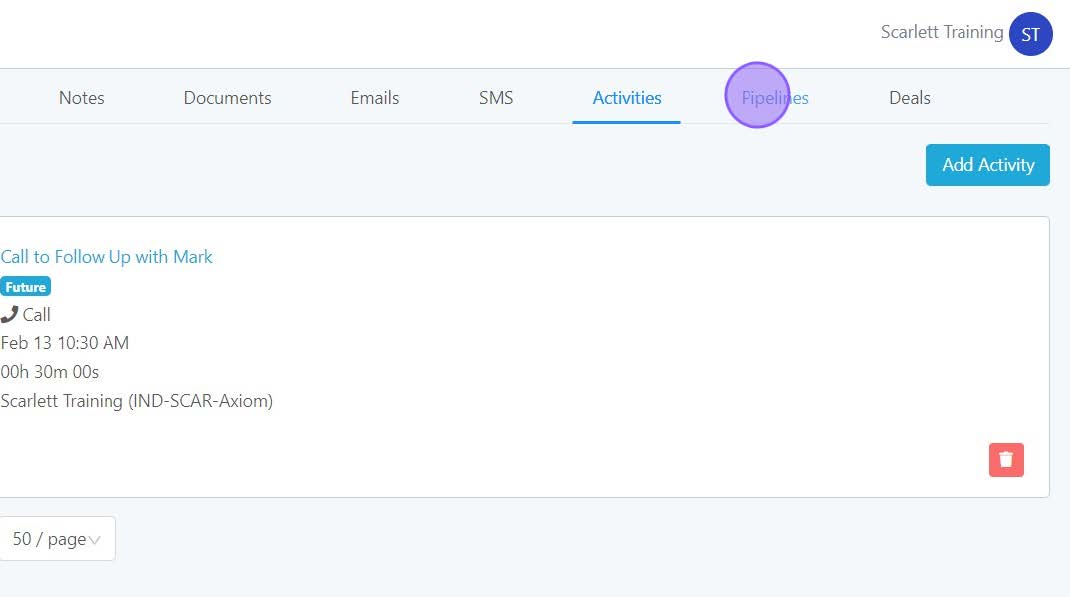
1) Go to the Activities tab and click "Add Activity"
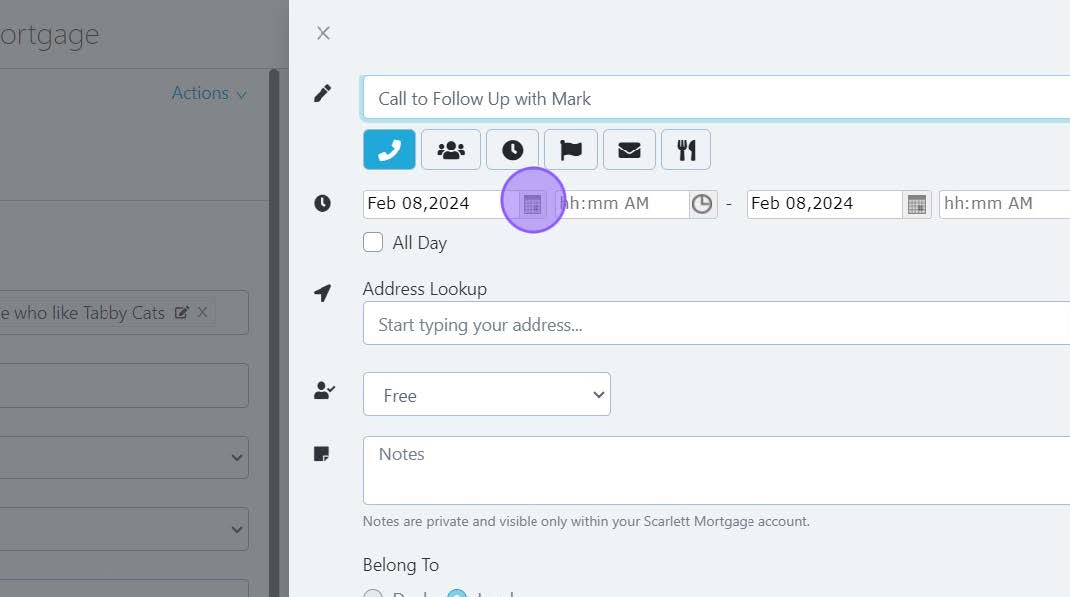
2) Enter the activity title ("Call to Follow Up with Mark), chose the activity type (call), and enter the date and time for the activity.
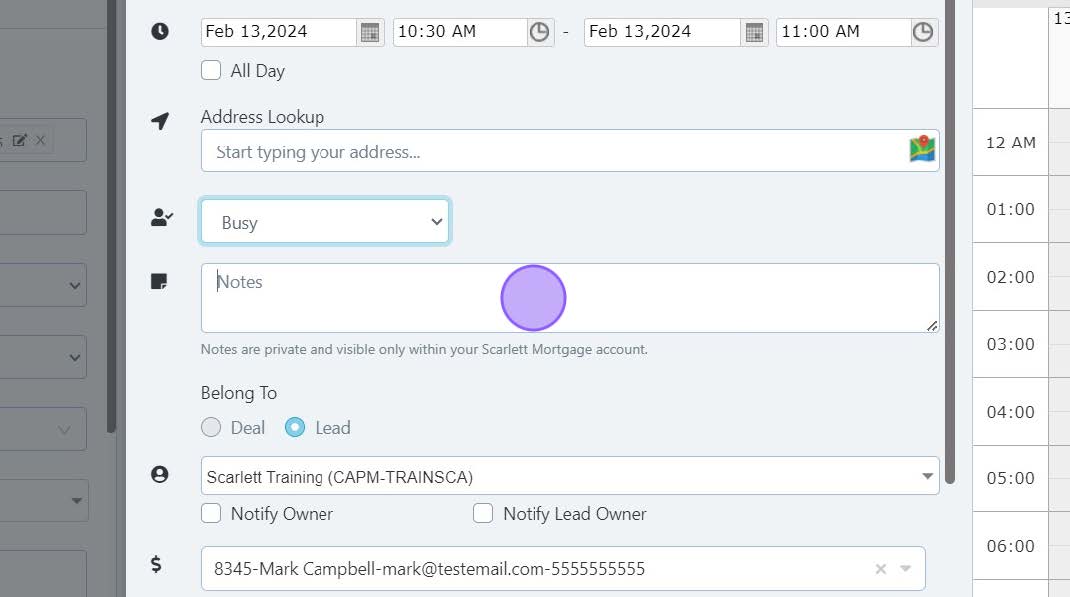
3) You can add any notes to yourself to help remember why this call is needed, or anything else you need. This note is only visible within your Scarlett Mortgage account.
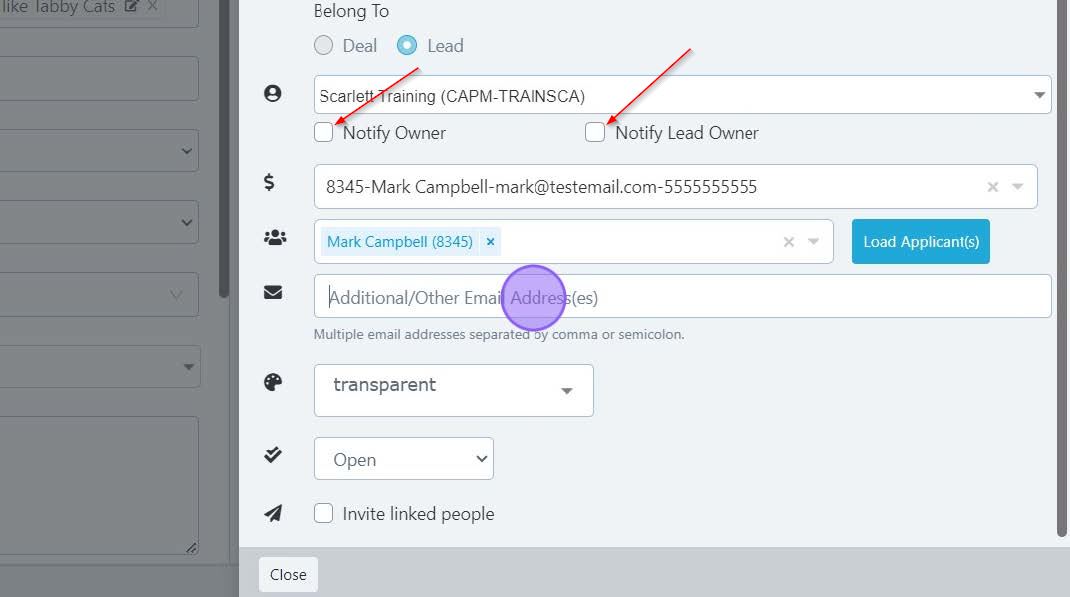
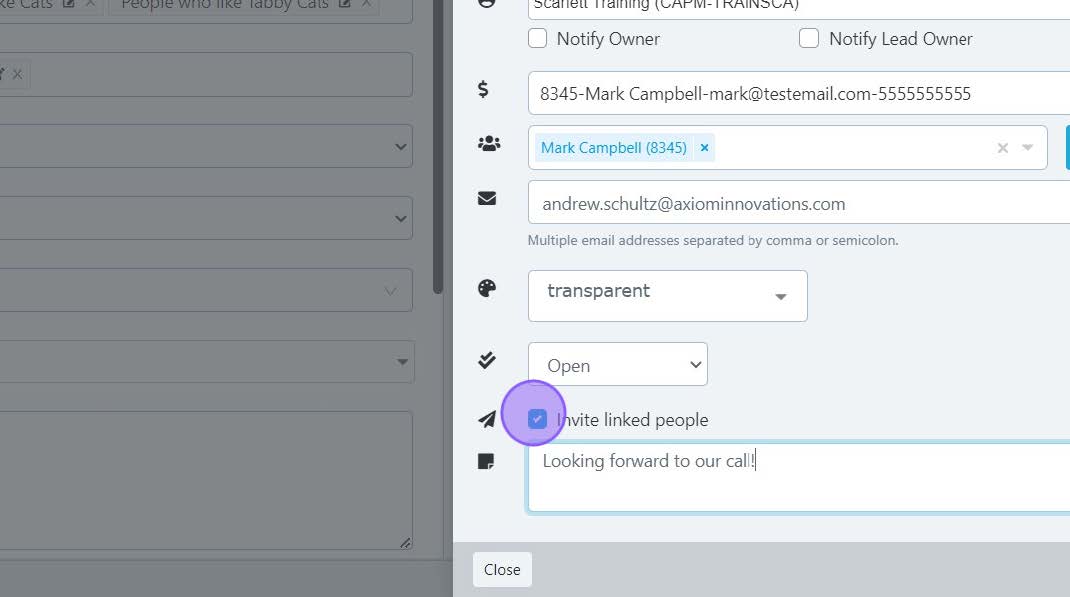
4) If you have permissions to assign tasks to other people on your team, you can select whether the activity will be assigned to you or someone else in the drop-down field. You can then check off the notification boxes to send an email to either the Activity owner (Notify Owner) or the Lead owner (Notify Lead owner).
*This notification goes out when you save the activity, and not when the activity is due.
5) You can invite the applicant and any participants to a meeting by clicking the "Invite Linked people" box. This will send them a calendar invite.
The default setting is to not invite the clients.
6) When finished entering the activity information, click "Save". The activity now appears in the lead card, and on the activity/task list of the person to whom the activity is assigned.
Add a Lead to Pipelines
If you have dynamic pipelines set up, the lead will automatically be added to any pipeline where it matches a set filter.
You can add your lead to a static pipeline from within the lead card.
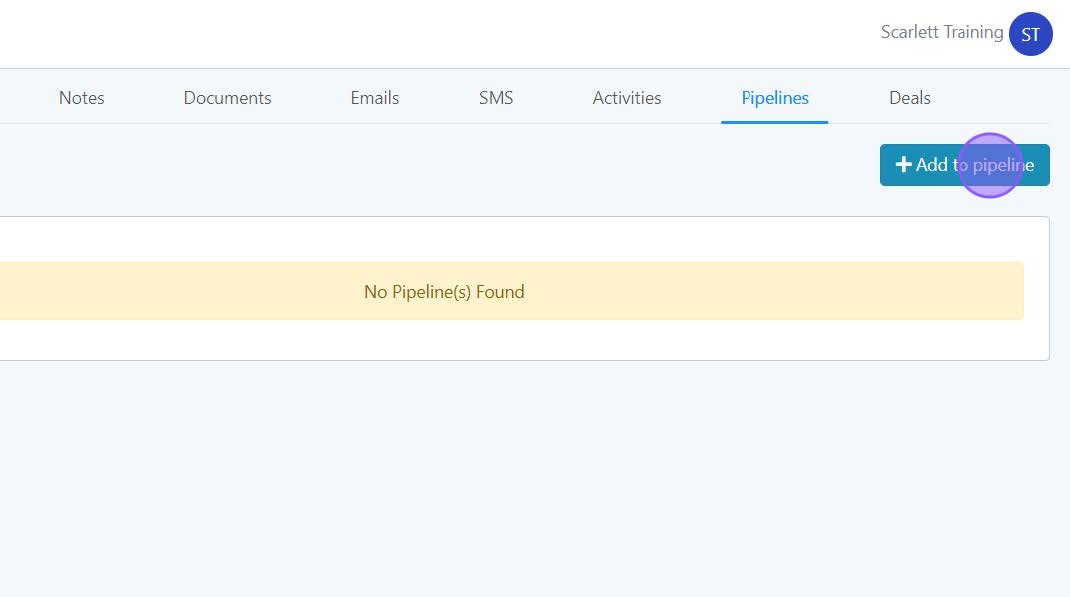
1) Go to the Pipeline tab within the lead card and click "Add to pipeline"
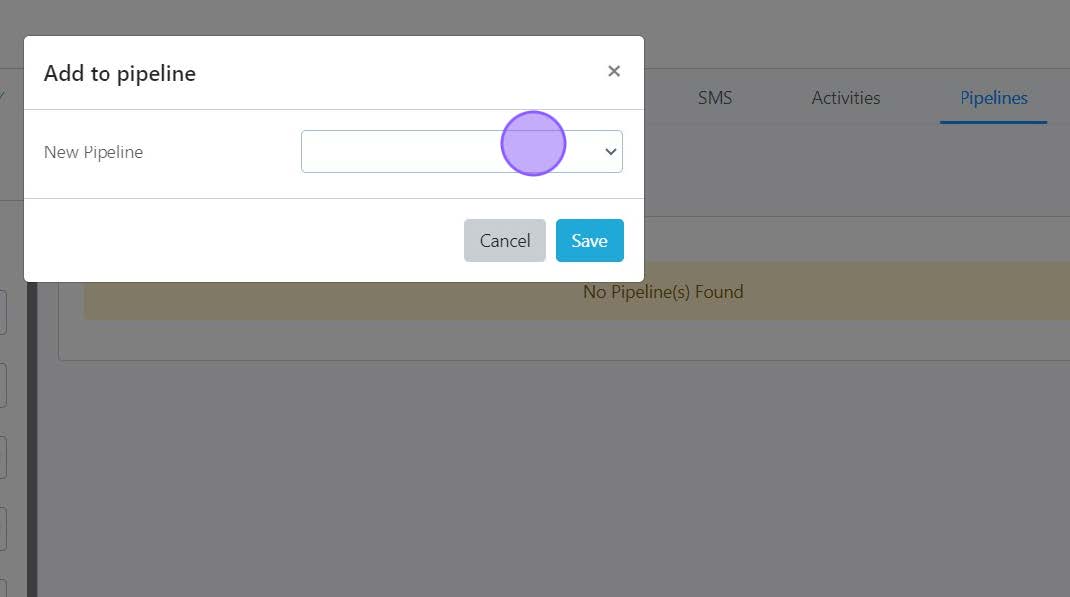
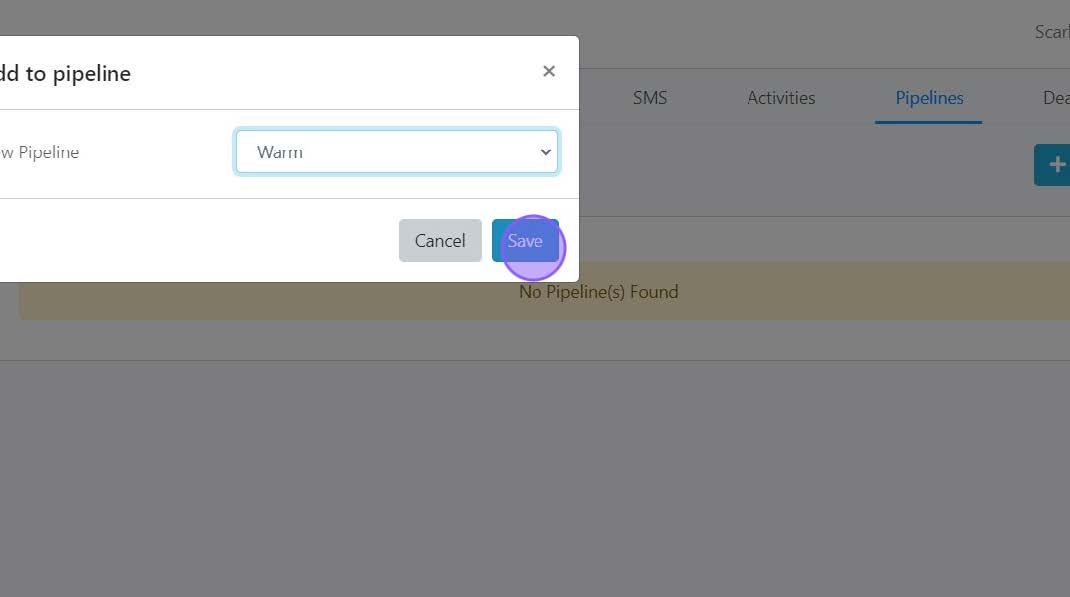
2) Available static pipelines will be shown in a pop-up box. In this account we only have one static pipeline titled "New Pipeline".
3) Select the stage to add the lead to and click "Save".
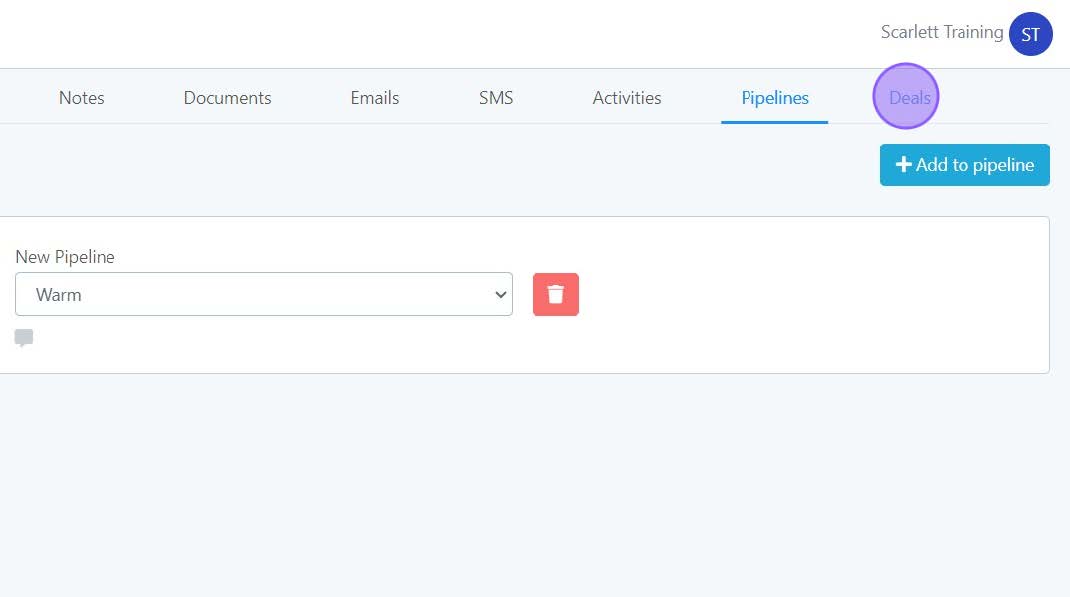
4) The lead will now show under this stage of the pipeline in the lead card Pipeline tab, and on the Pipeline itself.
Scarlett Tips
Remember that the CRM and Deals sections of Scarlett Mortgage are designed as separate components, since we interact differently with leads than with clients on active files. Because of this the Referral Sources you have in your leads will not appear in the Referral Sources in the deal participants until one of the leads from that Referral Source as converted from a lead to a deal.
