Send Automation Emails from Your Email Address
By default, automations will send from yourname@scarlettnetwork.com with your email address as the reply-to field. If you would like to have them send from your email address, you will need to whitelist Scarlett Mortgage with your domain provider. This is usually the provider that hosts your website and/or email address.
Related Training
Import a Templated Automation (coming soon) |
Step-by-Step Guide
Get the Verification Values for your DNS Registry
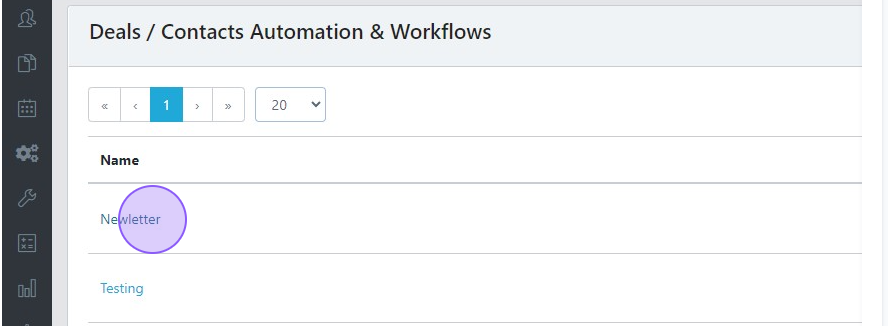
1) Open the Deals/Automation section of Scarlett Mortgage
2) Open any automation you have active. If you do not have one active, import one first.
3) Click the "Create Email" button under the third step of the automation.
4) Click "Configure" in the top right of the email window.
5) This window will show you any domains that are already verified or in the process of being verified. Click "Add Domain".
6) Enter the domain name. This is the part of the email address after the @ symbol.
7) This will add that domain to your list of email accounts and show it as "Not Verified". Click "Verify".
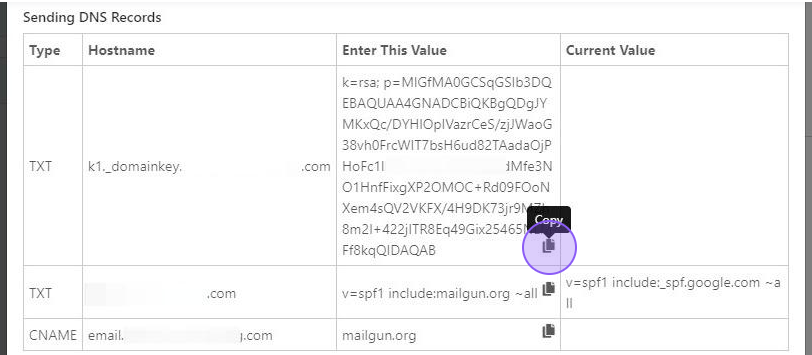
8) This will bring this window up that shows the three entries that need to be made into your Domain DNS Registry. The table shows the entry type, the hostname, and the value that needs to be added. There is a "Copy" button you can use to copy the value that needs to be entered.
Update your DNS Registry
At this point you will need to log into your domain provider, access your DNS Registry, and enter these values. If you have an IT company that looks after your domain or DNS registry management for you, provide them with the above entries and ask them to add them to your DNS registry. Common domain providers include GoDaddy, HostGator, Namecheap, etc.
Not sure which domain provider you use? You can search your own domain records here to find out which company it is managed through.
Self-manage, but get stuck? Email our support team and we can assist you with this step.
Verify the Domain in Scarlett Mortgage
1) Follow the steps above to get into the configuration window.
2) Click "Verify" next to the domain that is Not Verified.
3) Now click "Verify DNS Settings".
4) Once successful, the domain status will update to "Verified".
Note: It can take 24-48 hours for the new entries you made in your DNS Registry to become available, depending on your domain provider. If your domain doesn't verify right away, way a day or two and try again.
Add Your Email Address
1) Expand the account drop down for your newly verified domain.
2) Click "Add"
3) Enter your email address in this window and click "Save"
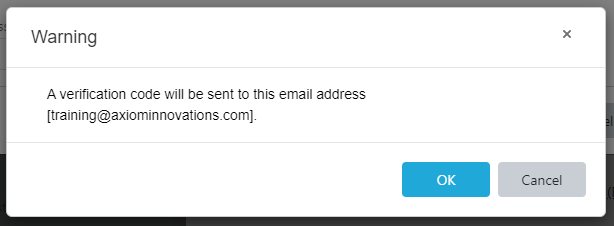
4) A pop-up will let you know that a verification code will be sent to this email address. Click "OK" to send the code. If you don't have immediate access to this account, click "Cancel" and wait until you do.
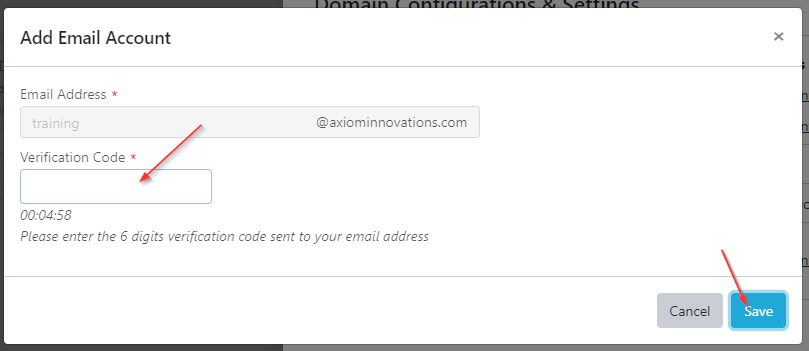
5) Retrieve the code from your email address and enter it into the verification box. The code expires 5 minutes from the time it is requested.
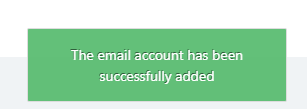
6) You will see a green confirmation message that the email account was successfully added.
7) The newly added account will display in your domain configuration.
8) The email address will also show as an option in the "From" line on your email within the automation module. It will appear as an option for any email action on any automation within your account.
9) Update the "From" line on any automation you have that you wish to sent from your email address.
Scarlett Tips
Domain verification only needs to be done once per domain, and that will allow anyone with an email address at this domain to add their email to the automation section.
Need to send an automation email from someone else's account? You can follow the steps in "Add Your Email Address" to add someone else's account as well. They will need to provide the verification code as authorization.
Emails sent through the automation module will not show in your email sent folder, even if your domain is whitelisted and used as the "From" address.
